Viewing posts tagged with: Craft
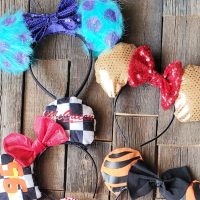
How to Make Your Own Minnie Mouse Ears
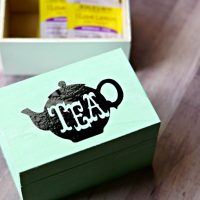
Easy To Make Tea Box Gift
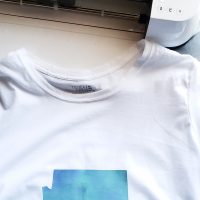
DIY Arizona T-Shirt Design With Cricut Maker
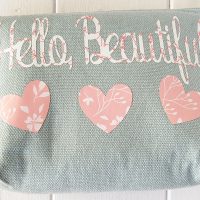
DIY Makeup Bag Made with Cricut Maker
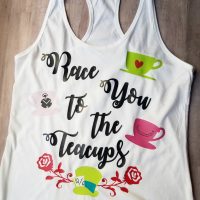
DIY Disney Race You To The Teacups Tank
Where To Find Fonts and Images To Use In Cricut Design Space
DIY Christmas Shadow Boxes
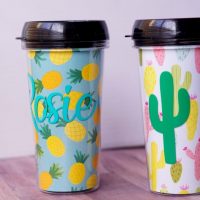
DIY Mugs for Tweens and Teens

DIY Bride Bag and Wedding Day Essentials Kit
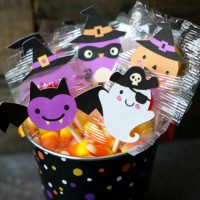
Halloween Candy Booquet
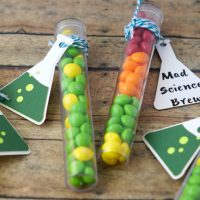
Mad Science Candy Test Tubes
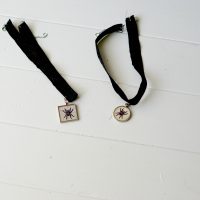
DIY Easy Halloween Chokers
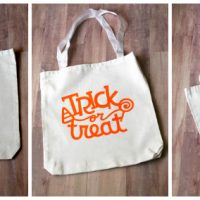
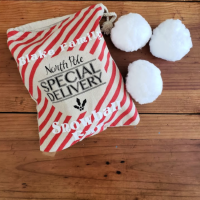
Diy Trick-Or-Treat Bags with Heat Transfer Vinyl
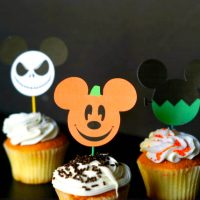
Disney Halloween Inspired Cupcake Toppers
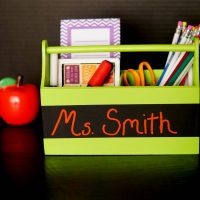
DIY Teacher’s Toolbox Gift

Halloween Candy Spider Craft
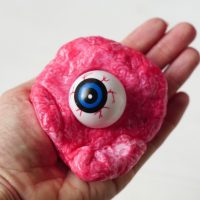
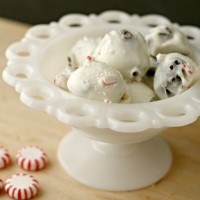
DIY Bloody Halloween Slime
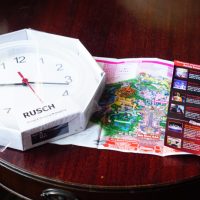
DIY Disney Map Clock
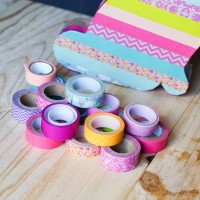
Washi Tape Easter Bunny

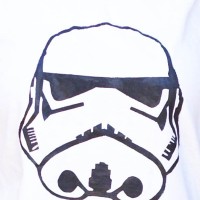
DIY Star Wars Ugly Christmas Sweater

Ventriloquist Dummy Costume & Makeup
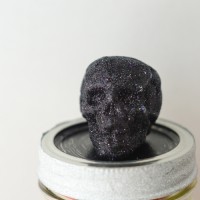
DIY Skull Candy Jars
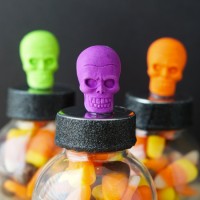
DIY Halloween Candy Jar Party Favors

DIY Star Wars Tumbler
DIY Star Wars StormTrooper Costume
DIY Disney Autograph and Activity Book
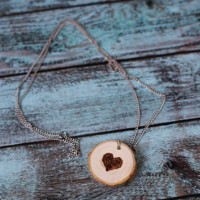
Burned Wood Slice Jewelry
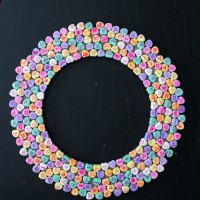
Valentine’s Candy Heart Wreath
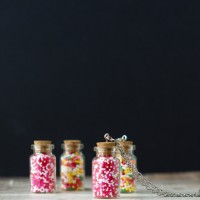
Sprinkles Necklace ~ An Easy Valentines Day Gift
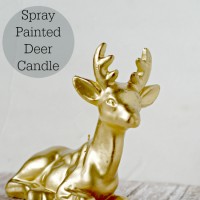
Spray Painted Deer Candle
20+ DIY Wood Slice Crafts
- 1
- 2
- 3
- 4
- Next Page »