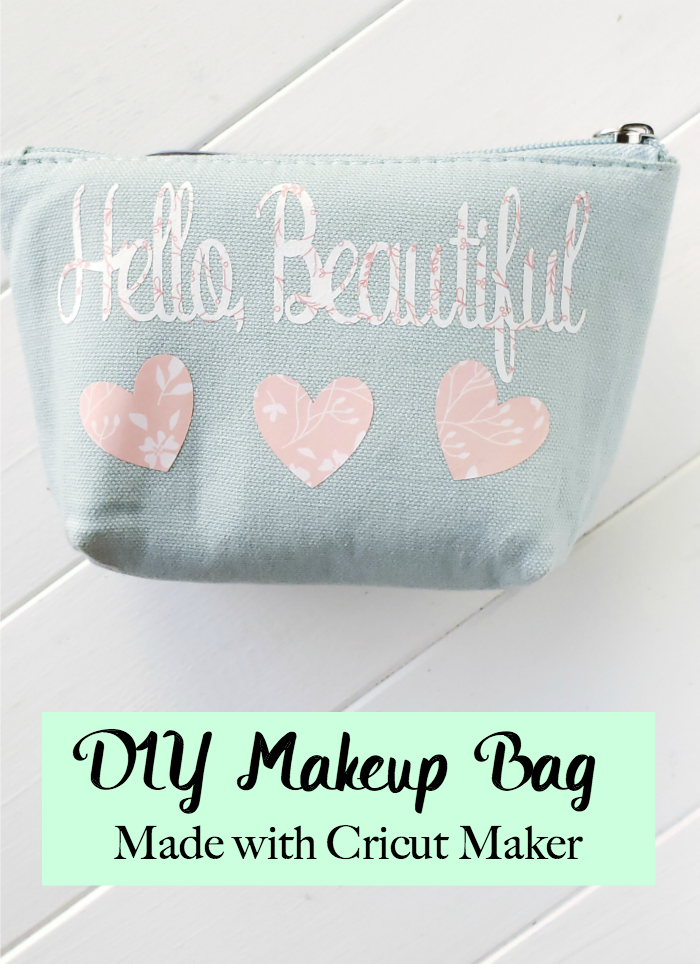
 Disclosure: Supplies were provided for this post by Cricut. All opinions and photos are my own.
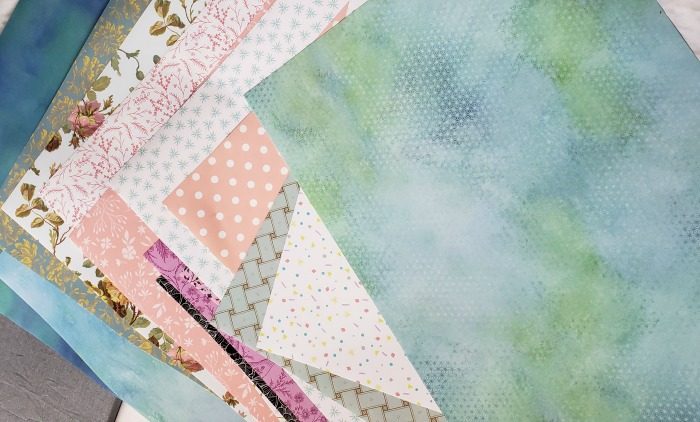
Cricut recently released a line of different patterns for iron-on vinyl so I, of course, had to get nearly 1 of every pattern to play around with! As you can see the colors and patterns vary making it easy to find the perfect pattern for any project.
Because I am the type of person who makes gifts for people, I typically have a stock of “blank” items like tumblers, mugs, and even makeup bags. I decided to use some patterned iron-on on an already made makeup bag but I’m keeping this one for myself!
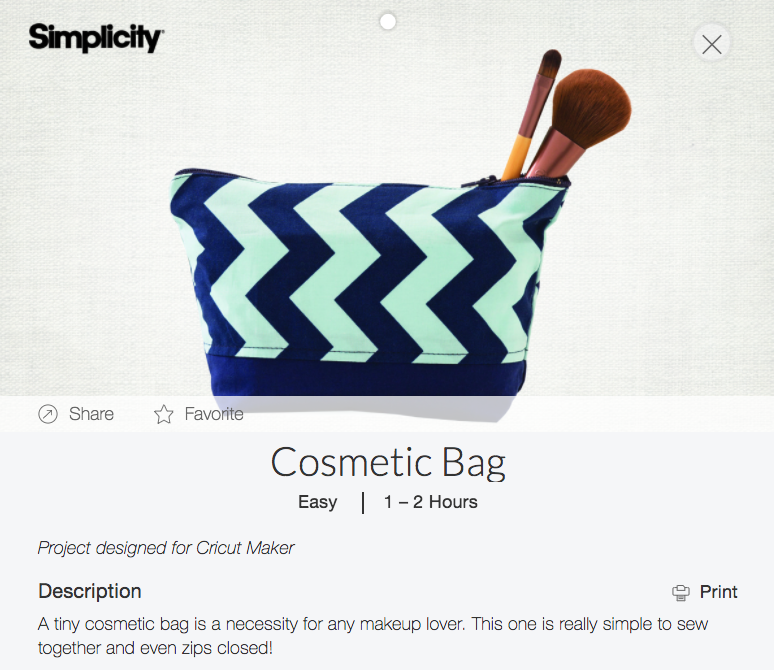
If you are a seamstress, the Cricut Access store has a pattern you can cut right on your maker! You can find the full pattern here!
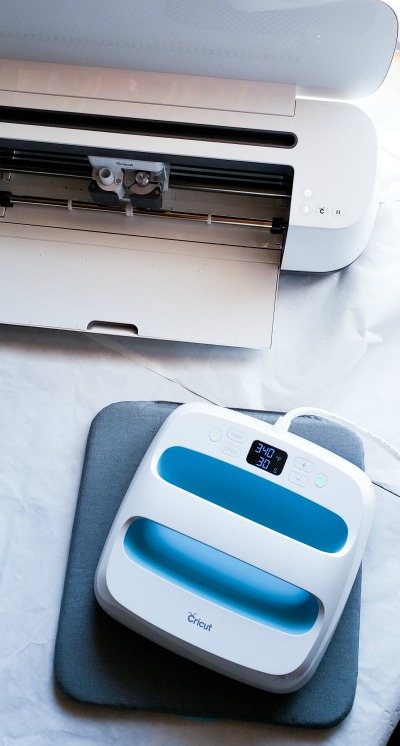
Supplies:
- Cricut Maker
- Cricut EasyPress
- Cricut EasyPress Mat
- Cricut Patterened Iron On
- Cricut Access
- Makeup Bag
Tutorial:
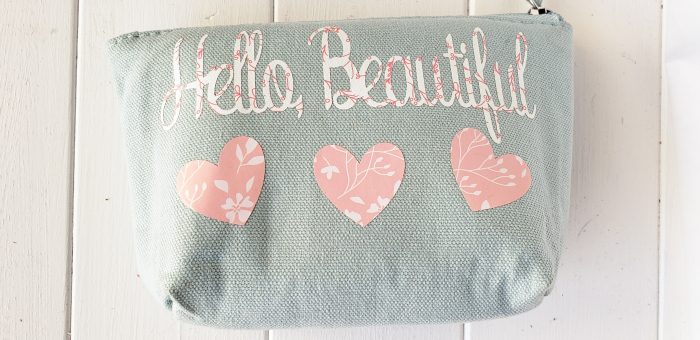
- Access the makeup bag design here: https://design.cricut.com/#/landing/user-project/87461836
- You can customize the sizing or head straight to “make”
- At the cut mat screen, click on “mirror”
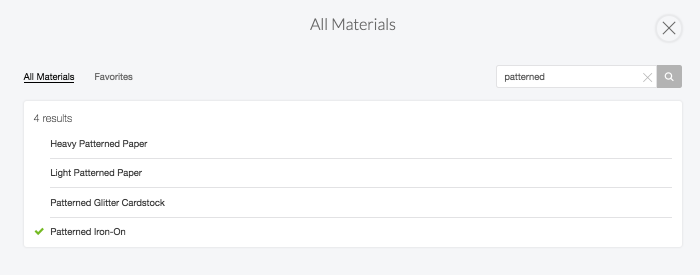
- For settings, go to all settings and find “Patterned Iron On”
- When cutting on the Cricut Maker remember that the shiny side goes face DOWN
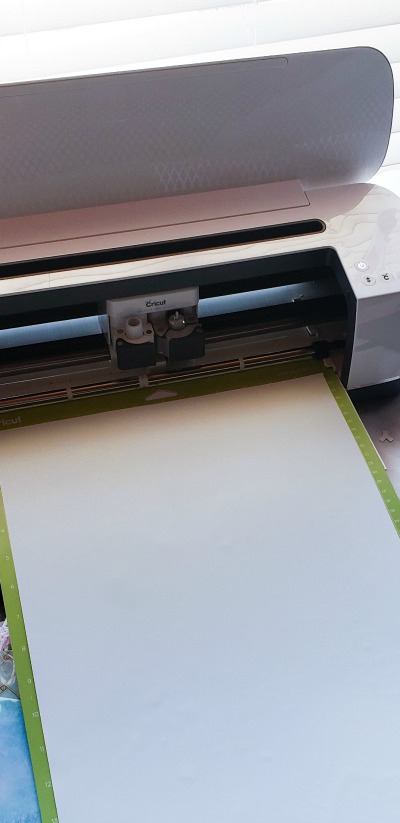
- Once the file cuts you can weed the excess
- Heat up the EasyPress to 340 degrees
- Before placing the cuts, heat up the canvas area with the EasyPress for about 15 seconds
- Place the cuts and then press them for 30 seconds
- Put the EasyPress mat underneath the makeup bag prior to pressing
- Wait for the project to completely cool then peel the clear plastic off
Tools to Help With Patterned Iron On
- Find out more about the Patterened Iron On and how to use it here!
- Learn what settings to use with your Cricut EasyPress
Leave a Reply