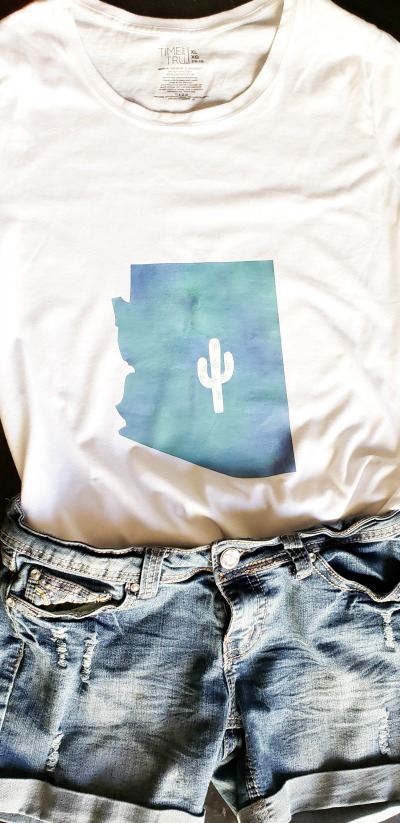
Disclosure: Supplies were provided for this post by Cricut. All opinions and photos are my own.
State shirts are a fun way to represent your favorite state. This Arizona T-Shirt was easy to make with the Cricut Pattern Iron On. In this post I’ll show you how to use Cricut Access to make your own state shirt!
DIY T-Shirt Design With Cricut Maker
Supplies:
If you want to make this Arizona one, you can find the file here! You can customize the sizing or head straight to “make”.
How to Create Your State Shirt in Cricut Design Space with Cricut Access
For this example, I will use California
- Go to images and look up images for your state
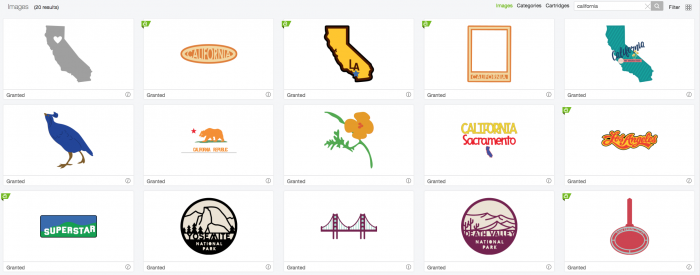
- Insert your image, for the below example I combined two images and sliced them together.
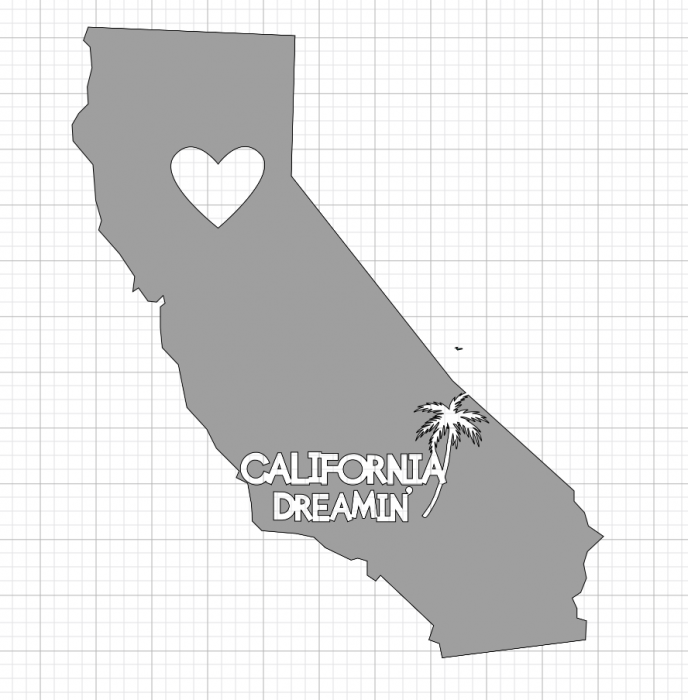
T-Shirt Design With Cricut Maker Tutorial
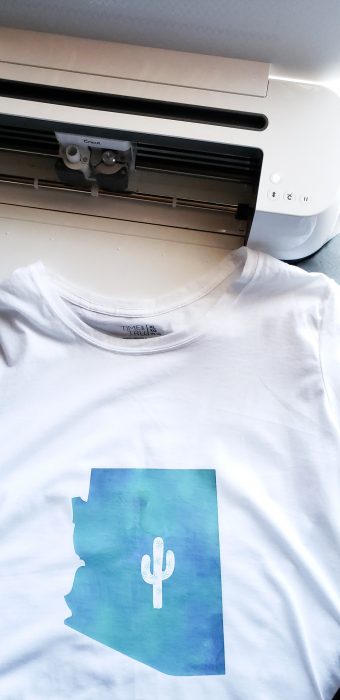
- At the cut mat screen, click on “mirror”
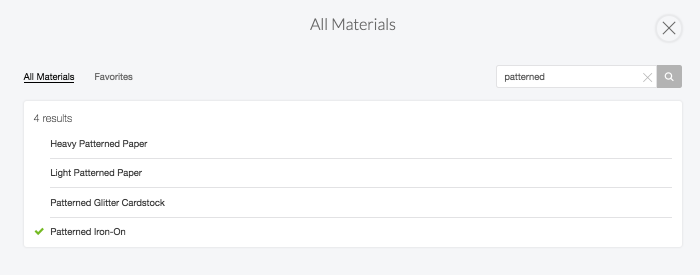
- For settings, go to all settings and find “Patterned Iron On”
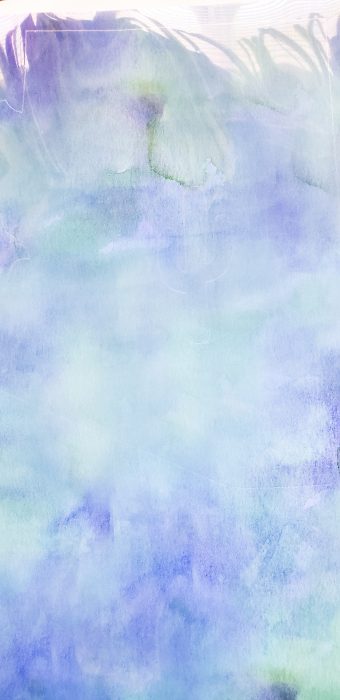
- When cutting on the Cricut Maker remember that the shiny side goes face DOWN
- Once the file cuts you can weed the excess
- Heat up the EasyPress to 340 degrees
- Before placing the cuts, heat up the canvas area with the EasyPress for about 15 seconds
- Place the cuts and then press them for 30 seconds
- Put the EasyPress mat underneath the makeup bag prior to pressing
- Wait for the project to completely cool then peel the clear plastic off
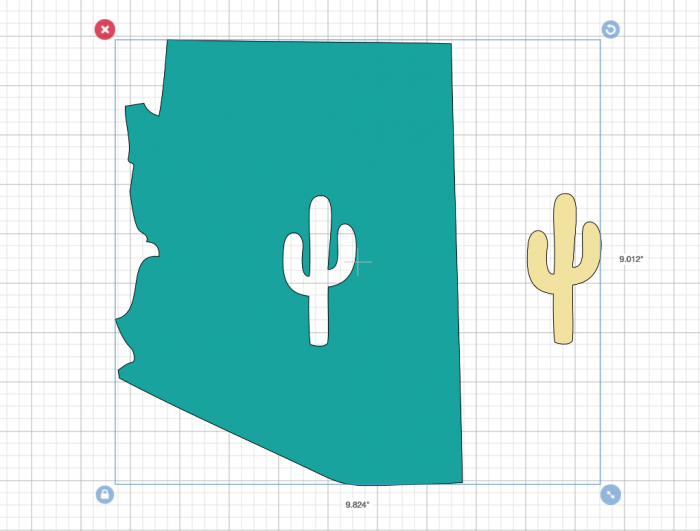
- For this particular shirt, I did place two different patterns on the shirt, one for the state and one for the cactus. To add an image to your base pattern you will want to “slice” the image out of it and cut it out of a different color.
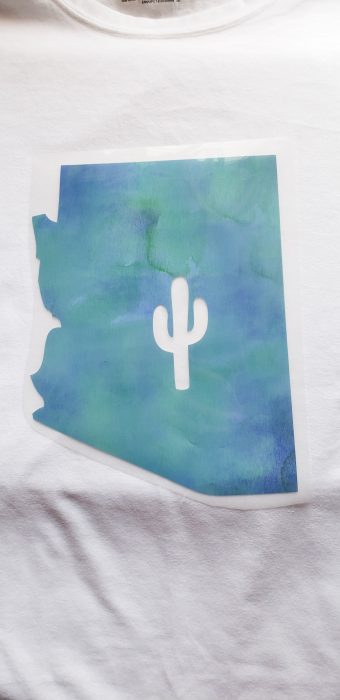
- To apply: put the EasyPress to 340 F and put the first Iron On down, press for 20-30 seconds, allow to cool completely and then remove plastic sheeting. Apply second Iron On and press for 50 seconds. Allow to cool completely and cold peel!
Tips to remember – Shiny side down and mirror iron-on!

Tools to Help With Patterned Iron On
- Find out more about the Patterened Iron On and how to use it here!
- Learn what settings to use with your Cricut EasyPress
Leave a Reply