Making Disney Minnie Mouse Ears is always fun whether you have a Disney Park trip planned or you just want to make some for fun! You can specialize them to your favorite characters and wear them with your favorite Disney Bounding outfit!
I’m going to share a tutorial on how you can easily make Minnie Mouse Ears with a Cricut machine.
Share Your Ears and help the Make a Wish Foundation!
From November 4-17, 2018, take a photo showing off your Mickey Mouse ears – or any creative “ears” – and upload it to Facebook, Instagram or Twitter. For every public photo posted with #ShareYourEars, Disney will donate US $5 to Make-A-Wish, up to US $2 million to grant even more life-changing wishes. This is all part of the Disney Team of Heroes commitment to deliver comfort and inspiration to families around the world.
Find more info here – http://wish.org/content/disney/share-your-ears-2018
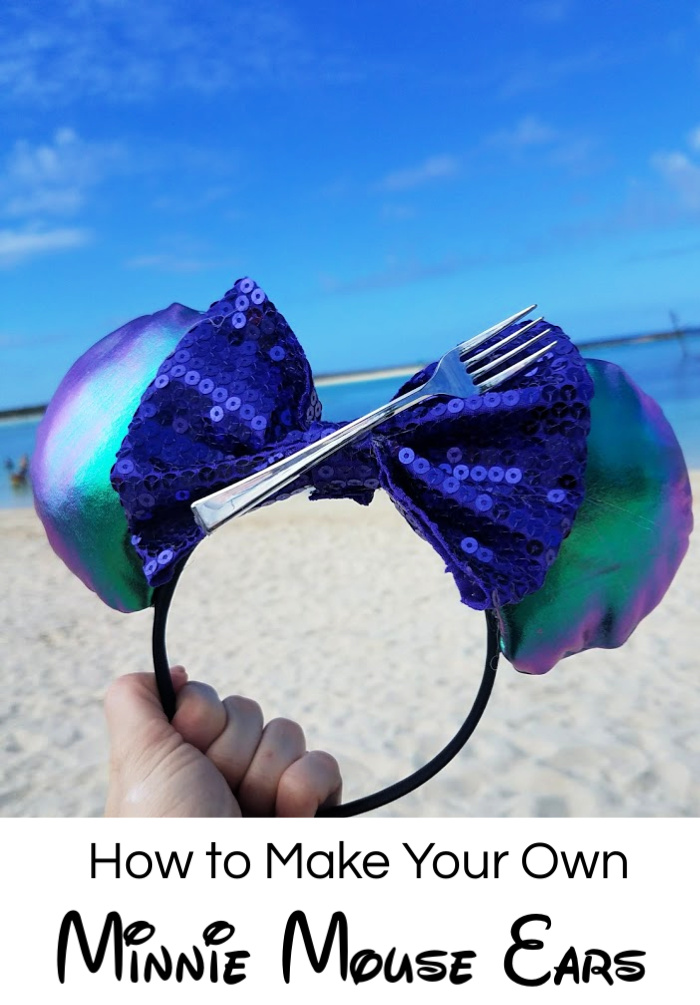
How To Make Your Own Minnie Mouse Ears
Supplies for DIY Minnie Mouse Ears
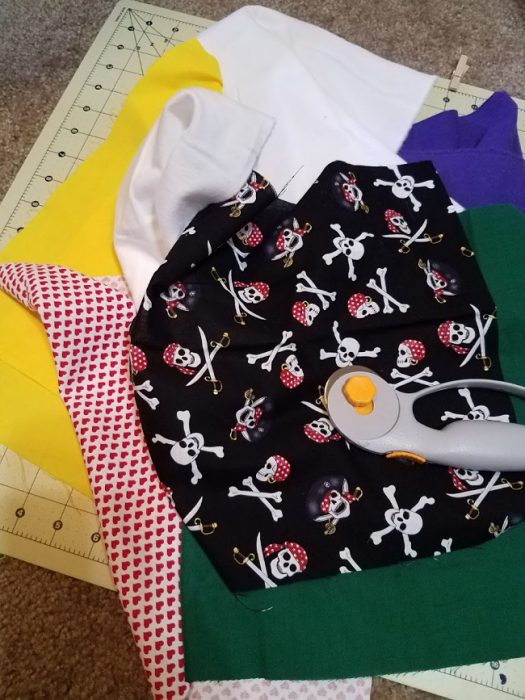
- Fabric – you really only need minimal fabric here, maybe a 1/8 of a yard if you are getting it cut. A little extra for the bows! You’ll want to square them up at 12X12 inches for the Cricut mats.
- Here’s a tip – look for remnants at your favorite fabric stores to save a little $$$!
- Craft Foam – I use the craft foam to help form the insides
- Poly-fil – I use the fill to help shape the inside and make it “fluffy”
- Cricut Minnie Ears Design File – https://design.cricut.com/#/design/80395110
- Cricut Bow Template – https://design.cricut.com/#/design/80253172
- Headbands – I bought this pack from Amazon
- Sewing Machine
- Hot Glue Gun – you’ll use this to seal the bottom of the ears to the headbands and the foam inside.
- Optionally, if you don’t want to sew you could use hot glue to adhere the insides as well as the bottoms.
- Cricut Fabric Pen – this one is also optional. I go into the two choices you have below.
About cutting fabric on the Cricut Machines –
You can cut fabric on the Explore series machines – you’ll want this blade and you’ll want to make sure you have your fabric bonded in some way. You can cut it non-bonded but it will not cut as nice.
I use the Cricut Maker Machine and it uses the rotary blade which cuts fabric, beautifully. It also cuts craft foam with the same blade.
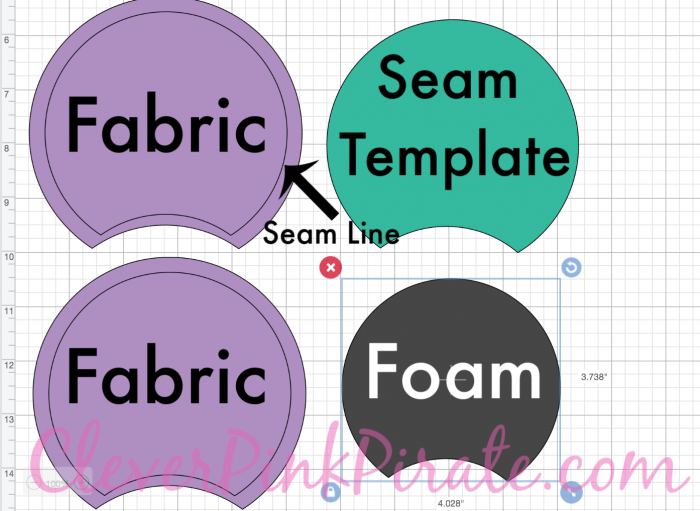
The template explained:
To Make the Minnie Mouse Ears
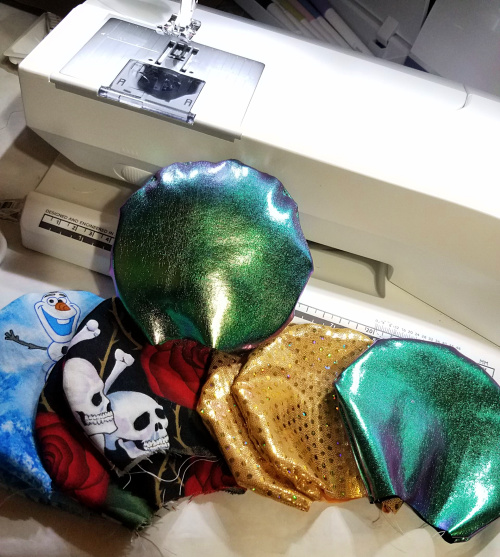
For the ears – Cut the ears with the template above. Load the fabric on the fabric mat upside down and load your rotary blade.
- I have two options for marking the inseam:
- You can cut with or without the markings on the inside. If you want to have your fabric marker make your lines, load that in the accessory spot.
- If you want to forgo the markings on your fabric, cut the seam template out of fabric or craft foam. I prefer to do this once with foam so I can easily reuse the template.
- Remember to hide the marking option on the right, it looks like this
- Remember to hide the marking option on the right, it looks like this
- Once your ears are cut, simply sew the inside seam by placing the right ends together, inside out. I personally love using Wonder Clips to sew projects like this vs the pins. Sew along the ear part without sewing the ends.
- Once it’s sewn, flip the ears inside out.
For the foam insert – Cut the craft foam with the rotary blade (I just use the denim setting). Once it’s ready, roll it up like a taquito, place inside then position.
For the poly-fil filling – once your foam is in, put a little dab of filling in on both sides. Fluff it up then you are ready to adhere the hot glue to close it up.
To finalize the ears – take the ears and hot glue the bottoms to the headband. Make sure you position them to where you want them to be, first.
For the bow – After cutting the bow cut, I just used a spray fabric adhesive like this one and folded it and adhered it together. Once adhered, I just pinched it accordion style then I wrapped the middle around it and hot glued it.

**If you want your ears bigger OR smaller, you will want to “select all” of the cuts in your Cricut Design Space software at once and then you can make them all bigger or smaller by dragging the corner on the bottom right.
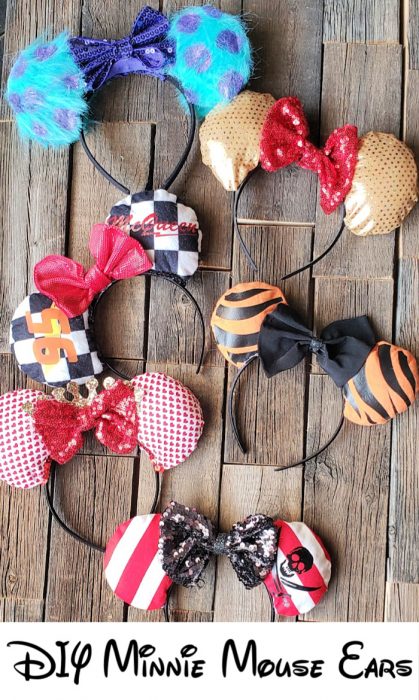
Here are some fun ears we have made –
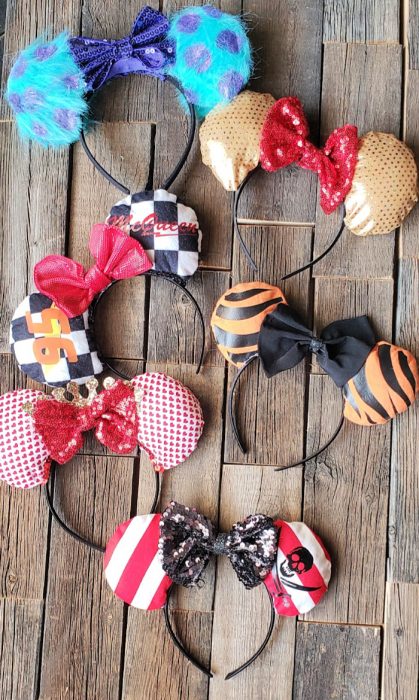
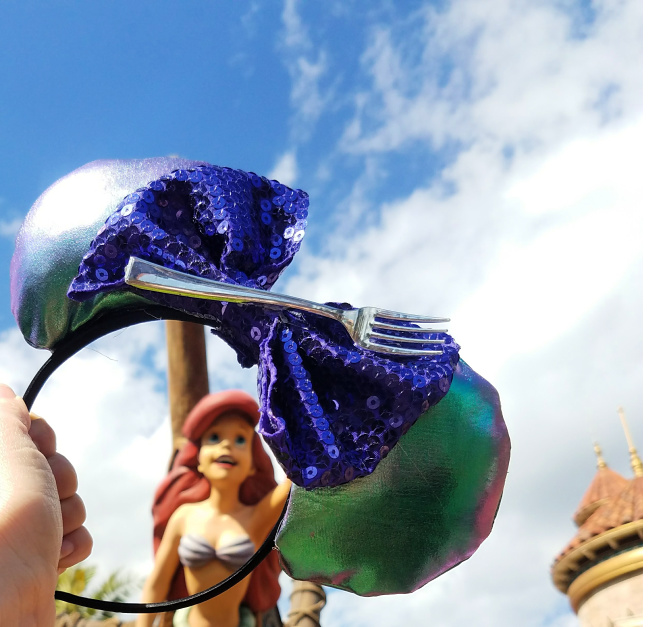
For the mermaid ears – we found the forks at our local dollar store. We just glued the back end to the bow!
For the Monster’s Inc (Sully) ears – I purchased some faux fur at Joann’s and then I super glued them without an inside seam but just by placing the insides together. For the polka dots, I used a circle foam brush and some purple metallic paint from the craft section.
For the CARS themed ones – I used HTV on the ears with files available on Cricut Design Space.
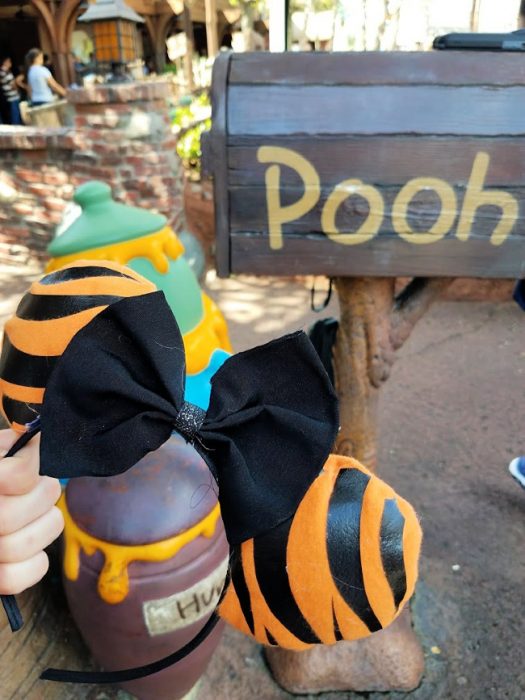
For the Tigger ones – I used black HTV and I made this file – https://design.cricut.com/#/design/80355026
Want more DIY Disney posts?
Check out how to make your own Disney Shirts!
Als0 – Check out our Disney section with tips on how to plan your next Disney vacation!
Leave a Reply