Disclosure – I received product in exchange for a post for Halloween Decorations made with the Cricut. For your convenience, I have included links to each project and product I used. When you purchase through a link on my blog, I receive a small commission at no extra cost to you. Thank you!
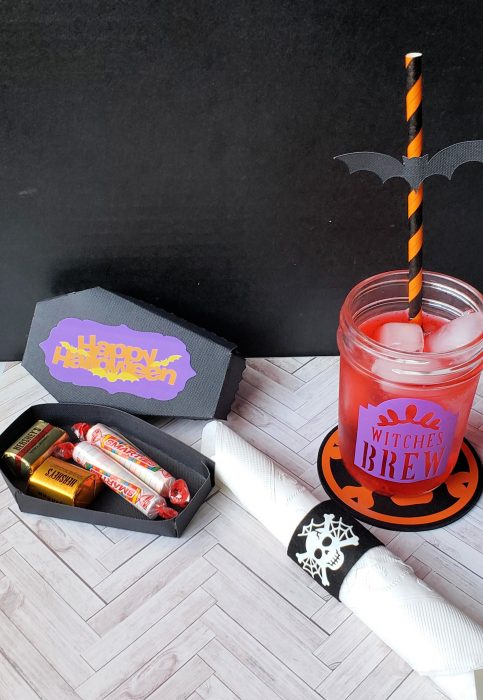
I use my Cricut Maker for all of my crafting projects. My favorite thing about the Cricut Maker is the ability for it to cut out a variety of projects. With the knife blade, rotary blade, scoring wheel, and the fine point blade, any project is possible! I decided to use a variety of mediums and the blades to make all of these Halloween projects that I am going to share with you today!
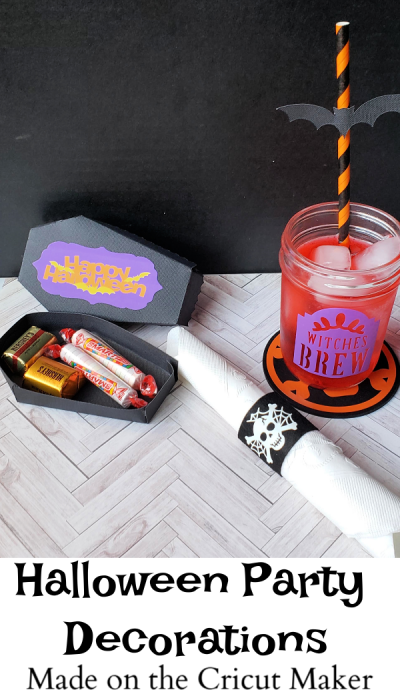
I’m sharing 5 different projects you can feature at your Halloween party this season. I’ll also be sharing the files you can access os you can customize it to your own specifications!
Decorated Halloween Glasses
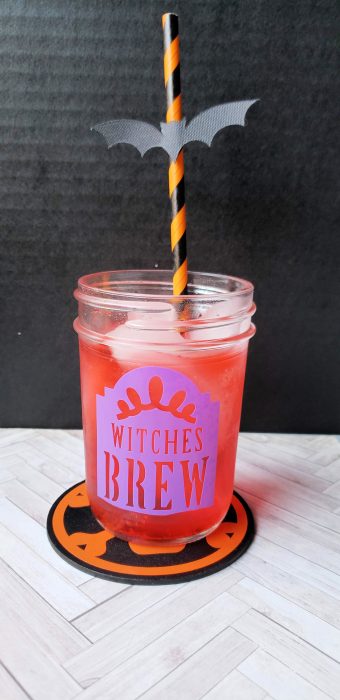
For this project, I used Window Cling which is easy to use and it’s forgiving if you misalign it!
Supplies:
How To:
Cut the file on the window cling. Place the cling on the mason jars then fill with drinks! Cricut actually makes a Halloween bundle of window cling that comes with orange, purple, and black.
Halloween Straws
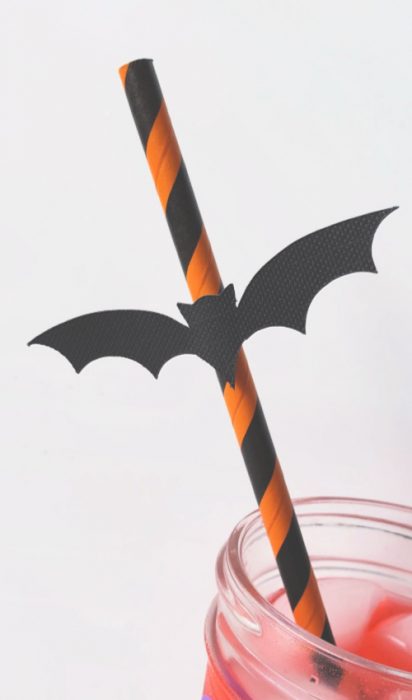
Make your own Halloween straw in less than 5 seconds with cardstock cutouts!
Supplies:
How To:
Cut out the bats and adhere them onto the straws with the foam adhesive.
Halloween Drink Coasters
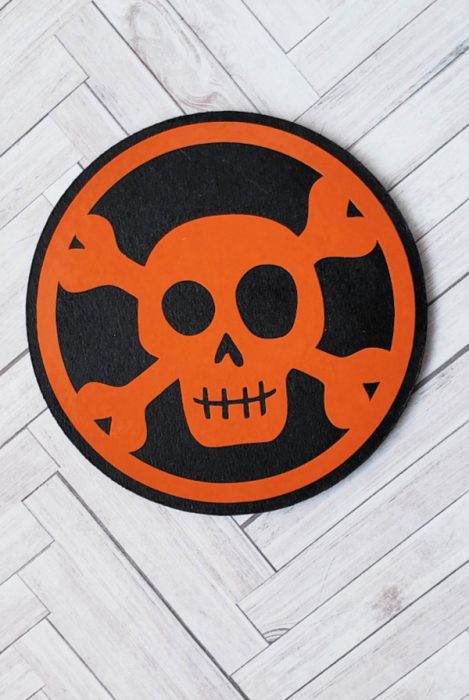
Create these Halloween coasters for your guests to put their drinks on.
Supplies:
- Halloween Coaster file on Design Space
- Knife Blade
- Chipboard
- Black Paint and Foam Brush
- Orange Vinyl
- Masking Tape
How-To:
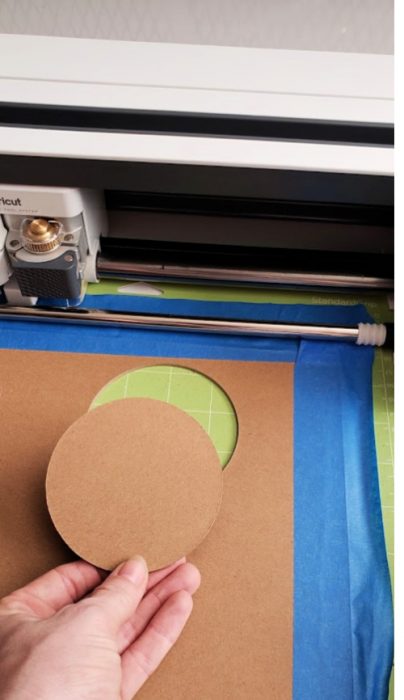
When setting up your chipboard to use with the knife blade, you will want to make sure that you secure the chipboard to your mat. You will want to use a strong masking tape on the sides of the chipboard and the mat. Once your mat is set, you’ll also need to move the wheels on your Maker to the right. Once that is ready, load your knife blade and cut!
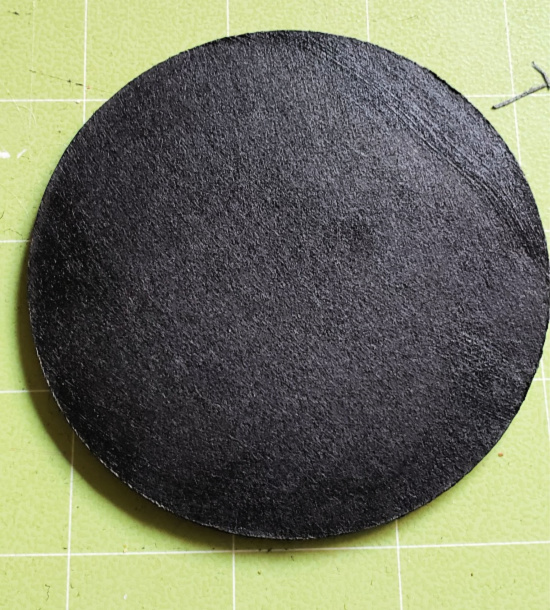
Coffin Treat Boxes
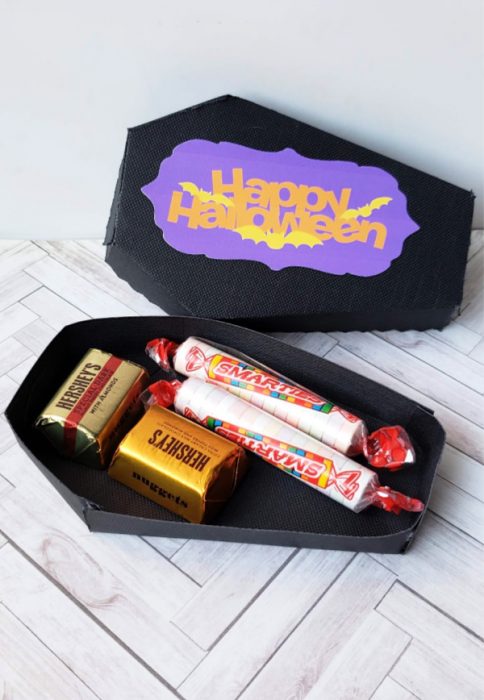
Fill these treat boxes with candies of your choice and use them as party favors at your Halloween Party!
Supplies:
- Scoring Wheel
- Fine Point Blade
- Coffin File on Cricut Design Space
- Black Cardstock
- Adhesive Runner
- Cricut Sticker or Vinyl paper
How to:
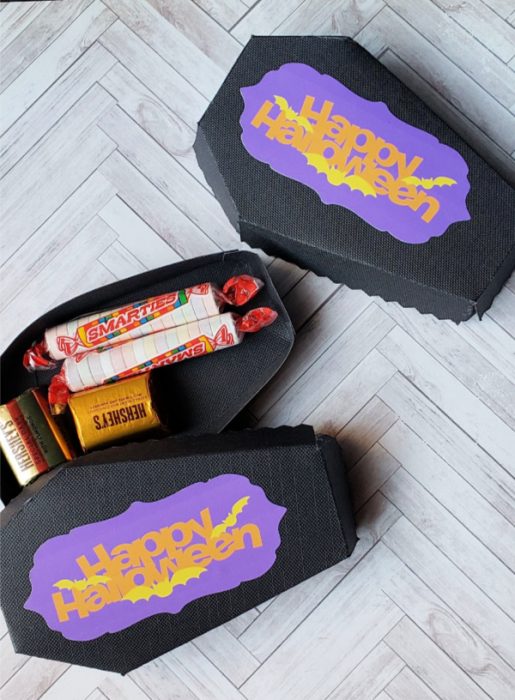
Score and cut out the coffins to the desired size. Print and cut the Halloween stickers on the sticker or vinyl paper. Place the stickers on the top of the coffins and then fold a the scoring lines. Once folded, you can adhere the adhesive to each of the tabs to create the coffins.
Halloween Napkin Rings
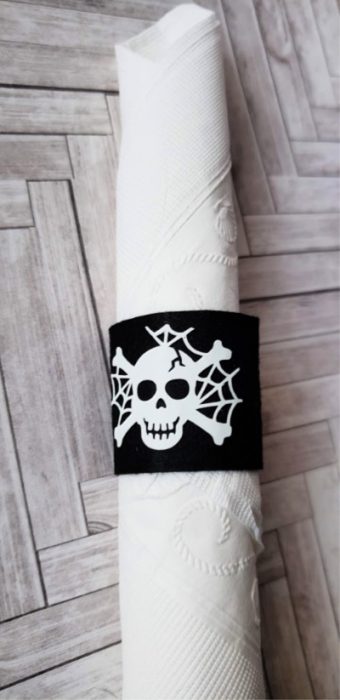
For this project, I used felt which cuts nicely with the rotary blade and the white iron-on goes on easy with the EasyPress 2!
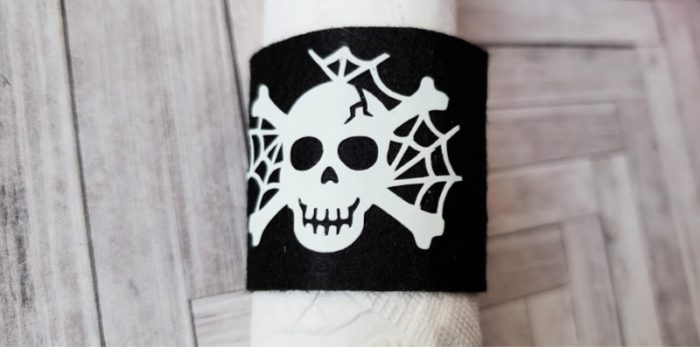
Supplies:
- EasyPress 2 (6X7 inches)
- Black Felt
- White Iron-On
- Glue Gun/Glue Sticks
How To:
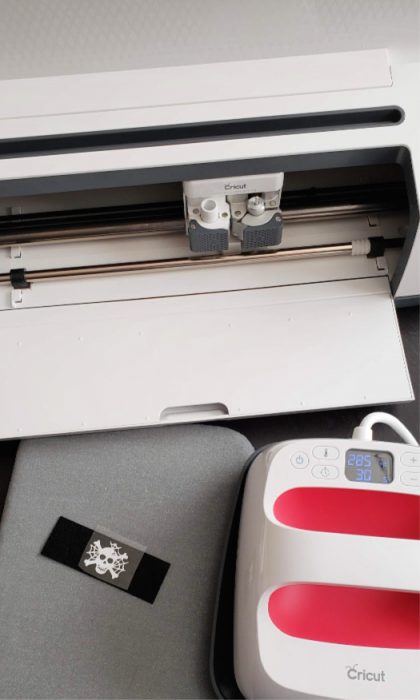
Cut the rectangles out on felt and then the white on the Iron-On. Adhere the Iron-On with the Easy Press.
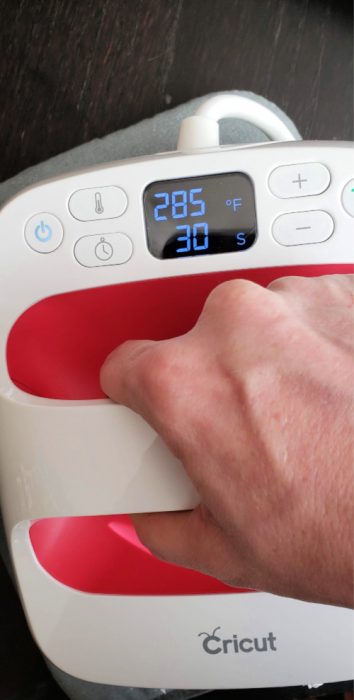
If you are new to the EasyPress, there are now 4 different options! I used the smallest one and it is perfect for these small projects. I found this handy EasyPress PDF that you can print and keep on hand for all of the different materials.
Leave a Reply