These Cricut felt ornaments are very easy to make with your Cricut machine. Make them with your kids, give them away as gifts or use them as gift tags! All you really need is your Cricut and felt!
I do have an extra step here which is lining the back of the felt with Heat n Bond. This is used to adhere fabric to fabric with an iron. However, even though we are not putting two fabrics together, I read that you should have some type of backing on your felt material if you are cutting it. The reason being is that the felt will leave your mat fuzzy if you lay it directly on the mat. The Heat n Bond allows you to lay the felt on a paper backing before you cut it.
Cricut Felt Ornaments
Supplies:
- 1 – 9×12 felt
- Different colored ribbon
- Buttons
- Cricut
- Glue gun
- Heat n Bond
- Scissors
- Iron


How to:
- Line up the felt on the adhesive side of the Heat n Bond. Cut the Heat n Bond to match the 9X12 sheet.
- Iron the adhesive onto the felt until it is adhered to the felt.
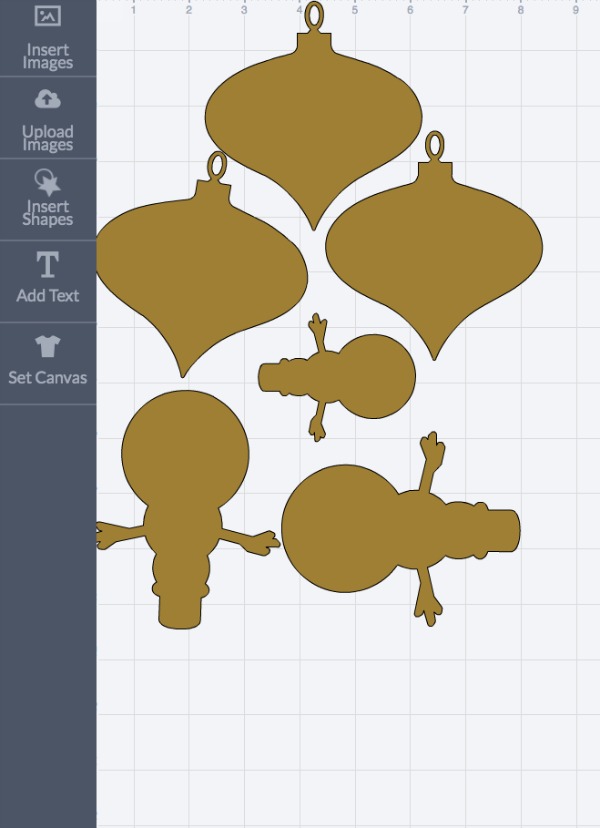
- Set up your graphics on the Cricut. Here’s a link to my layout: https://us.cricut.com/canvas/48916944
- Tip: Be sure to find graphics that aren’t intricate but are basic outlines.
- Tip: Be sure to set your setting to the fabric setting.
- Place the felt with the adhesive paper on top of the mat and load the mat into the machine.
- Cut the felt then remove it from the mat.
- When removing the ornaments, discard the paper backing.
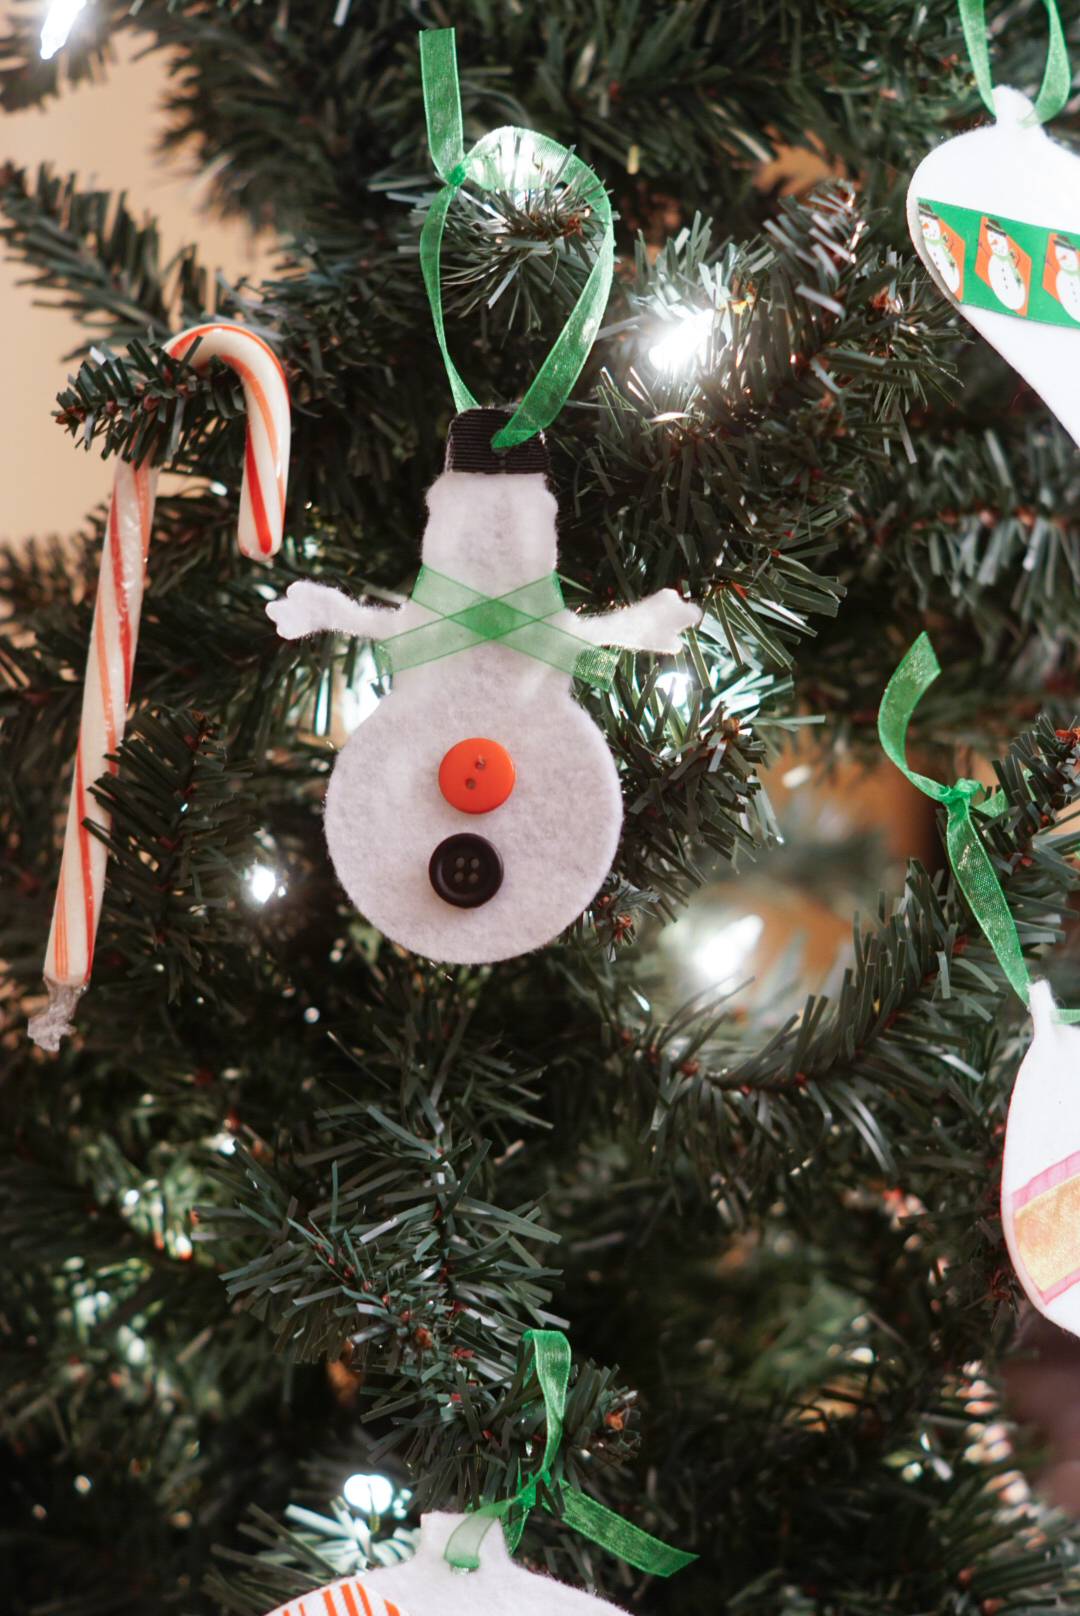
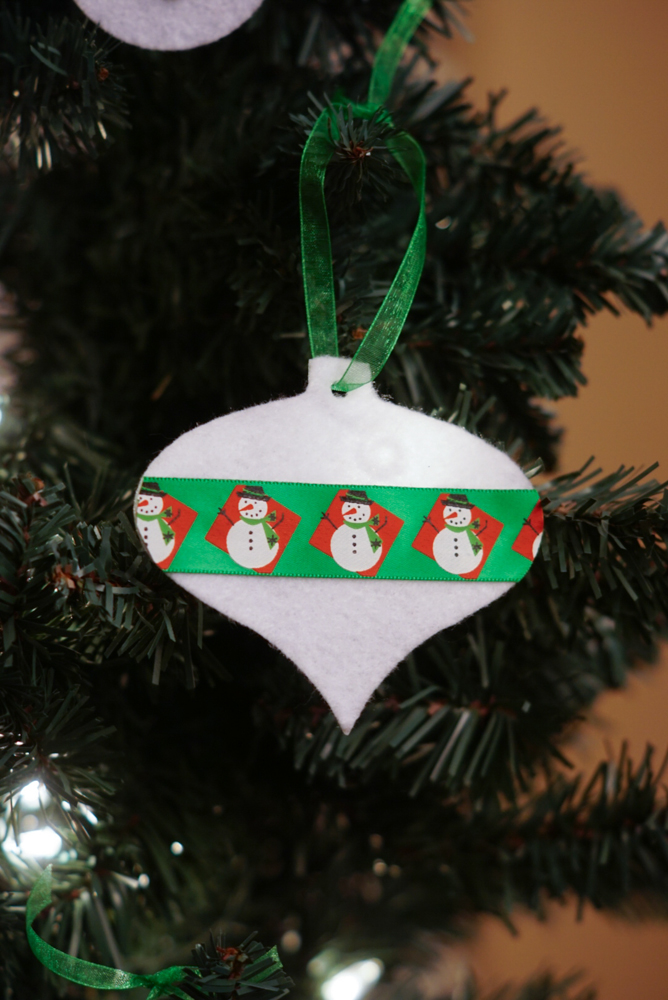
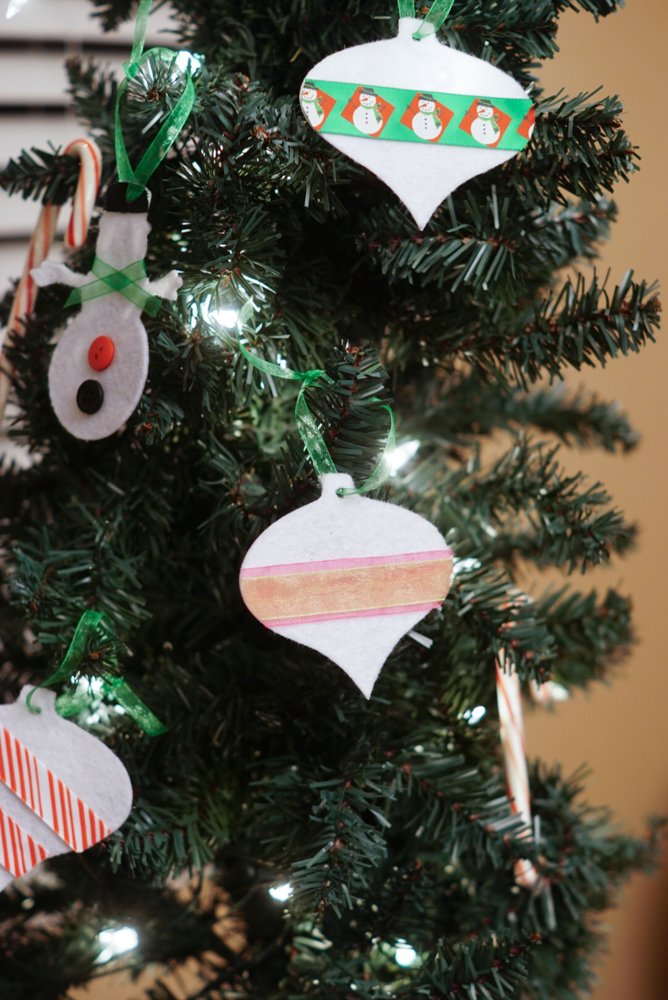
- Decorate the ornaments with ribbon, buttons, and other embellishments.
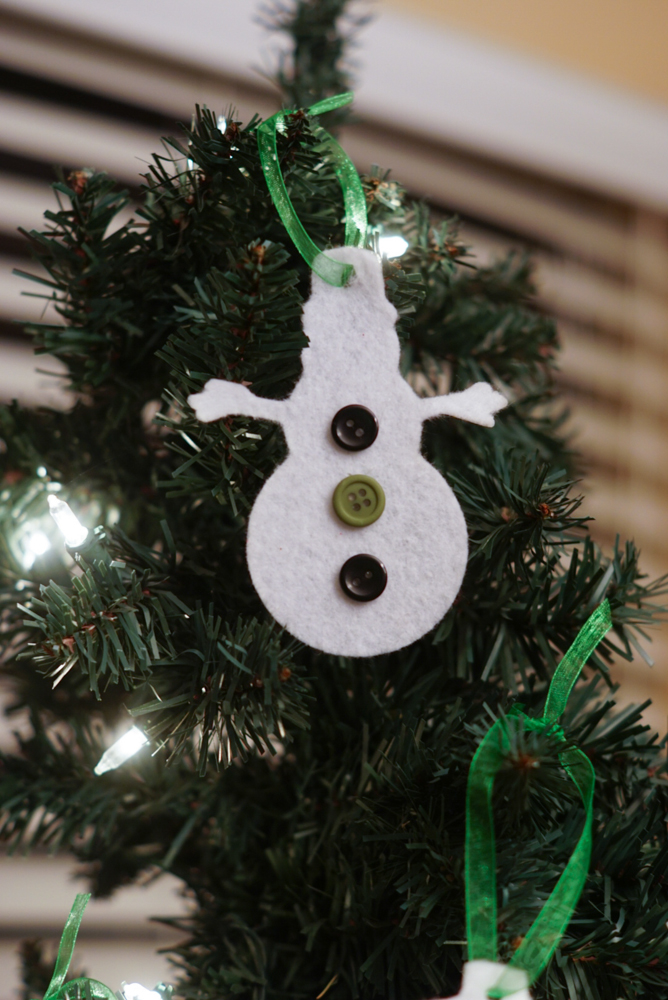
You can also turn these ornaments into gift tags! Simply grab a sharpie marker and write on the back where the adhesive is! No sticky residue so they make a perfect gift tag!
Are you new to the Cricut? Check out our tips and tricks here!

Leave a Reply