
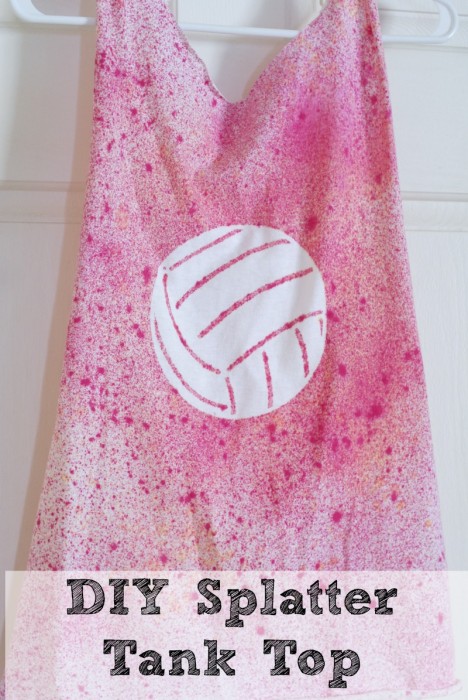
Well, it’s still about a million degrees here in Phoenix. Okay, slight exaggeration but it is still pretty hot here. The bonus to that I suppose is getting to own an unlimited amount of tank tops and flip flops to wear all year round. Since tank tops seem to pretty popular, I decided to create one for the Clever Teen out of a plain white t shirt I had lying around. I first imagined this as a swim suit cover up but really, it could be worn anytime. Since her main passion is volleyball, I decided to make her a volleyball tank top that she could use for practice.
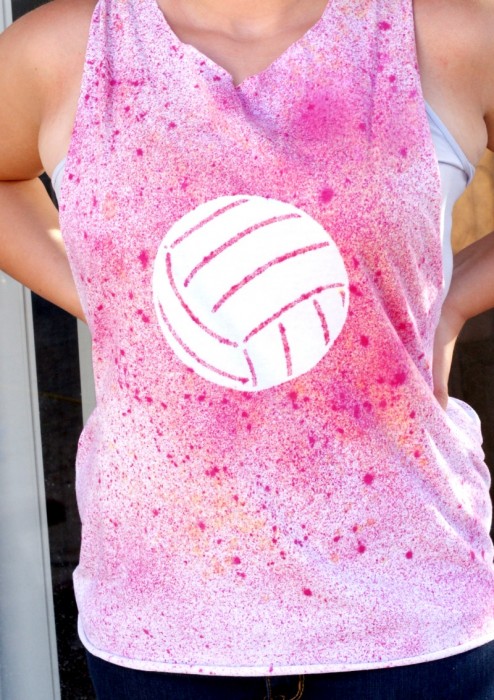
Do you ever have one of those ideas that you think would be really awesome then you craft it up and it doesn’t work? I really worried about that with this but it worked beautifully! The star of this shirt is of course, the volleyball stencil.
I made this stencil with the Cricut Explore Electronic Cutting Machine. I actually just received this last week and couldn’t wait to create something. I will tell you this machine is pretty amazing. The software is extremely easy to use and the machine cuts beautifully.
I used a volleyball from the image store and sized it based on my canvas which was a T shirt. I cut this out on white vinyl and it took less than 60 seconds to cut and transfer to the shirt.

I cut it out on white vinyl and used it for a stencil on the shirt.
T-Shirt Turned Volleyball Tank Top
What you’ll need:
- White T Shirt
- Scissors
- Fabric Dye (I used some of my stash from my tie dye wreath http://cleverpinkpirate.com/2014/07/16/tie-dye-summer-wreath/)
- Spray Bottle
- Pencil
- Tape Measure
- Cricut (I used my new Explore machine)
- Vinyl
How To:
- Cut out the Volleyball onto Vinyl on the Design Space software.
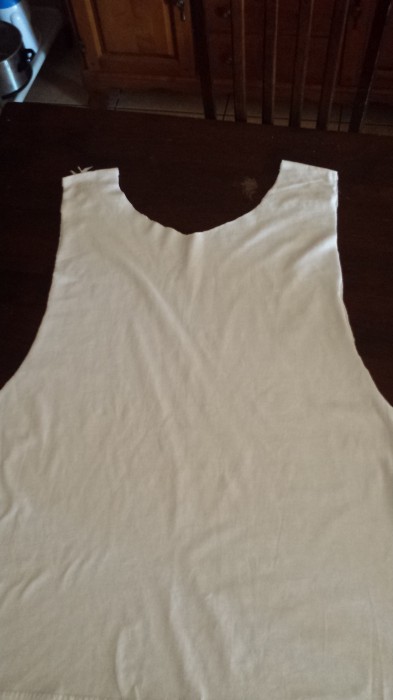
- Wash & dry your T shirt, then lay flat.
- Fill your spray bottle with the colored fabric dye.
- Measure out 2 inches at the color and make pencil marks around the entire collar.
- Fold the shirt in half, matching the sides evenly.
- Carefully cut around the collar while the shirt is folded, making sure the shirt stays lined up.
- Take the pencil and measure out approximately 10 inches from the end of the sleeve along the top of the shirt.
- Draw a line in a curved circle a little more than half the way down. How far you draw it depends on how big you want your sides to open up.
- Fold the shirt in half, then cut down the drawn line. Now you will have your tank top.
- Adhere the vinyl cut out (in this case, the Volleyball). Be sure to press down tightly to ensure the dye doesn’t leak.
- Spray the dye with the spray bottle onto the front of the shirt. Try not to get too close but keep spraying until the shirt is covered. Make sure around and on the stencil is fully splattered. Before spraying, be sure to line your work space with paper towels.
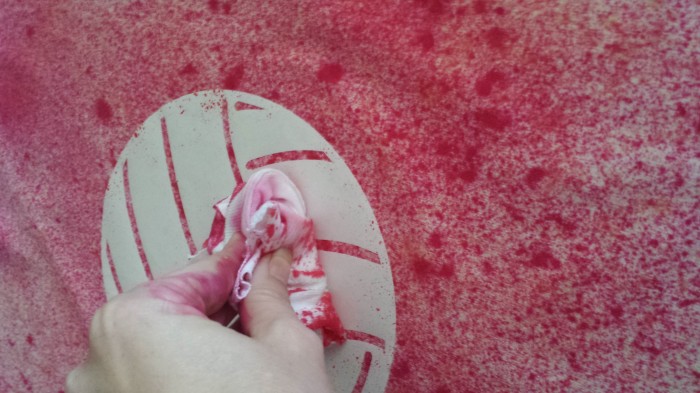
- Once the front is dry, blot the stencil then remove. Turn it over and place a cardboard or other hard substance in between where the stenciled picture is so the dye doesn’t bleed through. Spray the balk of the shirt and allow to dry.
- Cut the seam off the bottom, just above the hem line.
- Take a strip and tie it in the back of the razor back. Cut off the ends, having the knot in the inside of the shirt.

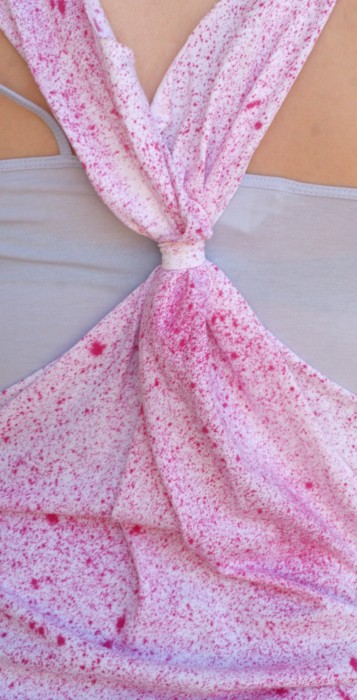
Here is the no-sew back, just tie the cut off seam to it!
Tips:
- I found a traditional vinyl worked best for the stencil. I found duck tape sheets while great on the machine, don’t work well for stencils.
- Allow the shirt to dry for approximately 1 hour before removing the stencil.
- Rinse your shirt under very cold water until it runs clear, before washing.
Disclosure: I am partnering with Cricut for the Design Star Contest, all projects and opinions are my own. There are affiliate links listed within this post, these links help support CleverPinkPirate.com. Thank you!

This turned out awesome!!! 🙂
Thanks, Sara!