This is a sponsored post with Tulip One-Step Tie-Dye. All opinions are my own.
The other day I was shopping with the Clever Teen for back to school supplies ( I know, already) and she pointed to a backpack she thought was cute. She had pointed to a tie dye one and I thought she meant another one. So when I tried to clarify, she said that she meant the tie dye one and this trend was in. It’s so hard to keep up with what’s in and what’s not, which is a bonus to having a teen! I remember having so much fun creating tie dye shirts when I was younger (in the 80’s to be precise) and I should have known this trend would be in again!
Since she showed an interest in tie-dying, I told her that I had some Tulip Tie Dye kits and she was excited to help come up with some designs for shirts and a fun craft.
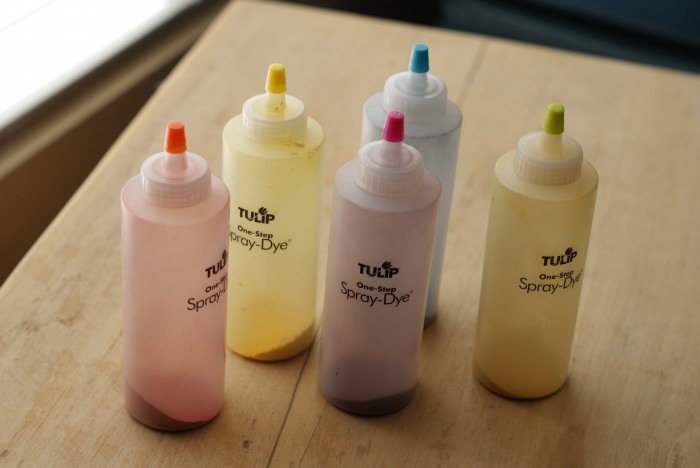
The Tulip Kits we received made the tie dying easy! Kids can easily make their own creations and you don’t need a lot of space. Plus the easy clean up makes it great for moms! I highly recommend the large pack with all of the colors, it comes with gloves, plastic wrap, rubber bands and of course a wide variety of colors. This pack has enough dye to color 36 projects!
What’s cool about these kits is you just add water for beautiful bold color! Dyes are permanent and color-fast, so they won’t fade in the wash. You can also purchase refill powders so you can keep the bottles.
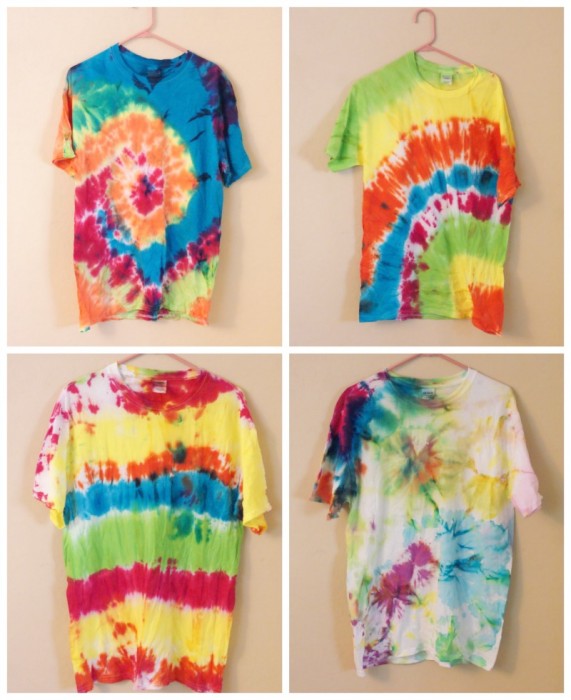
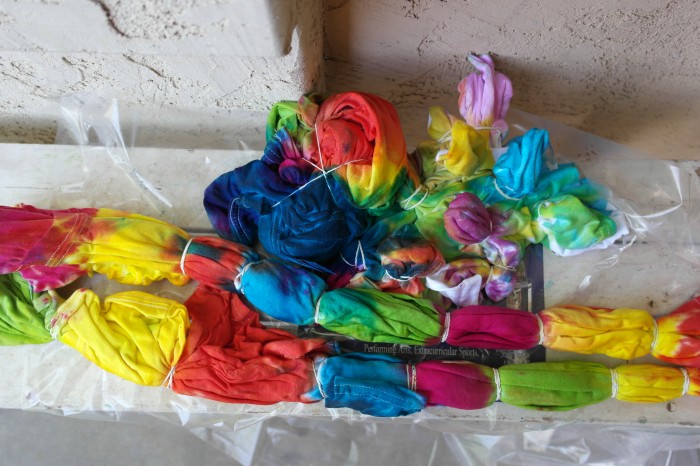
Check out these fun shirts we made!
My favorite is the first one which is the spiral, how cool does that look?! The second one is one we created by wrapping the shirt diagonally. The third one is a straight edge and the last one is one we created by pulling up different sections of the shirt.
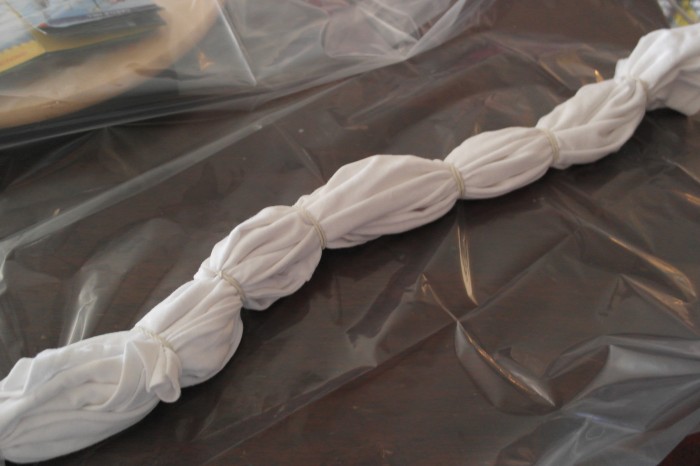
Step 1: Use the rubber bands to start the design process. These kits from Tulip come with instructions for many different ways to create a shirt. For this one, I did a straight across design.
Step 2: Spray a color on each section. Be sure not to drip any colors on other sections.
This is the spiral tie dye shirt and it was probably the easiest and coolest looking!
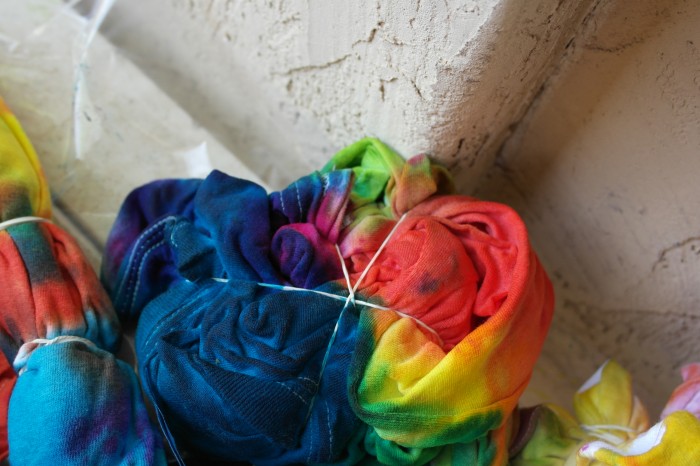
Step 3: Wrap the shirt in the plastic drop cloth and allow it to dry.
I put them on the front porch to dry a little faster. After about 8 – 12 hours, take the rubber bands off and allow the shirt to fully dry.
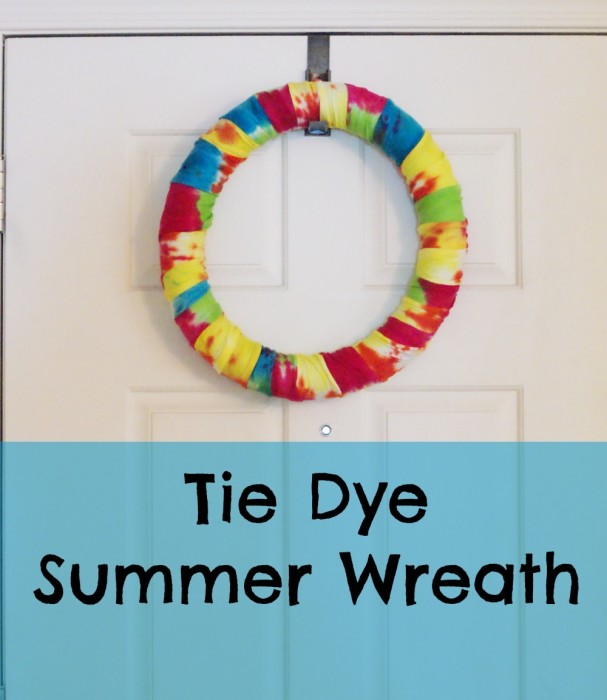
Tie Dye Noodle Wreath
What you’ll need:
- Tie Die Shirt, cut into strips
- Pool Noodle
- Hot glue gun
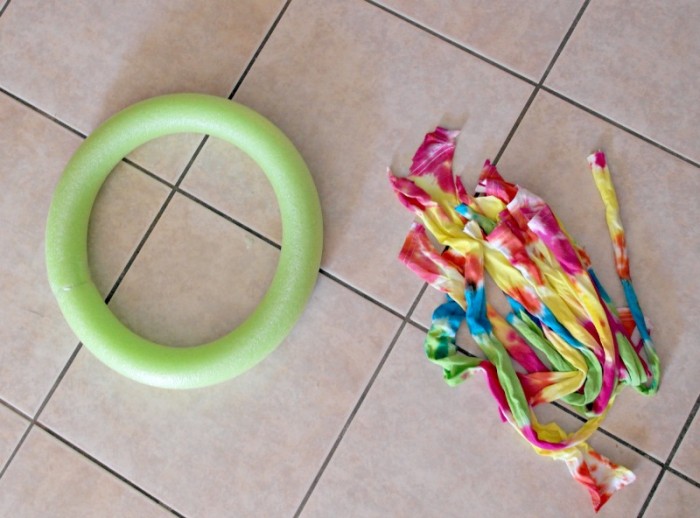
Cut the T shirt into lengthwise strips. To assemble the noodle as a wreath, just pull both ends together and tape together with heavy duty packaging tape.
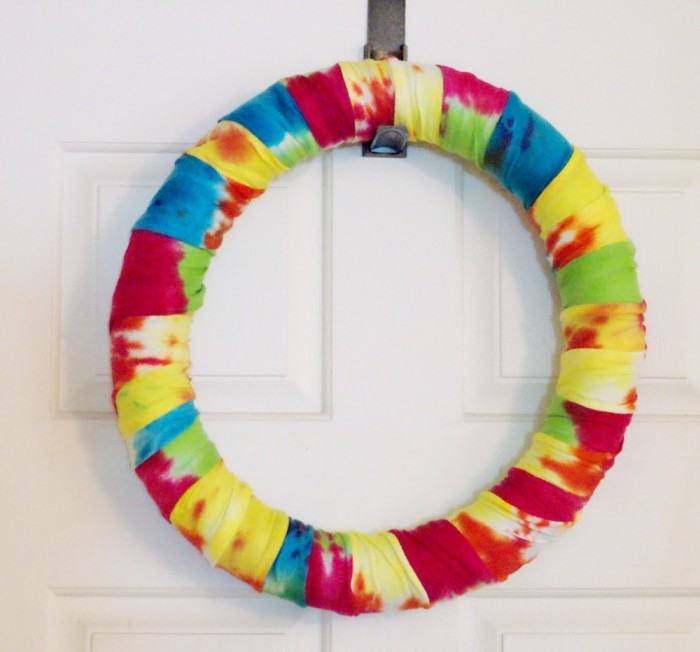
Start assembling the wreath by placing the end of one strip and hot gluing it to the back. Start wrapping the wreath diagonally and when the strip ends, make sure it ends on the rear of the wreath so it does not show. If there is extra inches, cut them off then hot glue the end.
Repeat this process until the wreath is fully covered.
Tips for tie-dying:
- Tie dye projects are perfect for plain white t shirts or even t-shirts you have lying around that could use a makeover!
- White cotton is the best and if you plan on wearing it as a shirt, be sure to wash and dry it before starting your project.
- Be sure to use the gloves or you’ll get pretty tie dye hands like these.
Check out more projects:
-
Facebook: facebook.com/lovetocreate
-
Twitter: twitter.com/ilovetocreate
-
Pinterest: pinterest.com/ilovetocreate
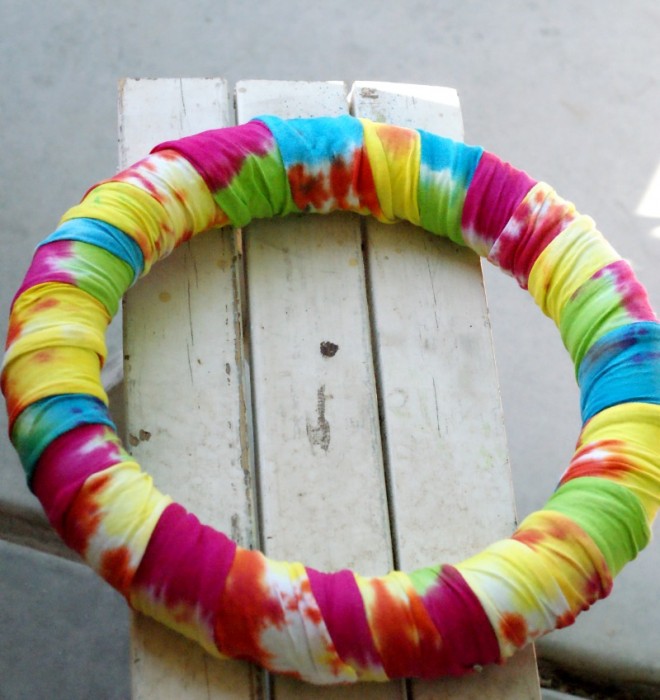
This is so cute! I love this for the in between holiday times when your door is naked.