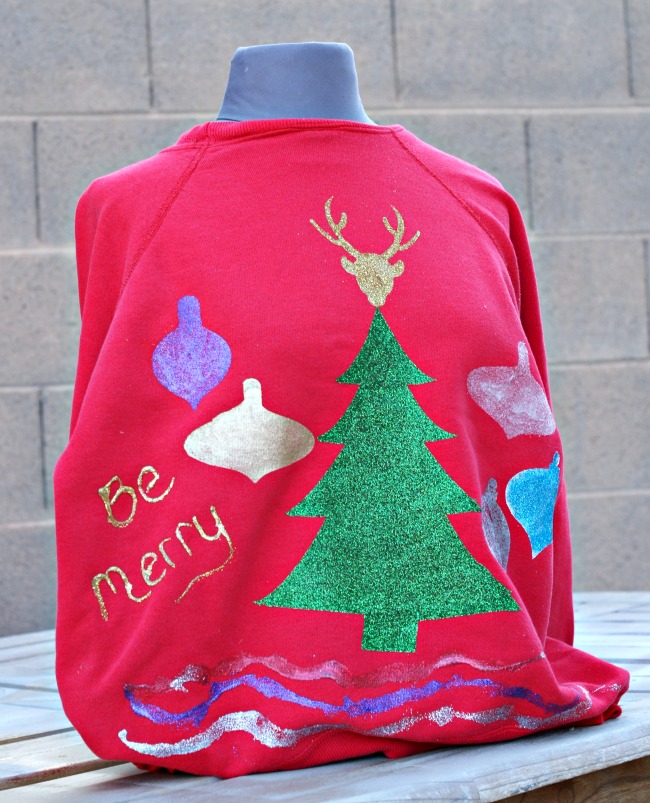
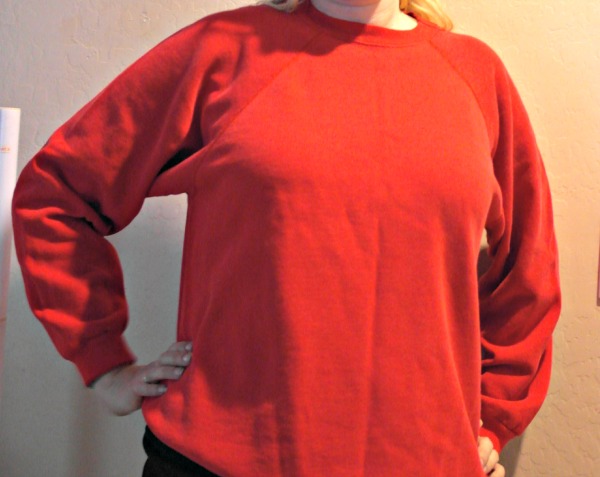
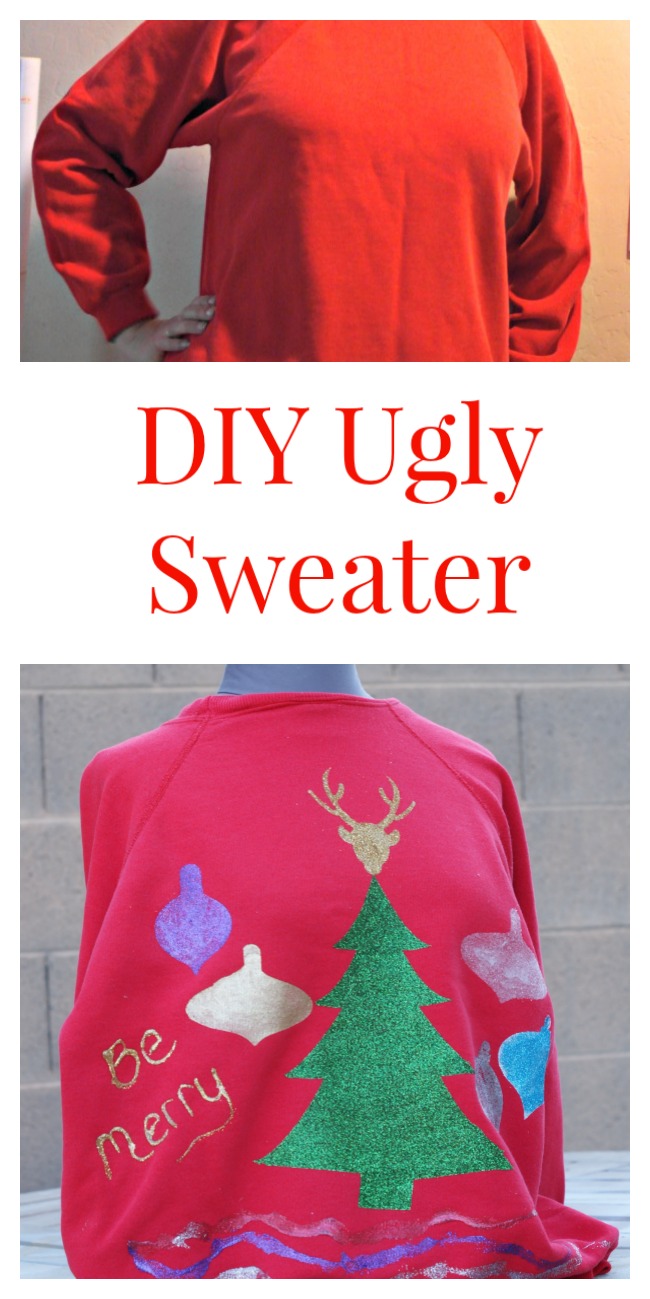
I really enjoyed all of these products. The Fashion Glitter Bond was easy to use with the glitter. The vinyl was easy to adhere and the brush on paint was perfect for the sweatshirt. Here is my before:
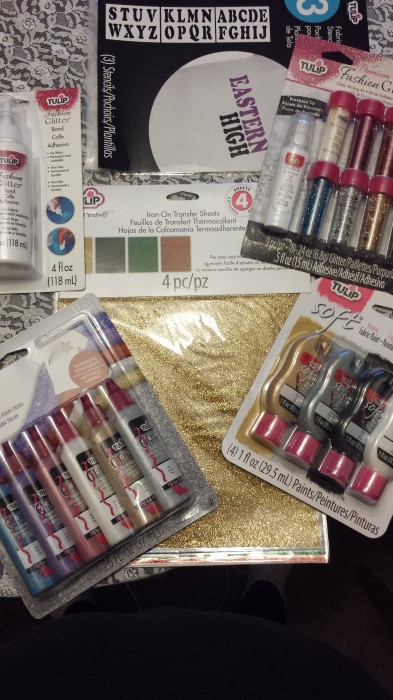
- Sweatshirt from Goodwill
- Tulip Glitter Iron On Transfer Sheets
- Tulip Fashion Glitter
- Tulip Soft Paint
- Tulip Glitter Dimensional Fabric Paint
- Freezer Paper
- Cricut Explore
- Iron
How To:
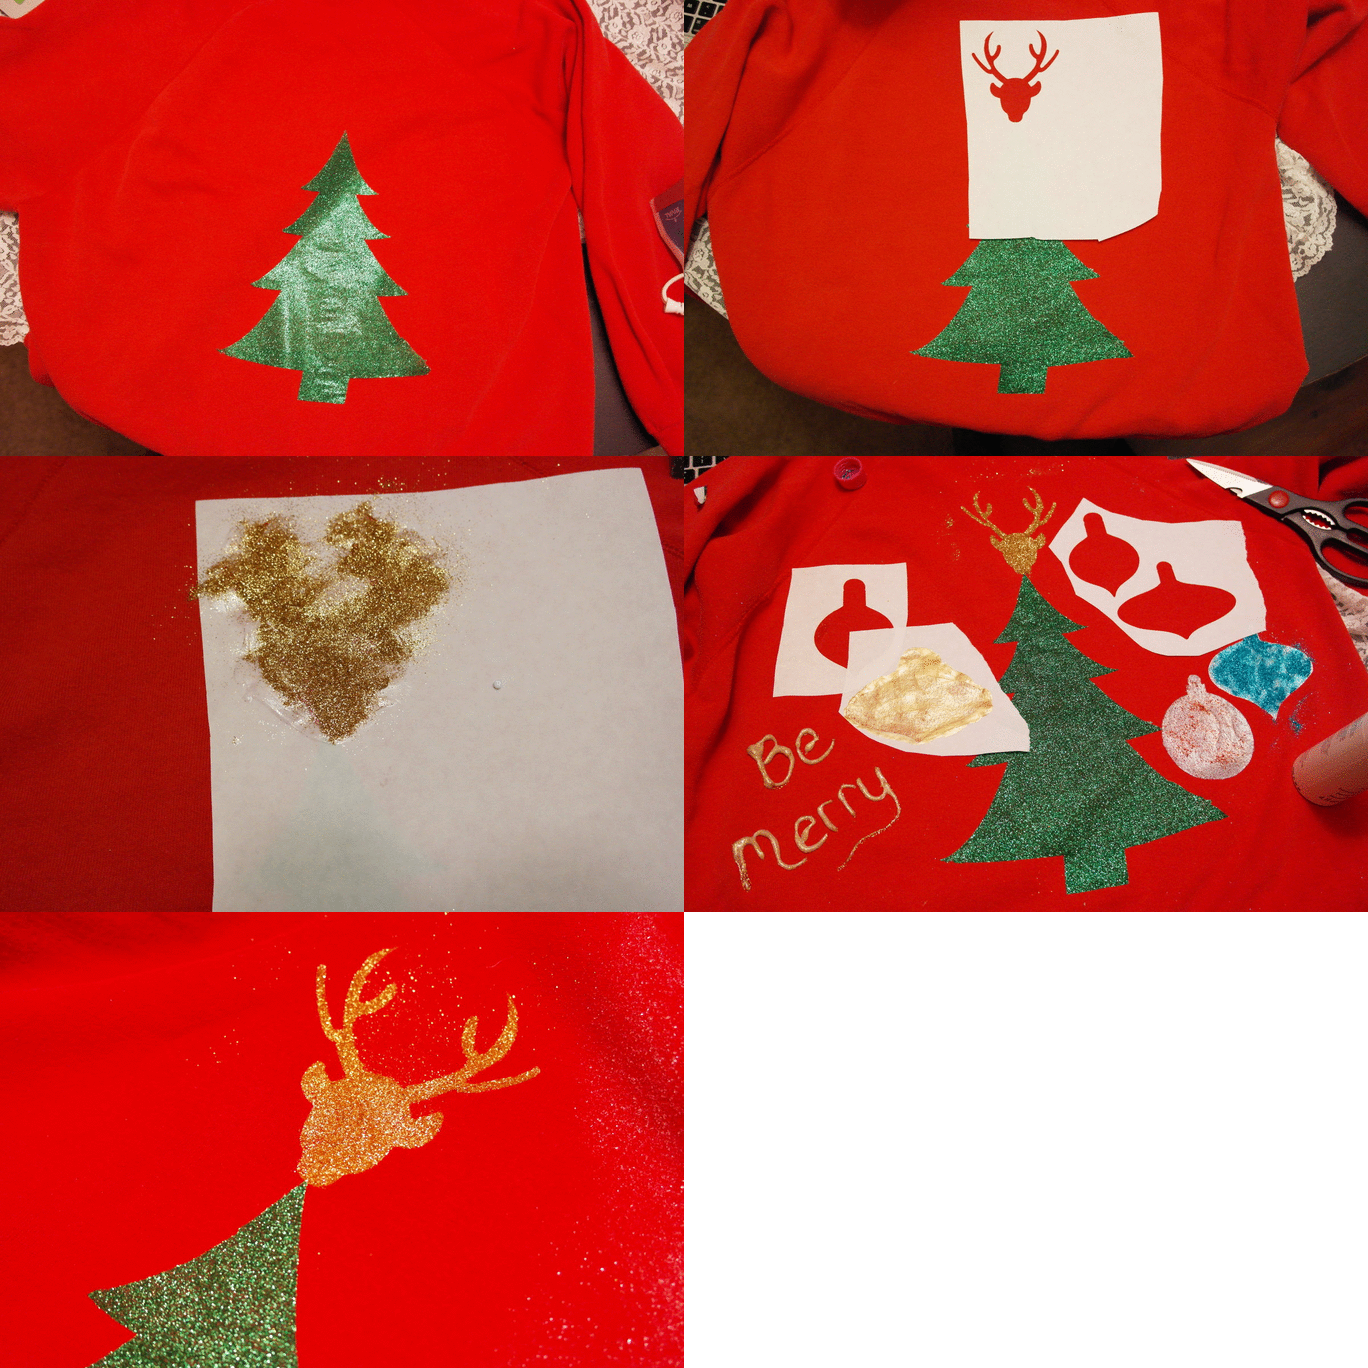
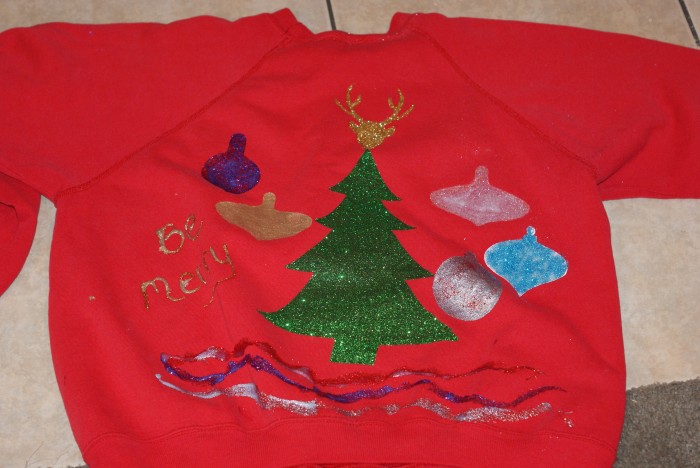
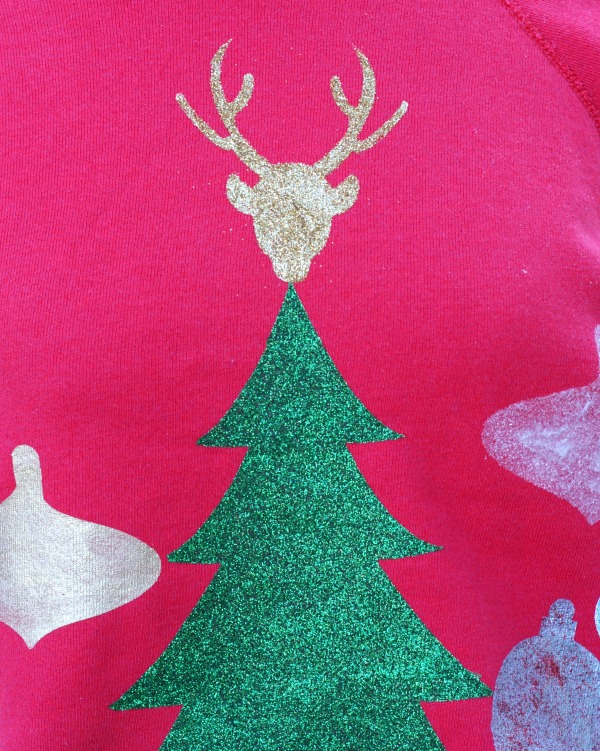
- I cut the green glitter vinyl sheet on the Cricut Explore into a Christmas tree. I cut these on the “Iron On” setting, this one worked perfectly.
- I then cut ornament shapes on freezer paper on the Cricut Explore.
- I started with the green tree and ironed it onto the sweatshirt. This was pretty easy to adhere to the shirt.
- I took the deer head stencil and ironed it onto the top of the tree. I then took the glitter glue and spread it throughout the stencil. I topped it with the gold glitter and let set for about 3o minutes. I removed it carefully to include any extra glitter.
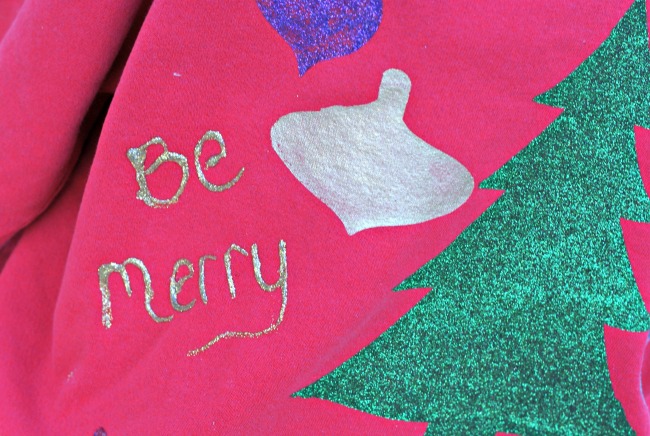
- I then wrote out “Be Merry” in gold glitter.
- I finished by ironing on the ornament stencils to the sweatshirt. I filled them in with the different glitters and paints.
- I finished with some glitter paint accents towards the bottom.
My biggest tip is to be patient while the paint dries, plan on making your sweater at least a couple days before.
Find more inspiration for projects with I Love To Create here http://bit.ly/ILTCholidays
Follow them on Facebook, Twitter and Pinterest too!
Have you made an ugly sweater for a holiday party?
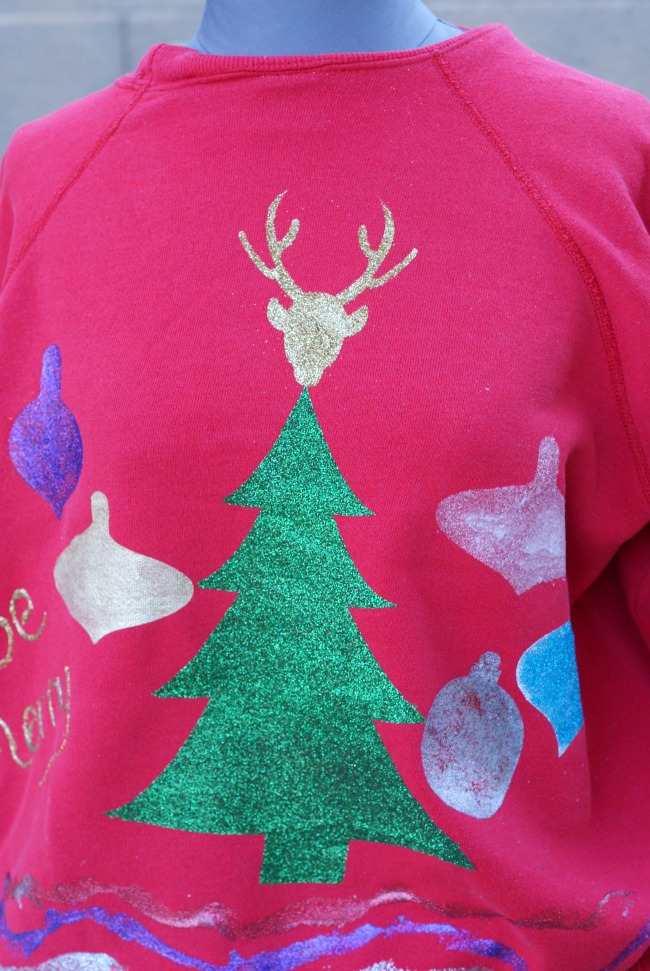
Love your ugly Christmas sweater!!!