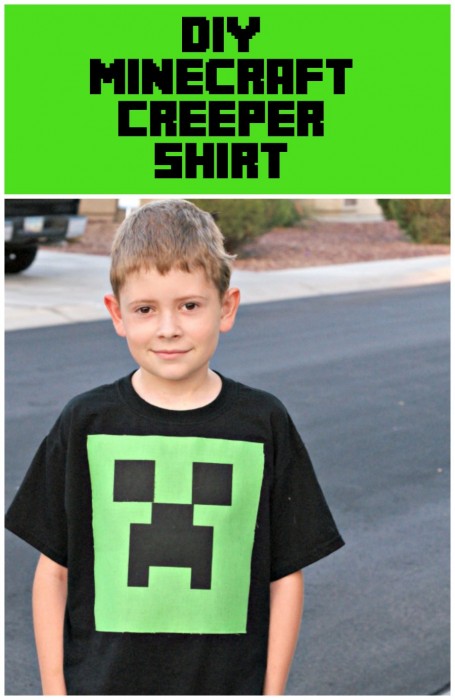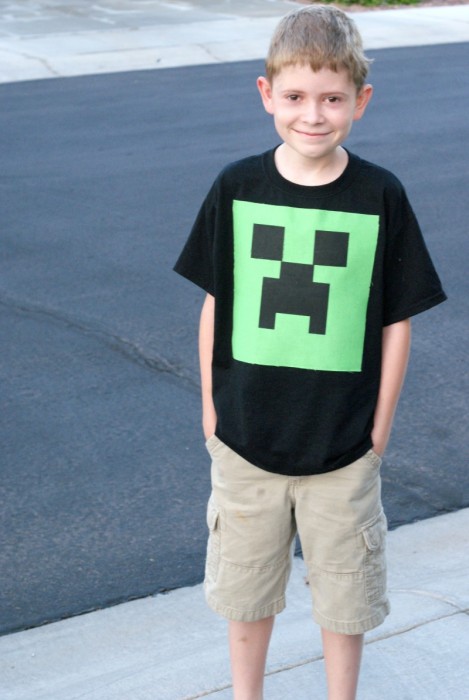
Okay, where are the Minecraft fans at (or Minecraft Moms if you will)? Clever Guy loves it so I am taking over Clever Guy Friday with a fun shirt moms can make! Bonus, it’s super easy.
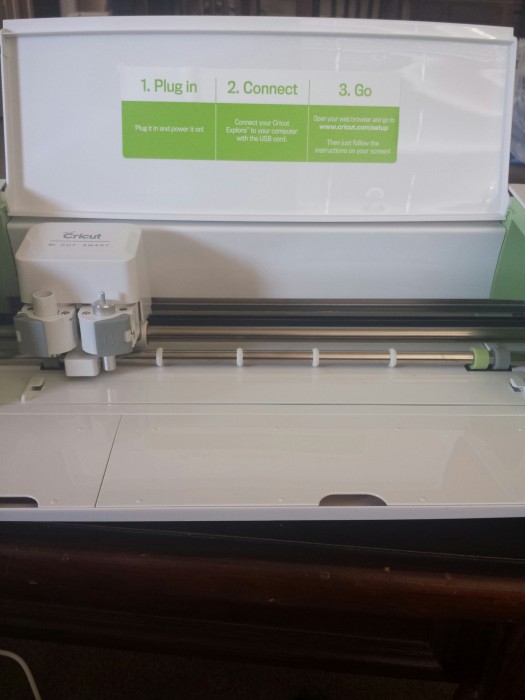
So it’s official, I have fallen in love with this Cricut Explore machine. I’ve already started so many projects with it and it’s only been out of the box for a week!
Here are the biggest things I am lovin about the Cricut:
- Easy to use software and I can import any image to make a cut!
- Cuts perfectly!
- Has multiple settings for everything from paper to fabric.
- It has a quiet purr, if you have any other cutting machine you know how nice this is.
So let’s get down to business and talk about how to make this shirt!
DIY Minecraft Creeper Shirt

What you’ll need:
- Black T Shirt (if you are starting with a brand new one, be sure to wash it first. Just a tip, this was around $3 at Walmart in the craft section)
- Green Fabric
- Black Fabric
- Cricut Explore
- Heat’n Bond Adhesive
How To:
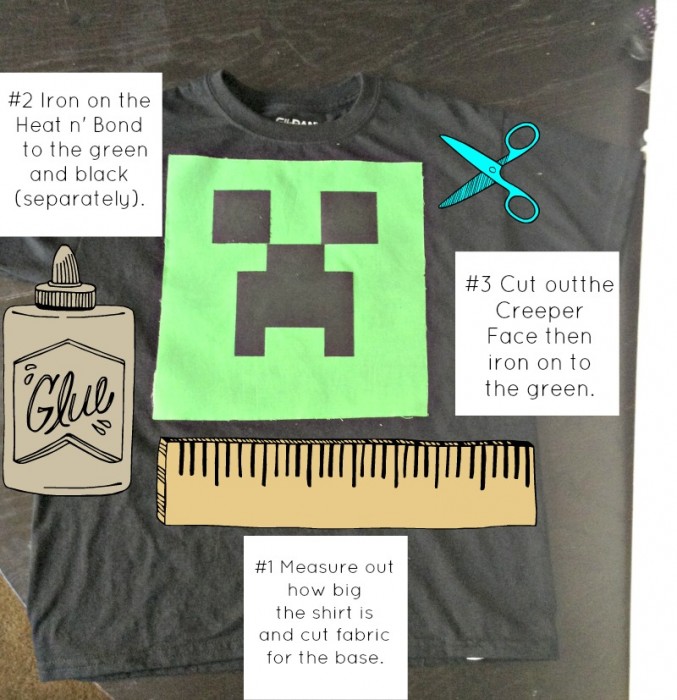
- Take the shirt and measure out where the base should sit. I would do it about 4 inches from each side seam.
- Cut out the base (green fabric) to a perfect square. Iron on the Heat n’ Bond to the back of the square. Do not remove the back paper just yet.
- Take the black fabric and measure out how big you want the face to be. Cut it into a rectangle then iron on the Heat n Bond. Remove the back paper.
- Create the Creeper face in the Cricut Design Space software. I can tell you that I was able to import an image to use as a tracer to create the face. It was super easy!
- Place the fabric adhesive side down on the mat and cut out the face.
- Remove the pieces and assemble the face on the green fabric. Carefully iron them down.
- Remove the paper from the green adhesive then iron it on to the shirt.
This took me less than an hour to create and less than $5! Perfect for a party or for everyday wear! You can cut this all out by hand if you would like but the Cricut makes this project so much faster.
If you are wondering what Heat n’ Bond is, don’t worry I was there a couple weeks ago. Basically it’s an iron on adhesive that you iron to apply to both the front and back of fabric. It’s super easy to use and the roll will last you a long time!
Have a question? Please ask in the comments or email me, I am happy to help!
Disclosure: There are affiliate links listed in this post. Affiliate link purchases help fund CleverPinkPirate.com and keeps the projects coming so thank you for supporting our blog!


I love that you have so many boy friendly projects on your site 🙂 Pinned!