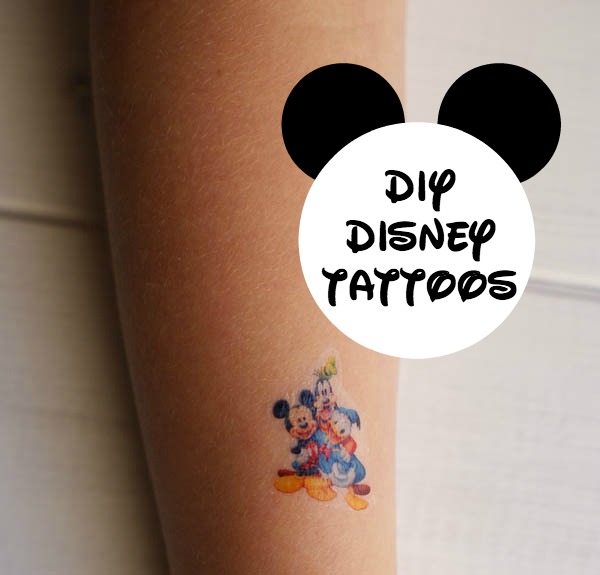
The countdown is on until we head to Disney World! I’ve done a lot of research on where to eat, where to stay and what to do while we are there. One of the most important things about heading to a Disney park is saving money when you can. We’ll be sharing our travel details over the next few months but first I plan on sharing Disney DIYs like these temporary tattoos you can print yourself! I had seen the temporary tattoo paper you could print on and wasn’t sure how it would work. I read the reviews on Amazon and while it seemed a little price at around $4 per page but in the end it is well worth it to be able to print your own tattoos!
These Disney Character tattoos are a perfect novelty to bring with you on your trip to Disneyland or Disney World or even if you are having a Disney party!
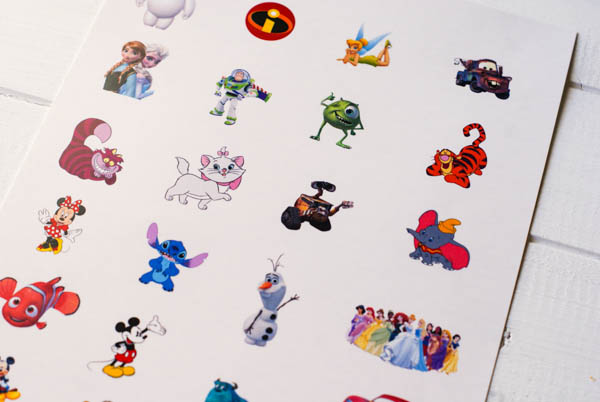
DIY Disney Character Tattoos
What you’ll need:
- Printer
- Printable Temporary Tattoo Paper
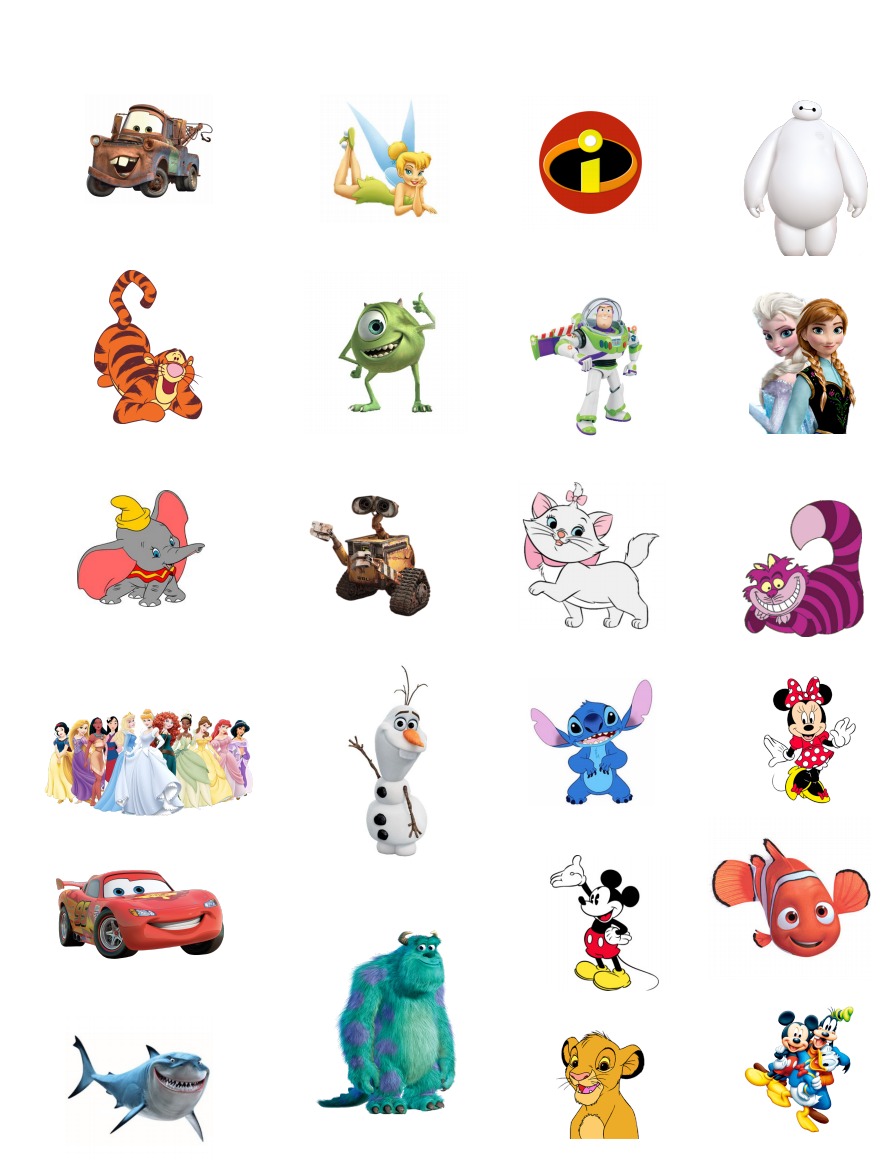
You can access and print the tattoos here:
https://docs.google.com/document/d/107COHGKXri6S38AYE_eyl980CQEVRsEGbkWcErMjIQ0/edit?usp=sharing
Tips:
- Print a test page before putting the tattoo paper in to make sure you will know how to load Load the glossy paper into the machine face up.
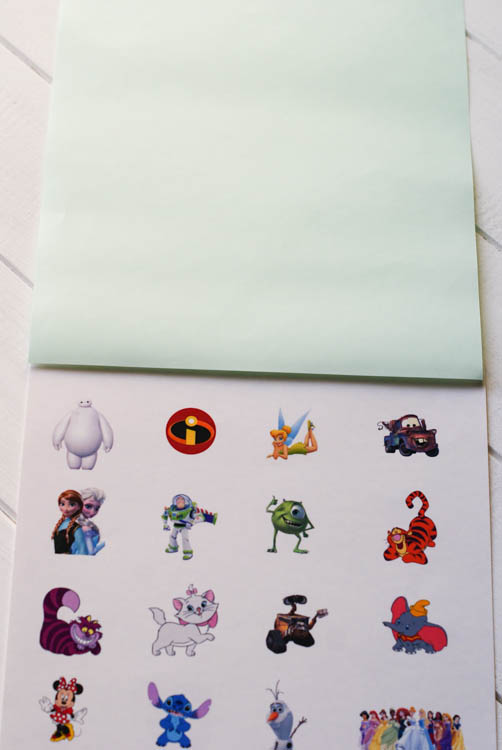
- Line up the green plastic from the top, gently peel the the plastic off and slowly smooth out the plastic.
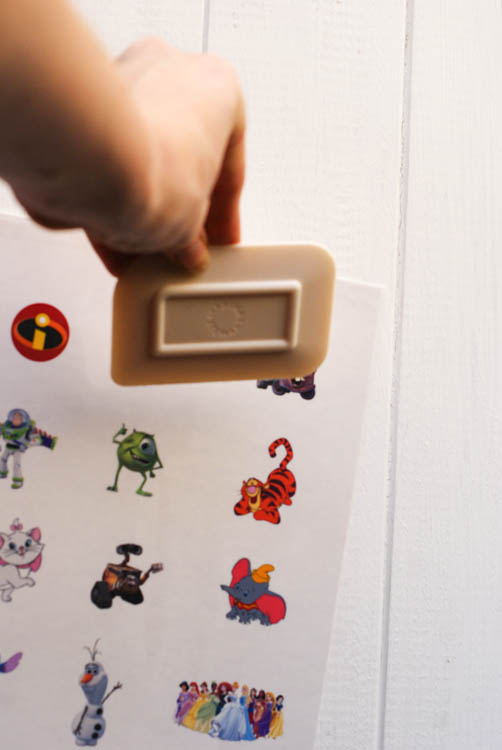
- Use a credit card or a scraper to smooth out the top sheet.
- Cut the tattoos close to the image because what transfers is the sticky portion of the tattoo.
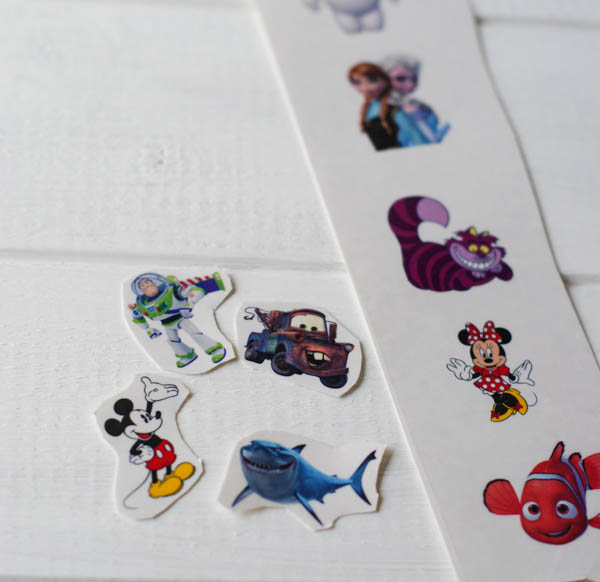
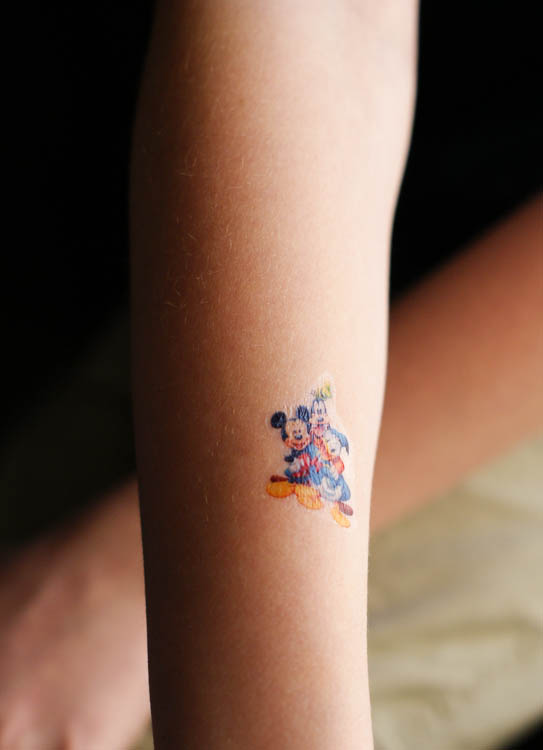
The great thing about this tattoo paper is it’s easy to use and it comes off easily.
Leave a Reply