I just introduced Clever Guy’s Mad Science Party here: http://cleverpinkpirate.com/2012/05/22/mad-science-birthday-party-the-party/ , today I am sharing the experiments and resources that I used and found to make this party successful. I know there are centers that offer to come and do the science party but honestly, I loved putting this together!
Looking for where to buy mad science items for your party? Check out this Amazon list I put together!
http://cleverpinkpirate.com/2014/03/05/mad-science-party-items-amazon-com/
Resources:
Sites: I used sites like About.com, http://www.stevespanglerscience.com/ and http://www.ScienceBob.com to find ideas. If I found something somewhere else, I give credit below!
Supplies: I planned this party for about a month and looked high and low for the experiments and equipment. I lucked out and went cheap on the experiments(see below) and I looked online and at a few chemistry stores for equipment but good lord flasks, beakers etc are expensive! If you are in Phoenix, I will tell you about a hidden gem that has just about everything for hobbyists, chemist and more. This is actually a friend of my dad’s store. His name is Danny and the store is Apache Reclaimation and Electronics. This store is really neat whether you are a little boy into putting things together or you are building a Steam Punk craft. In fact when I was in there, a guy had come in saying he was looking for some cool gauges to put in his kids tree house and he had them. It’s really a neat store and he is very nice, tell him you are putting a party for your kid together and he will give you a super deal. You will not regret going here. The address is 313 W. Apache (in downtown/central Phx area).
Polymers
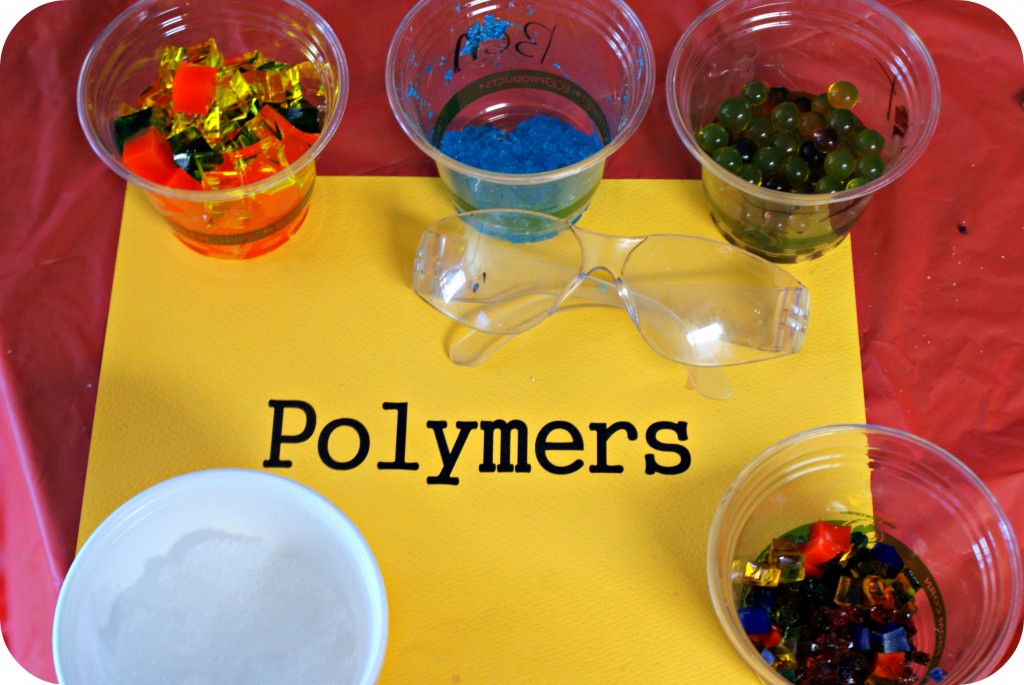
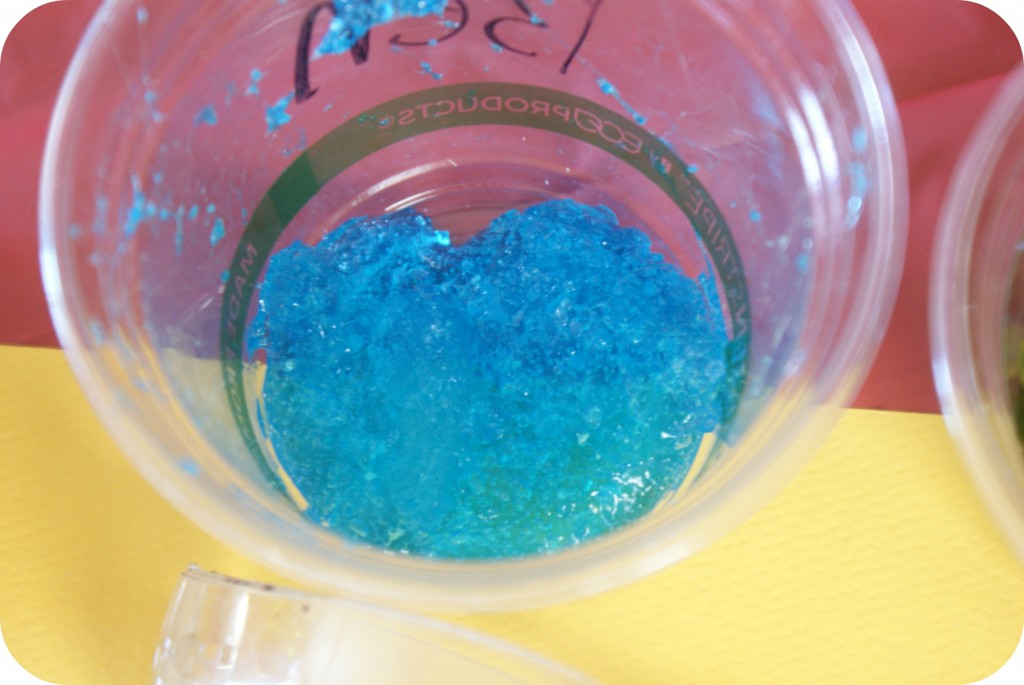
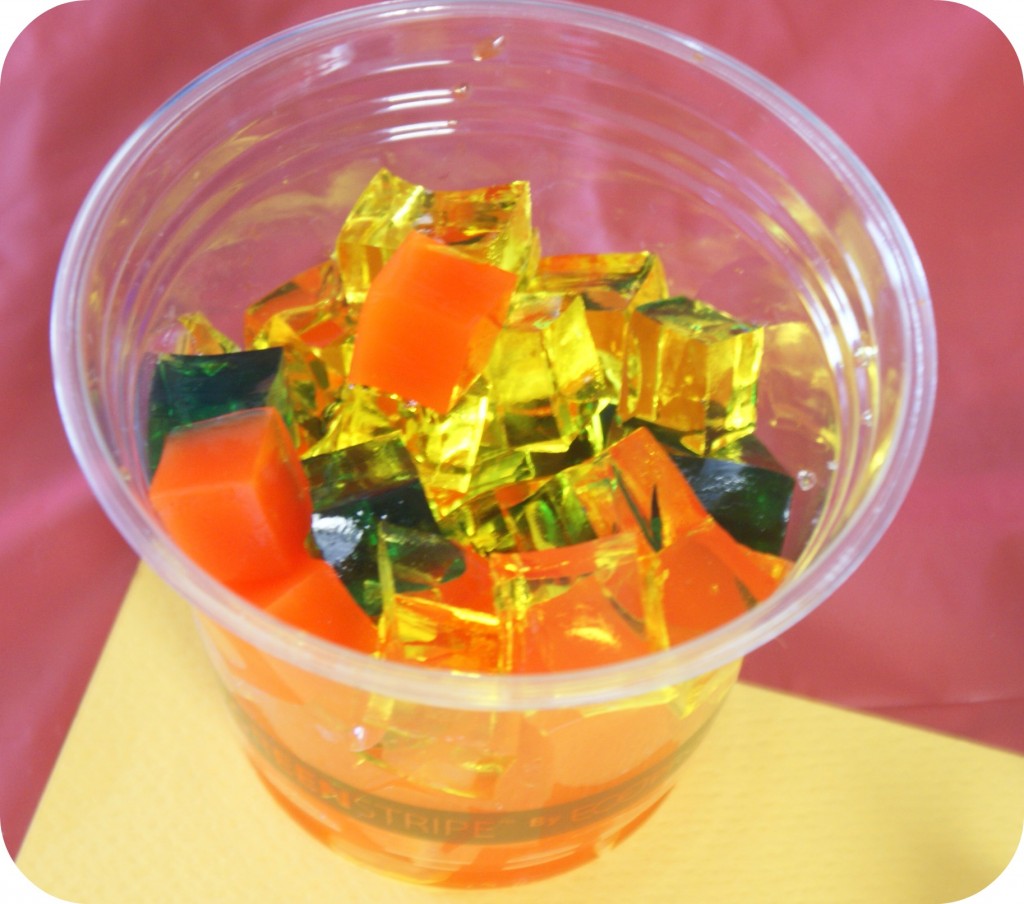
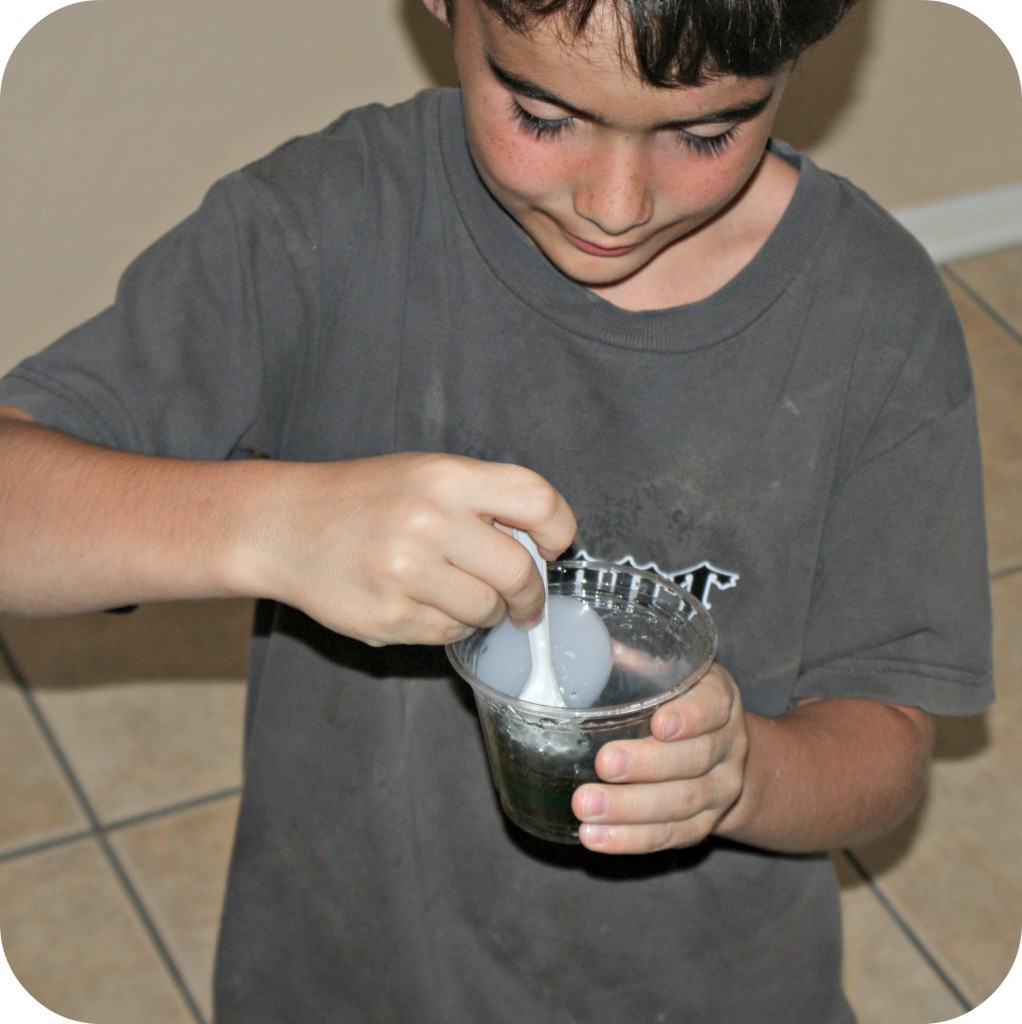
I love this Polymer kit. It has 3-4 different science experiments in it for 12 kids. So I first divided all of the experiments into cups before the kids got there. The kit came with cups and spoons so it was easy to sort it all out and put them all on the table. At first we did “globbilygoop”. I can tell you this kit was worth it just for this because I had bought the same GlobbilyGoop at Hobby Lobby, got 1/8th of what was in the box kit for $4.95 so this kit does have a lot of neat activities for kids that is well worth it. We took the GlobbilyGoop and we experimented with just water at first. Then took the test tubes of colored water and mixed them in (since at first it’s clear) and we found out what happened when we added colored water, what colors mixed looked like and how long it took before it became very goopy.
If you want this kit, I found it on Amazon: Classroom Kits – Polymer Science Classroom Kit(update, the price may have gone up on this. You can buy this big pack for under $10: Jelly Beads on Amazon.
We then had different shapes of Polymers (your kids may know these as Orbeez or Water Babees or X-Ploderz) but basically they are the water beads you can use for vases except they were in different shapes. Another reason this kit was worth it, I ended up having lots of left overs too!
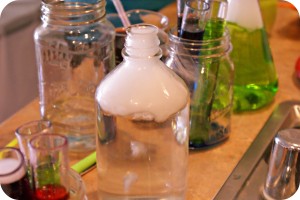
Did you know when you add dry ice to those water beads they make large bubbles? Me neither!
Supplies:
- Hydrogen Peroxide (at least 6%, found at beauty store. I used Clairol 20 which worked fine) Purchase some peroxide on Amazon: Hydrogen Peroxide 12% 16 Ounces
- Food Coloring
- Warm Water
- 2 Tablespoons of Active Yeast
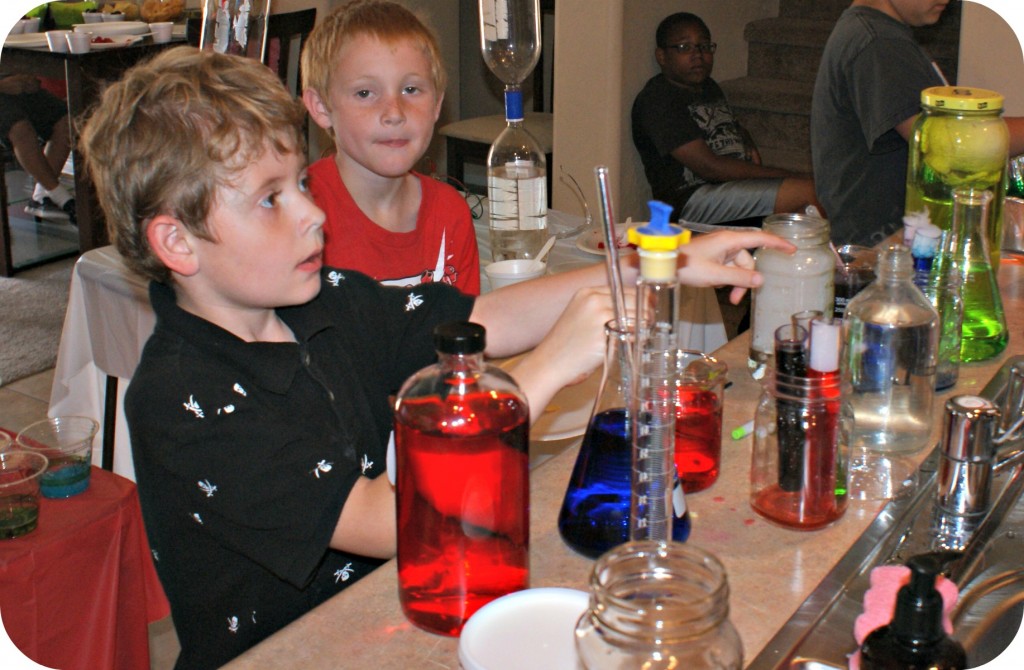
Take 1/4 cup of hydrogen peroxide and pour it in a jar (or as I did, a graduated cylinder). In a bowl, mix 2 tablespoons of warm water with 1 tablespoon of yeast until dissolved. Slowly pour it in, watch it foam! It will grow so do it in a sink or on a cookie sheet! You can watch a video on http://www.stevespanglerscience.com.
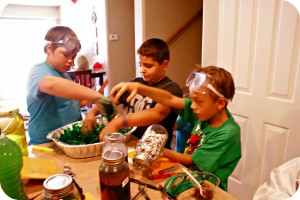
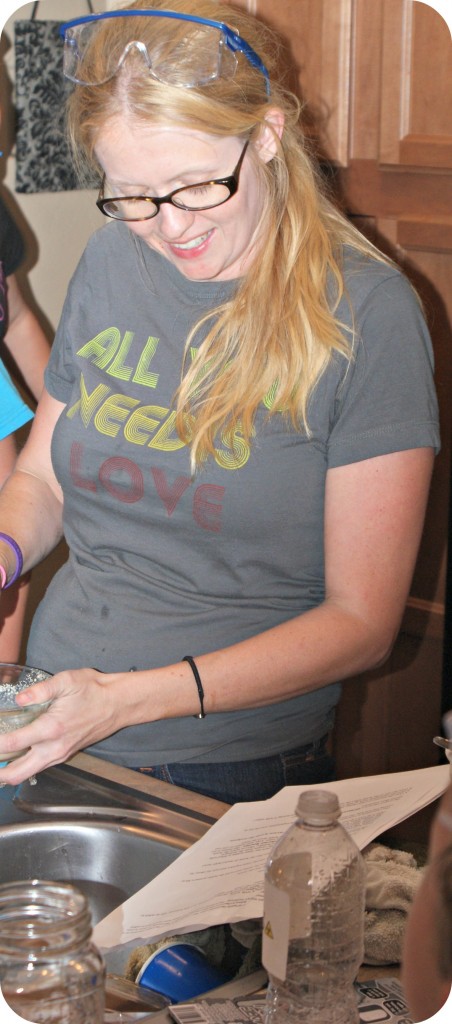
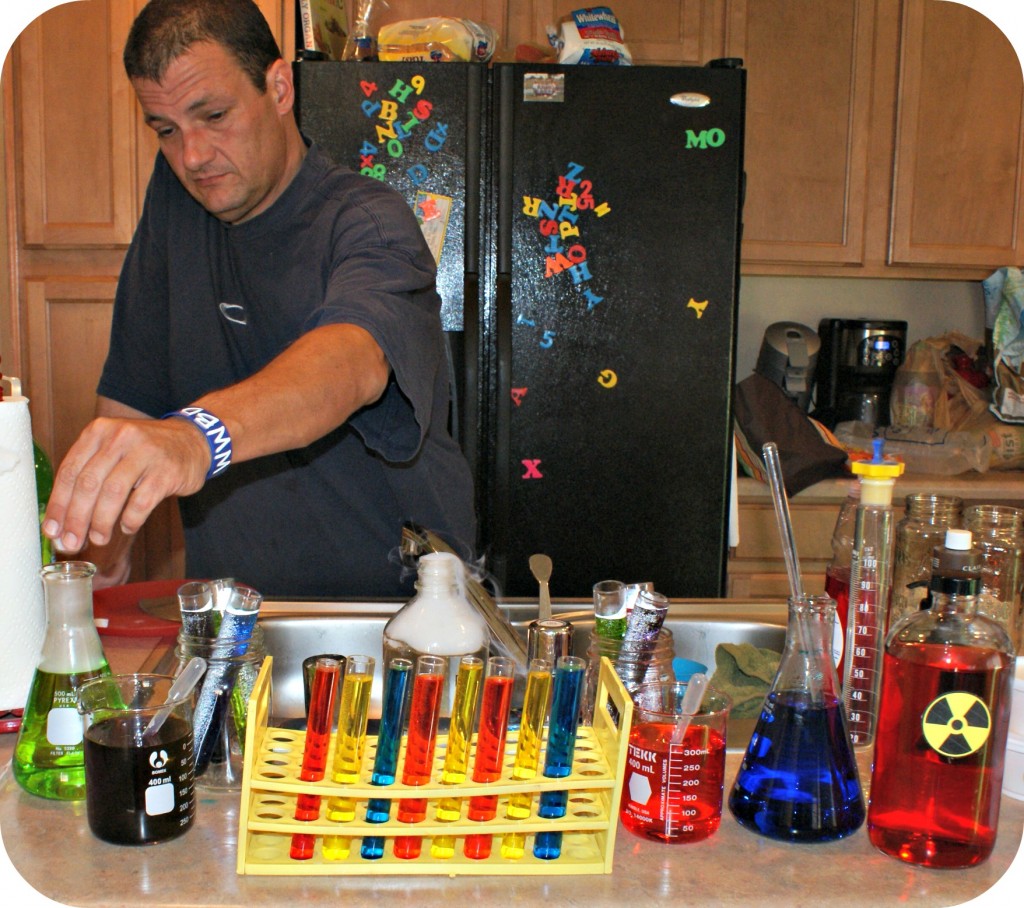
Here I am, making sure I am doing this one right!
Dry Ice
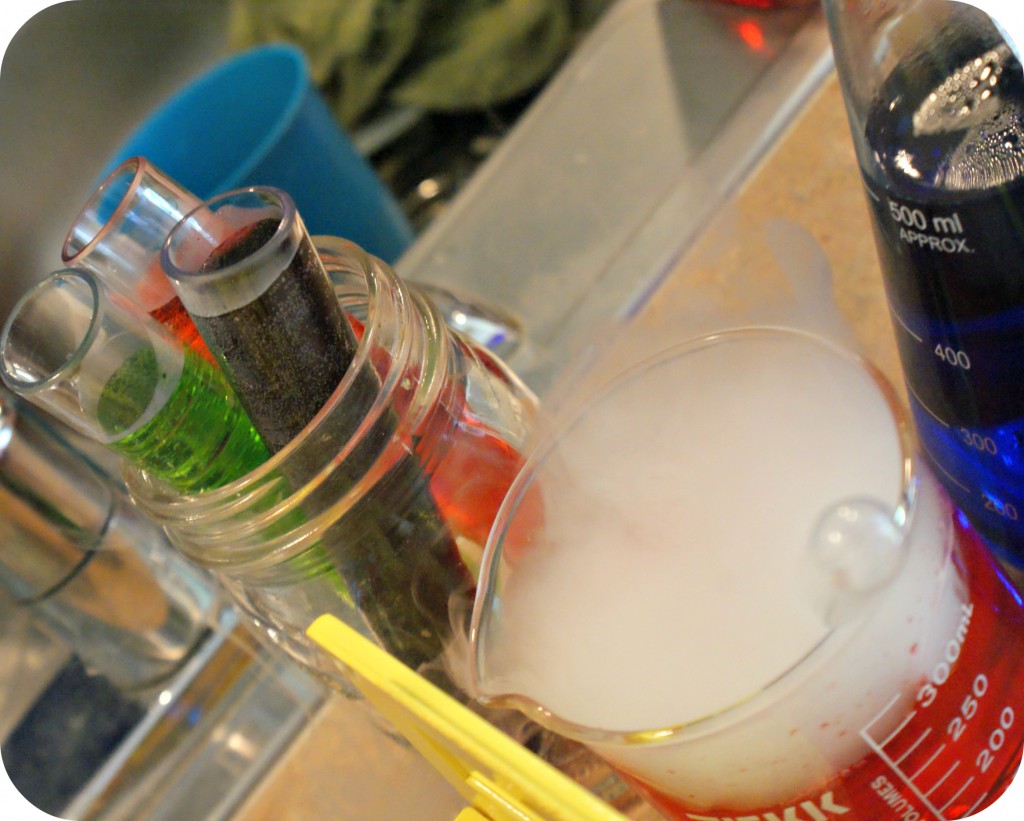
I found Dry Ice at Fry’s and it was pretty cheap, you just have to keep refilling it because the effect only lasts about 2 minutes.
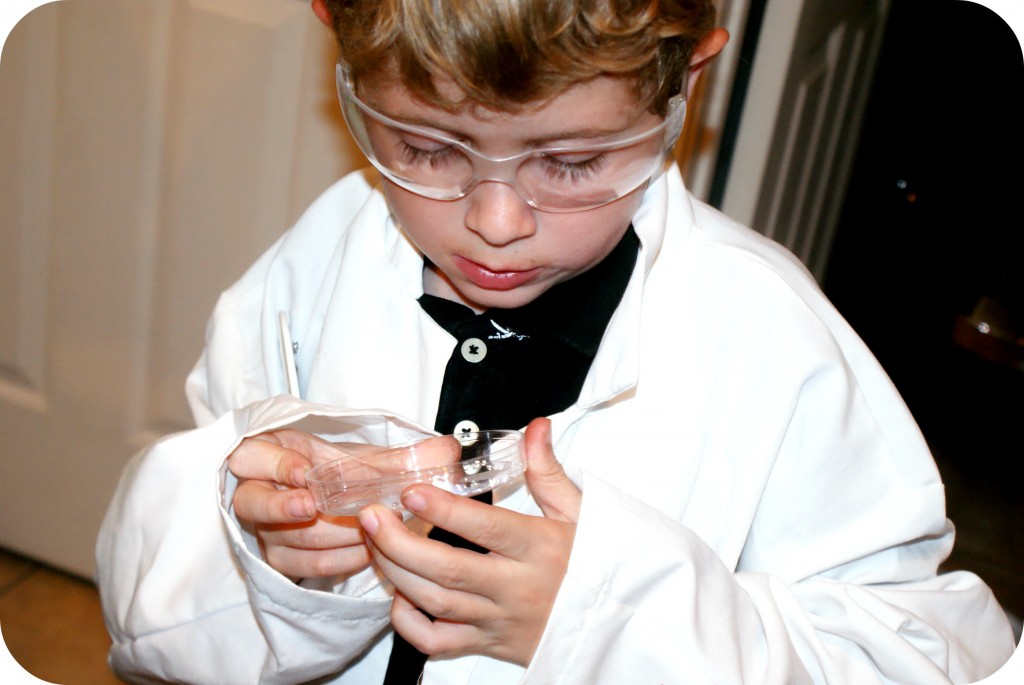
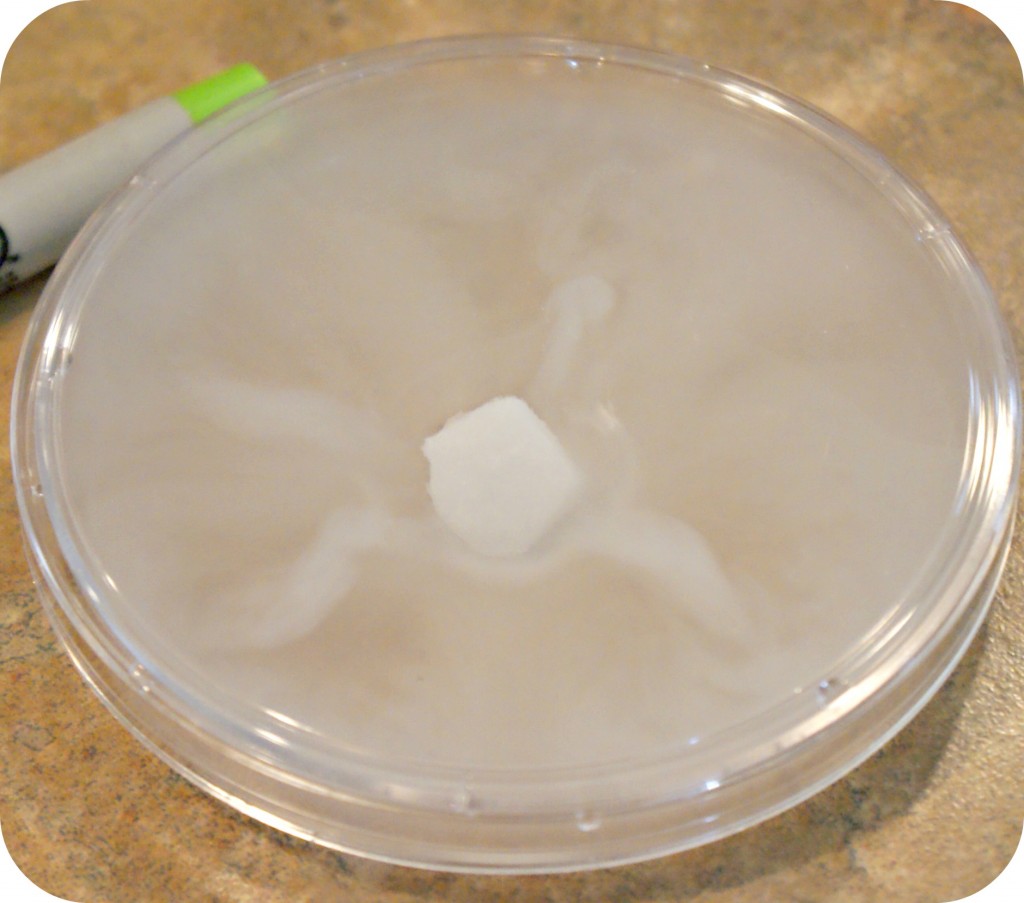
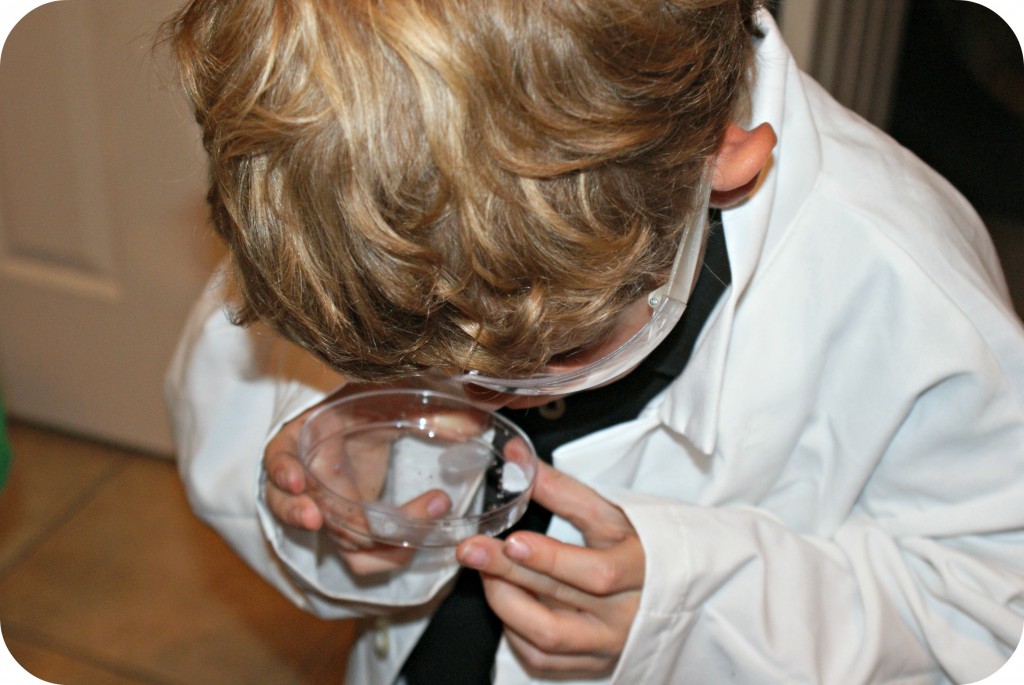
Brian was the dry ice Jedi, thank goodness because I couldn’t have kept filling the dry ice in the tubes and such. He let the kids listen to it and look at it while it was on a dish or in a petri dish. Making sure none of the kids touched them of course. Did you know when dry ice is on a piece of glass like a plate, it sings? When it’s on something flat, it vibrates? I didn’t until this party and the kids had fun observing it! Be careful though, it will break glass if there is no liquid in it!
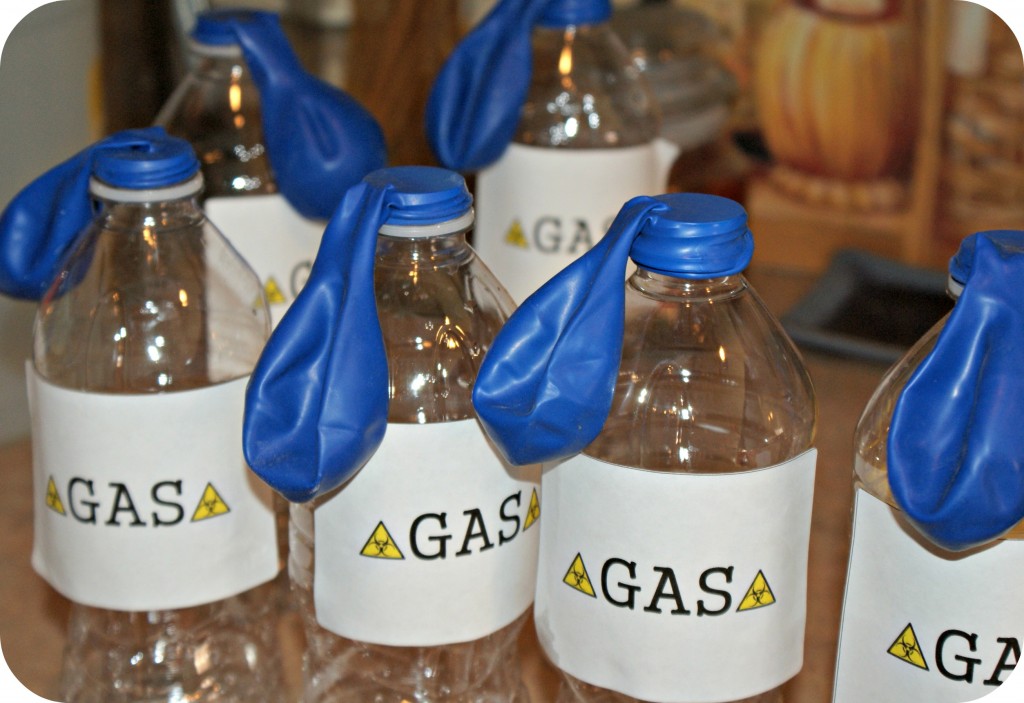
GAS
The kids said this was one of the most fun experiments.
Supplies/Directions:
- Water Bottles
- Balloons
- Baking Soda
- Vinegar
Take the empty water bottles and pour 2 tablespoons of vinegar.
Take a funnel and pour the 1 tablespoon baking soda into each balloon.
Carefully take the balloon and pull the end over the top of the water bottle being careful to NOT get any of the baking soda inside the vinegar.
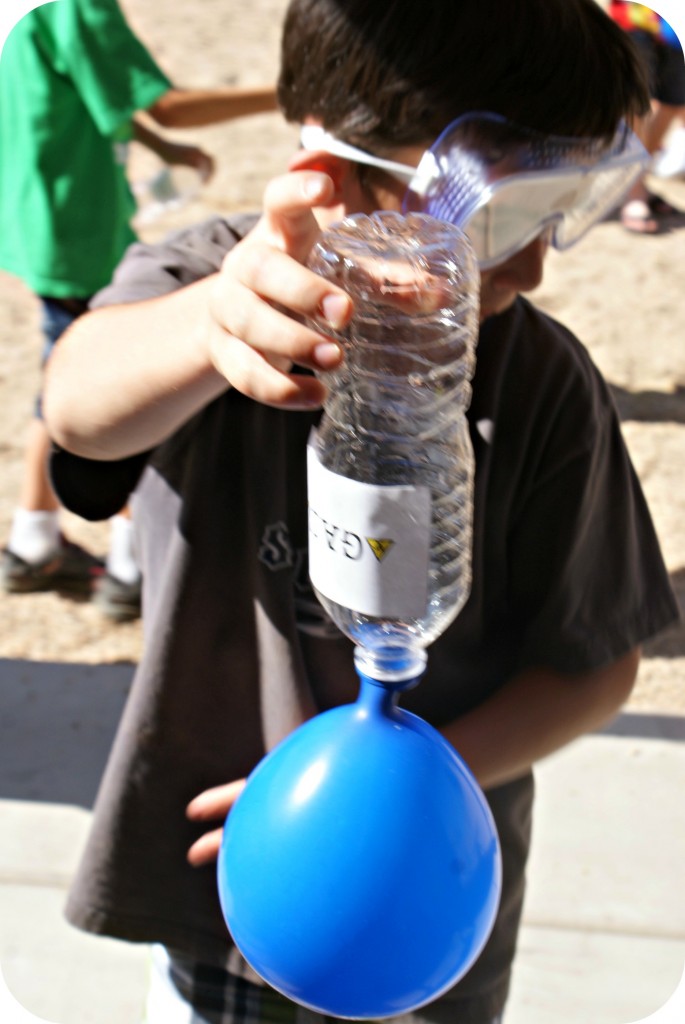
The kids then dump the baking soda into the vinegar by placing the balloon straight up and holding tightly to the balloon to watch it inflate. At the party the kids figured out they would let the balloons go outside and the gas inside gave them flight! It was really neat to watch.
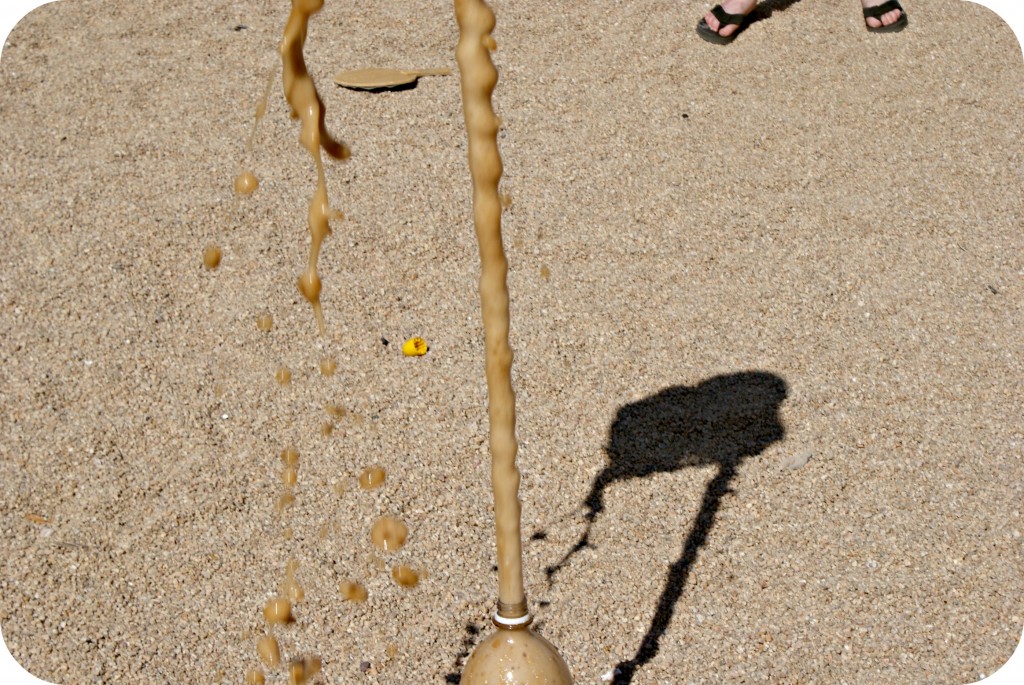
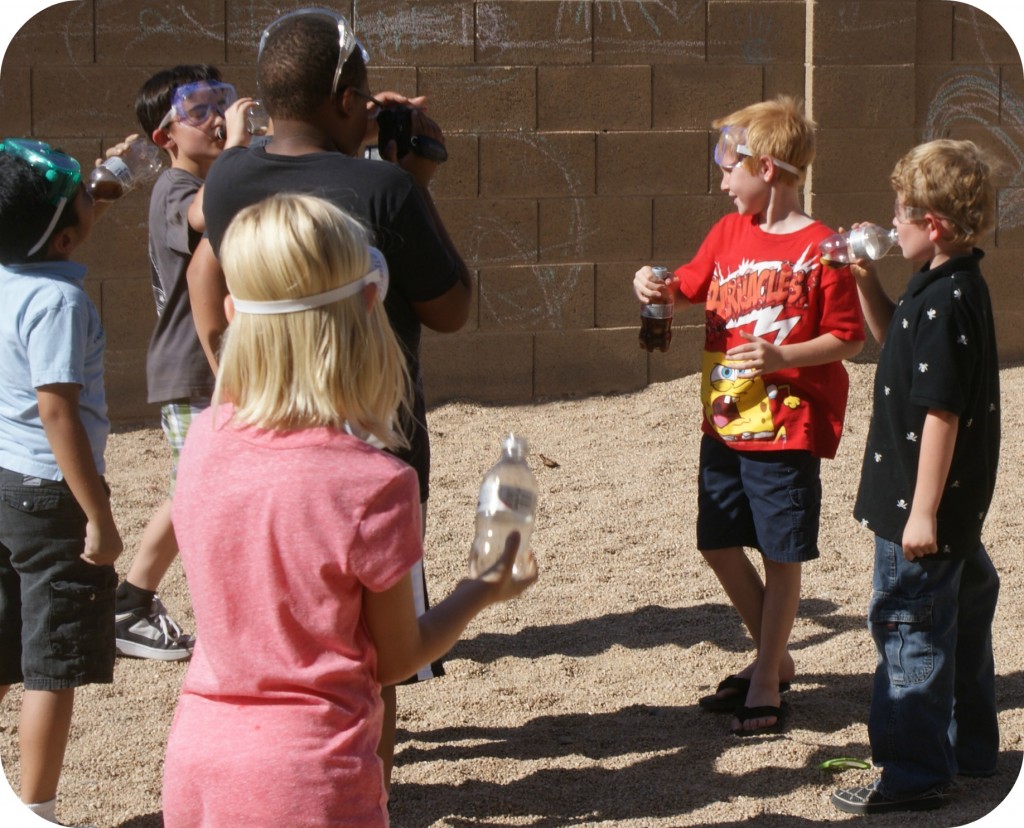
Mentos + Diet Soda
Mentos, the messy maker! This one was easy and is pretty well known and should be done outside.
Supplies
- Mentos
- Diet Cola (use 2 liter bottles, generic is fine)
Open the bottle, pour at least 5 Mentos in the bottles and watch them explode. If you can, try to have them do more! I used the small bottles and they didn’t do much so go with the 2 liter bottles for more of an exploding soda fountain! Then the kids drink it apparently, lol.
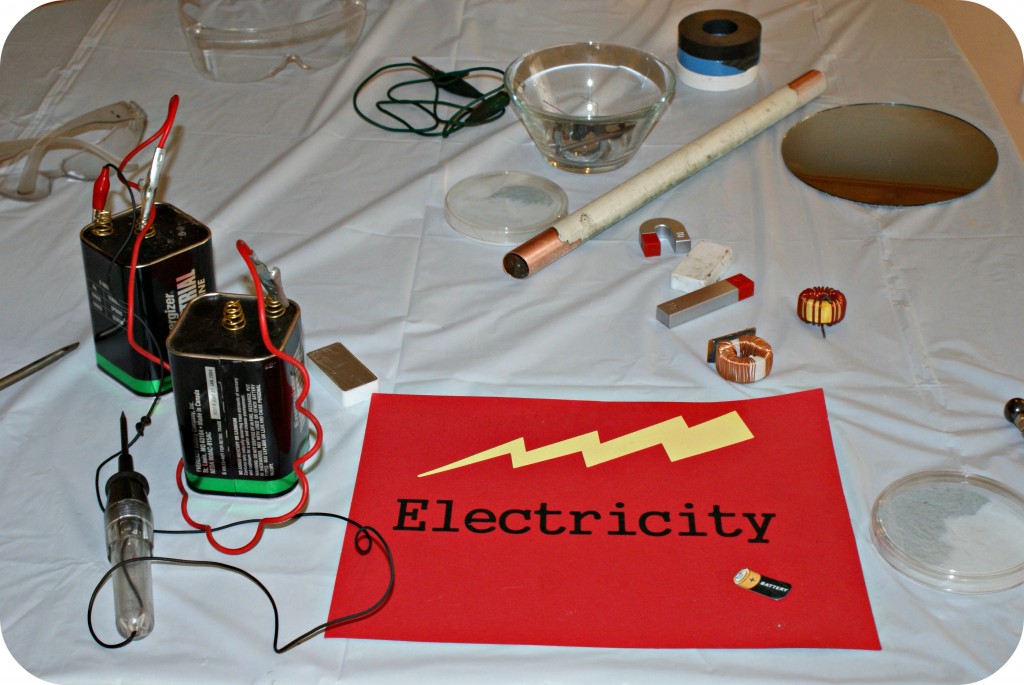
Electricity & Magnets
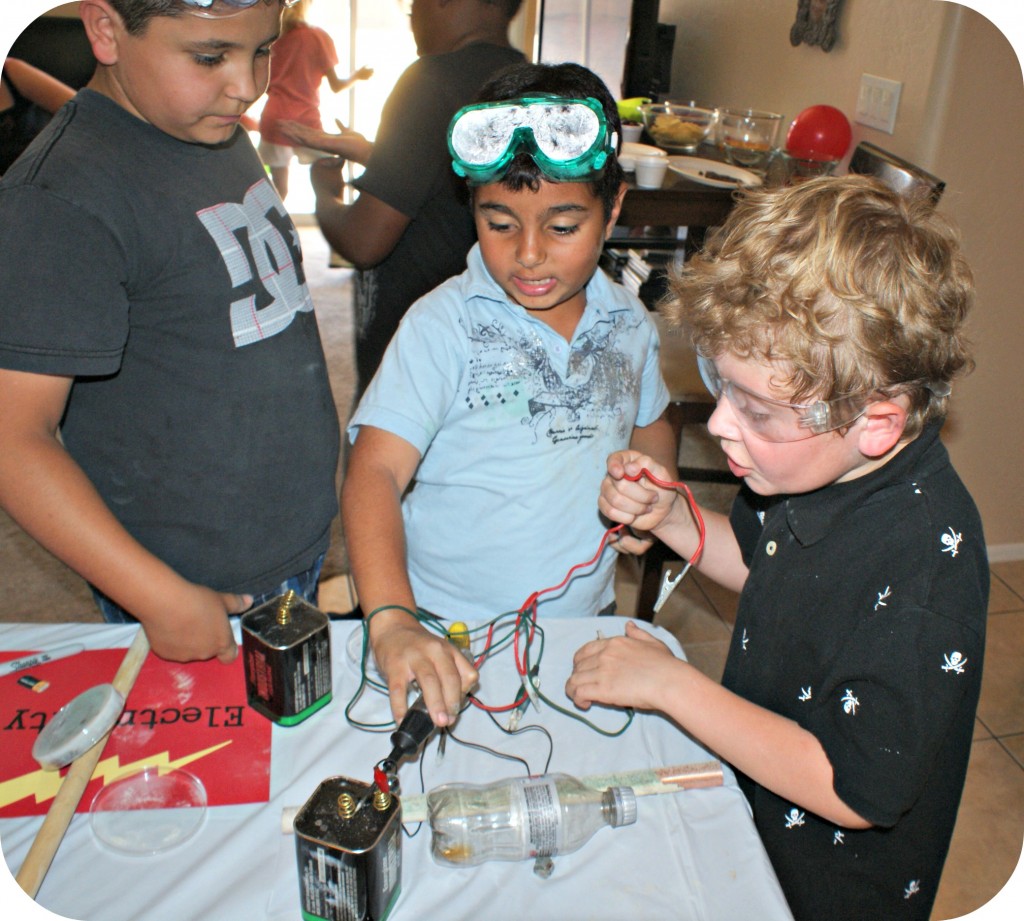
This table was fun and Tyler had the most fun showing everything off. I’ll be honest, my dad gave me everything here so I really can’t attest to where he got everything but I thought I would share what we did.
Voltage Comparisons
Supplies:
- 2 6V batteries
- 2 wires with alligator clips
- Voltage light tester
- Magnets (we had some large industrial magnets along with some magnetic marbles)
We took the batteries and hooked up the light tester to one battery and closed the circuit. Meaning we connected it to the middle (positive) and then touched the other end to the negative to make it light up. Then we connected both batteries as if we were jumping a car and completed the circuit, making the voltage go from 6 to 12 and the light was much brighter!
The Salt Water Circuit
Supplies:
- Water (tall glass about 3/4 full)
- 6v battery
- alligator clip plus wire
- Voltage light tester
My dad just taught me this one. If you take that same light voltage tester and you connect an alligator clip to one coil on the battery and the voltage tester on the other, you can place the other end of each in a glass of water. Nothing will happen. Until you add salt which then the electricity flows through the water and the light lights up! It was very important for me to tell the kids, don’t try this at home.
Dancing Magnets #1
- Magnet Powder
- Petri Dish
- Industrial Magnet
Take iron shavings or magnetic powder and pour it in a petri dish. Be sure to tape the petri dish shut, ours got all over when it opened and on the magnets. Then take the strong magnet and place it under the dish, watch the shavings or powder dance!
- Industrial Magnets
, round with large hole in middle (2)
- Dowel
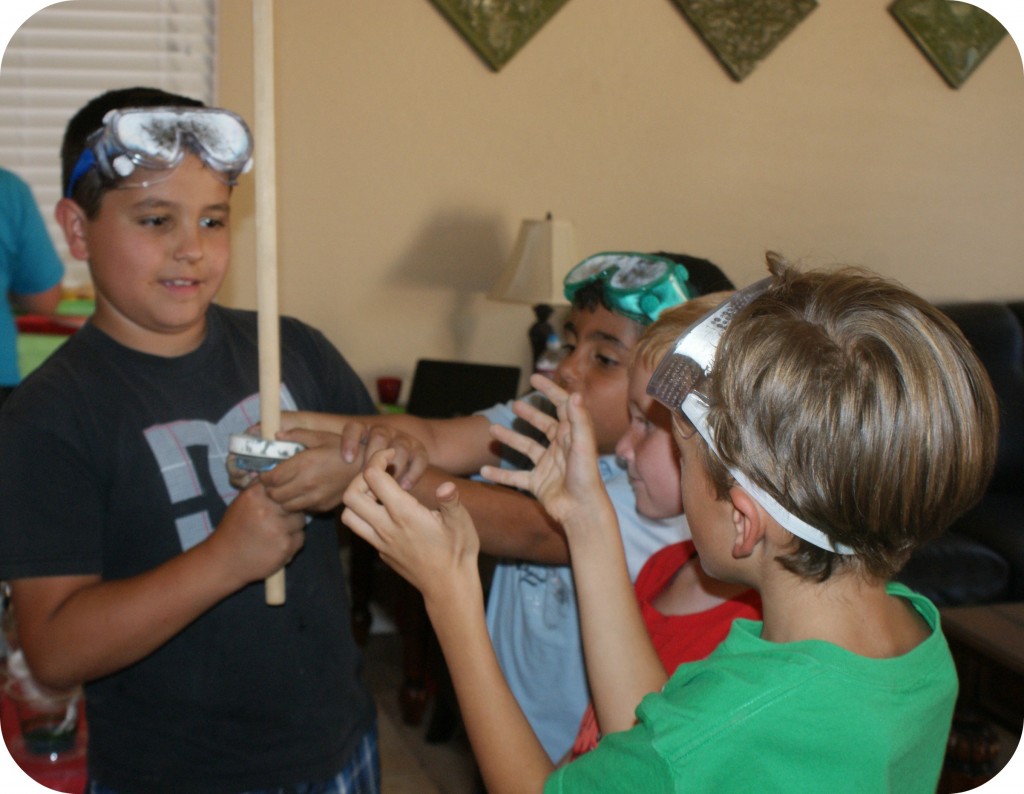
This was fun! It was two round industrial magnets (found at Apache Reclamation) placed on a large dowel stick. I took the opposite ends and since they repelled, the top one never touch the bottom. The kids danced around a bit while having the magnet float in the air!
The Glow Room
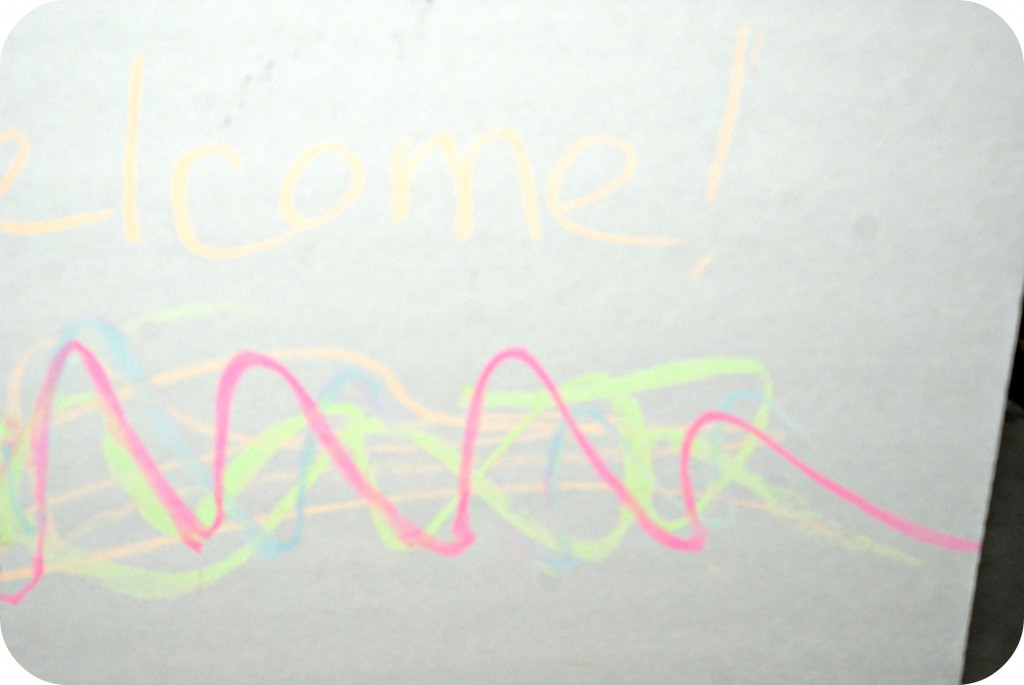
We wrote on a foam board with florescent chalk meant to glow under UV light.
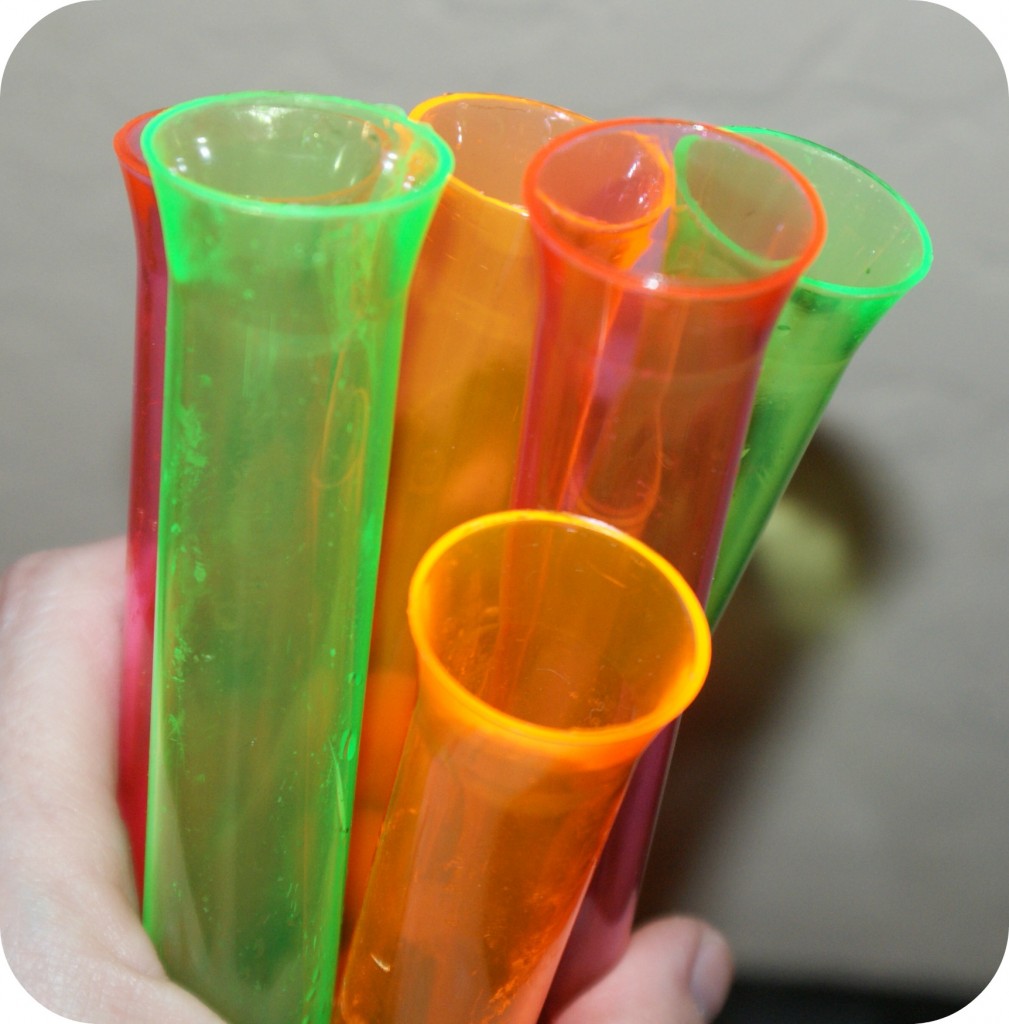
Found these test tubes for the glow room at the dollar store, score!
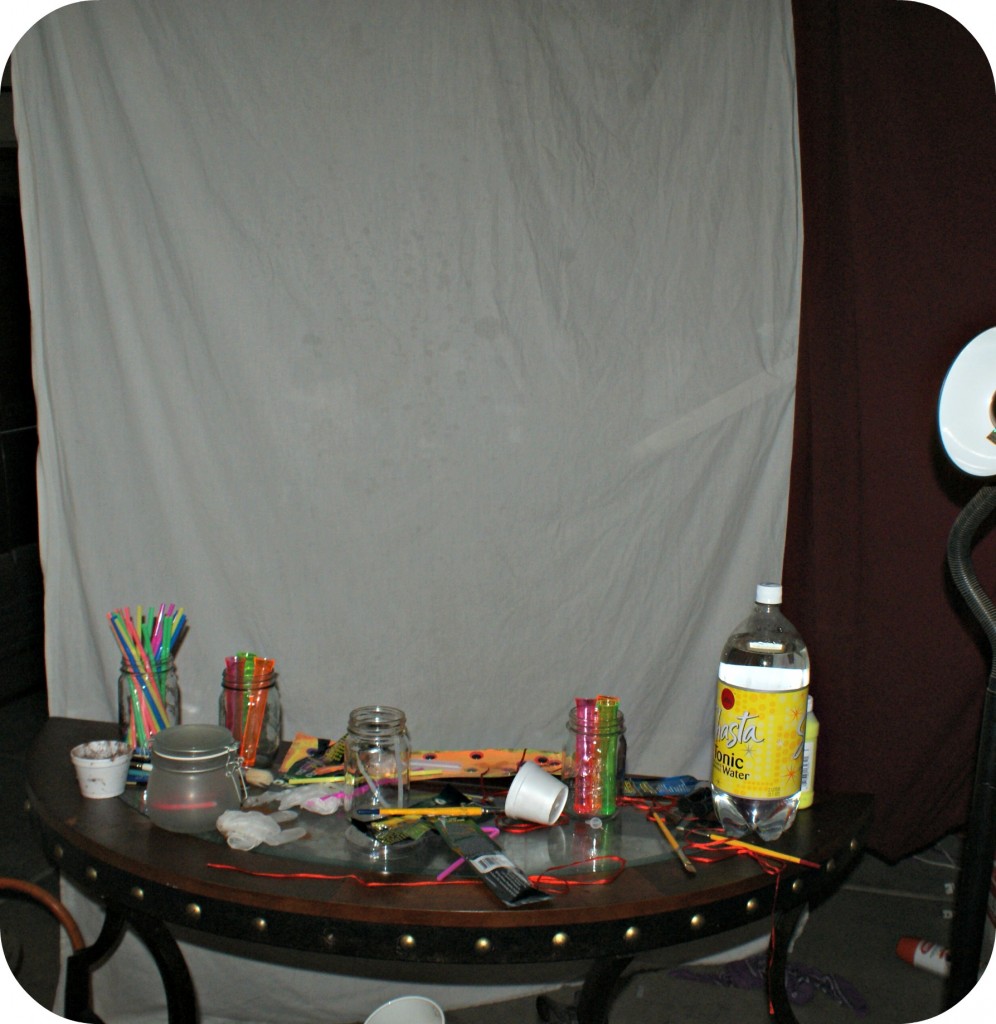
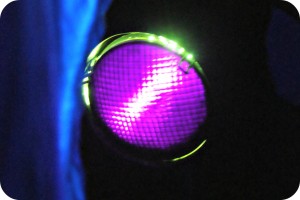
The glow room was in the garage and involved black lights, glow sticks, glow powder and glowing slime! I took white sheets and made an isolated area in the garage along with black lights and a table to do the activities on. If you have sheets you can ruin, open a glow stick and splatter it o the sheets. When the black lights illuminate it makes the room that much cooler.
Activities:
The Difference in Black Lights
- Black Lights
- Magnaflux Powder
- Paint Brushes
- Elmer’s Foam Board (black)
Did you know those party black lights aren’t real black lights? I didn’t until I was messing around in the garage with the black lights I had. Two were desk lamps with the party bulbs and one was an industrial black light my dad let me borrow. He gave me some magnaflux powder (this is expensive and I also got this from my dad but it might work with a different type of glow powder). The Magnaflux powder glows brightly under real black light. I had the kids dip their brushes in dry Magnaflux Powder onto the black foam board under the “fake” black light. Kids couldn’t see anything, didn’t even think it was working! After they were done, I took the board and showed it under the real light. They were very excited, especially when they put their gloves under the real black light, they were neon green.
How Glow Sticks Work
- 2 glow sticks
- 2 jars
- 4 cups/standing test tubes
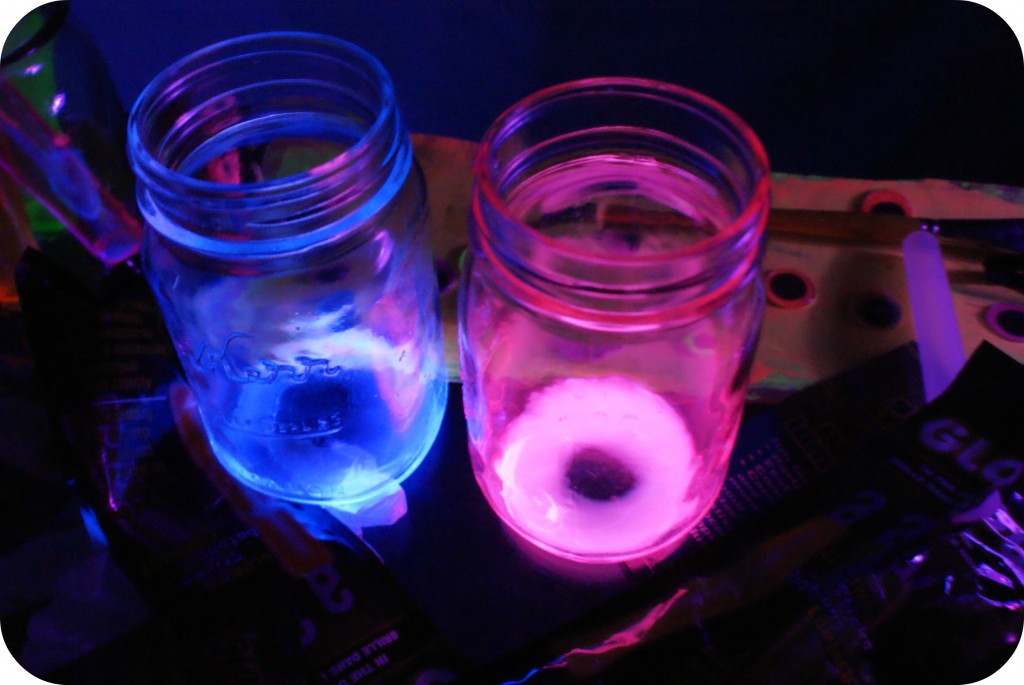
This one is definitely just for adults to show the kids. It’s important this is prepped first before the kids enter and make sure if you do this you wear gloves and protective eye wear. Take a large glow stick and cut open the tube at the top (use garden sheers). Then pour the ingredients into a test tube or cup. Take the inner glass tube, cut the top off (careful, it’s glass and it will fly). Pour the contents of the second tube in a separate cup or test tube.
When the kids were standing at the table, I showed them the two separate tubes and how nothing was really glowing or different. I then poured them into a jar to show them how the reaction made the glow sticks glow! I did this twice with the two different colors. I then gave each kid a glow stick to “crack” to make their own reaction.
Activities:
It was important for me to have a discovery table that had different activities on it so I could take a break from chaos and let the kids play off on their own for a bit. We had magnifying glass with bugs in resin, a large globe and some coloring pages that had some science and chemistry photos to color. Below are a few of the activities we had!
Tornado Tubes
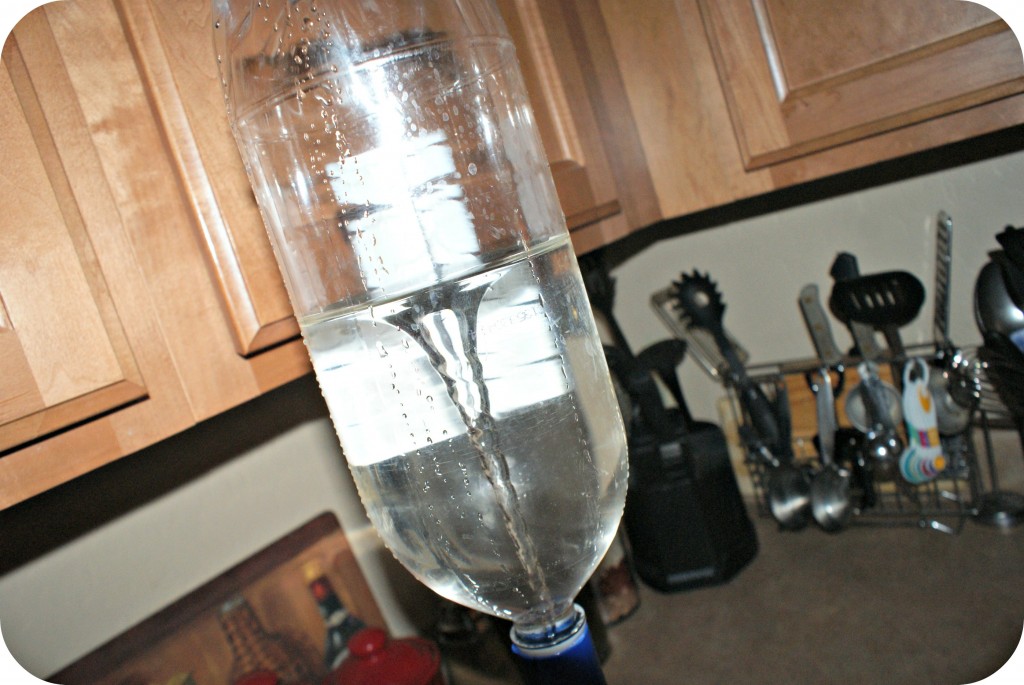
I had two tornado bottles set up. One had 2 empty soda bottles and this tornado tube and one had two empty soda bottles and duck tape around it. Both each had 1 bottle 2/3 full of water and one was colored blue. The idea was to guess what each bottle would do when you flipped it and twirled it a little. The difference was the tornado tube had two holes so it took time to pour down, the other went straight down.
I Spy Game
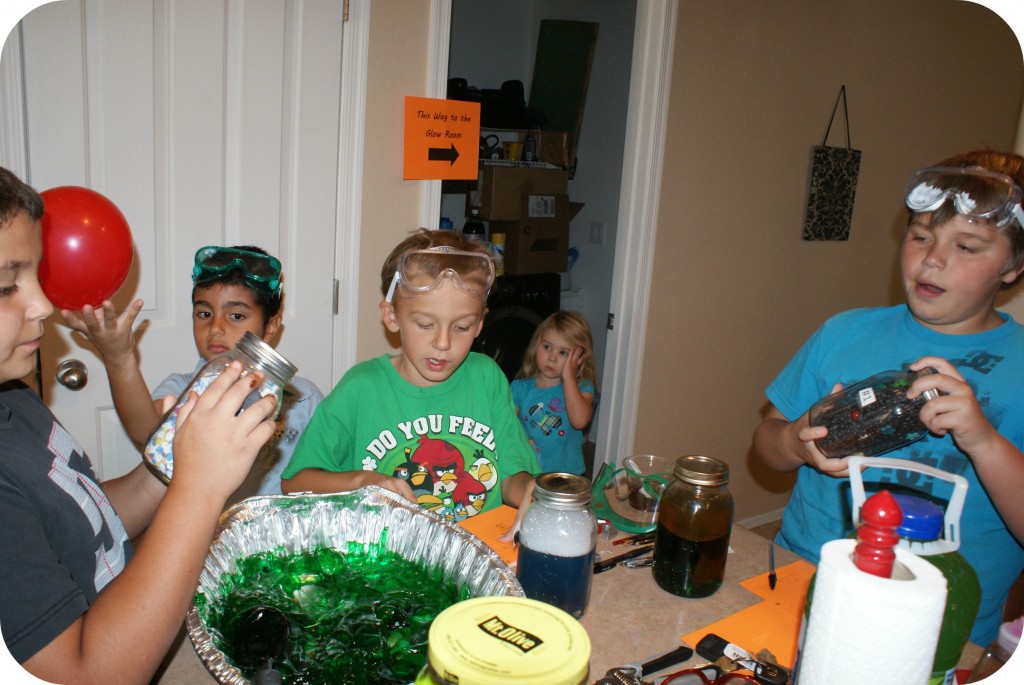
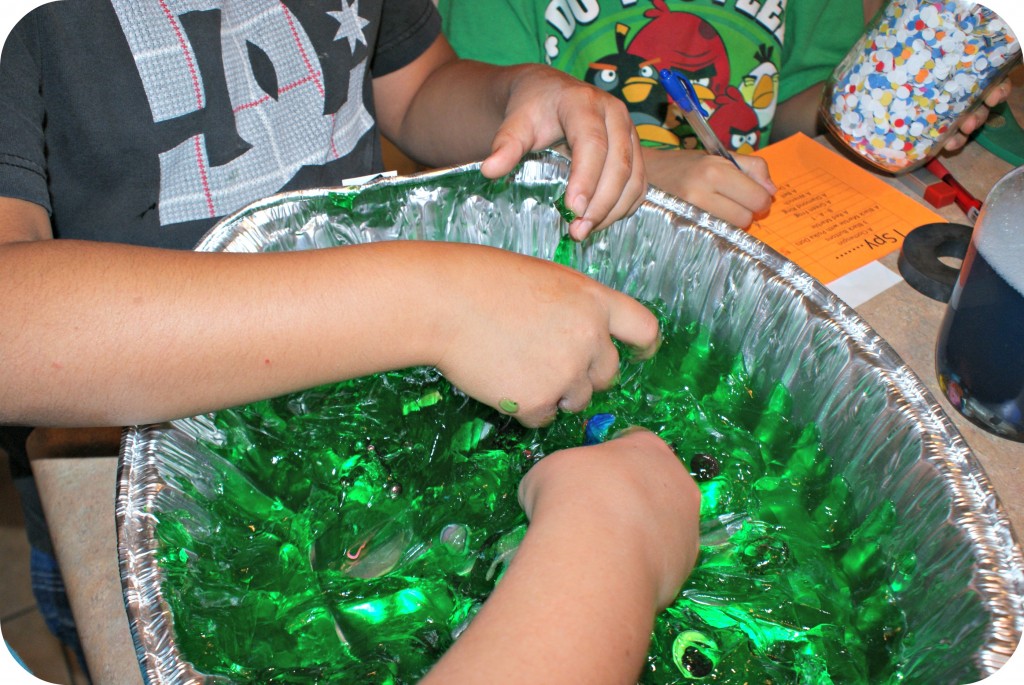
This was actually one of the most fun activities I put together I think! There are 4 jars and one pan of slime!
I took small random toys and objects from around the house and put them in these jars/tub. I then created a list and highlighted 10 of the items I wanted them to find. I numbered the jars so they could then write down the number of the jar they found the item in. This was a good time to use some craft items and get creative too because I took some extra scrabble letters and I put down on the list BAT (which were the 3 scrabble letters), and a button shaped like a ring and put “diamond ring”, sea shells etc.
1st Jar: Solids (Black Beans) ~ The kids should the jar and turned it over and over to find the objects.
2nd Jar: The Swamp (1/4 jar of oil, 2/3 of water and a few drops of food coloring)
3rd Jar: Magnetic Jar (paper confetti I found at Smart and Final full of metal objects and faux metal objects) ~ For this one I had an industrial magnet and a play magnet. I had the kids take each magnet to the outside of the jar figure out which was more powerful and see what they could find when the magnet pulled it out. They could then find some of the items they were looking for.
4th Jar: The Ocean (sequins, water and blue laundry soap, Arm and Hammer is what I used) ~ Another shake and look jar.
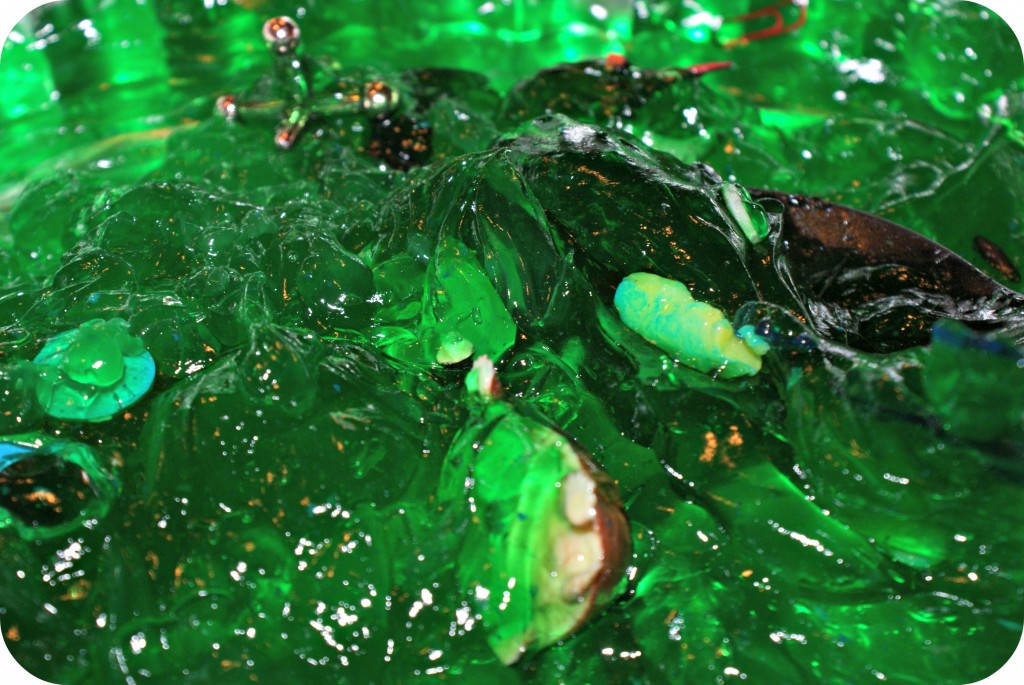
Slime (just hair gel I found at the dollar store in big tubs) ~ The kids took a large spoon and eventually their hands to find items in there.
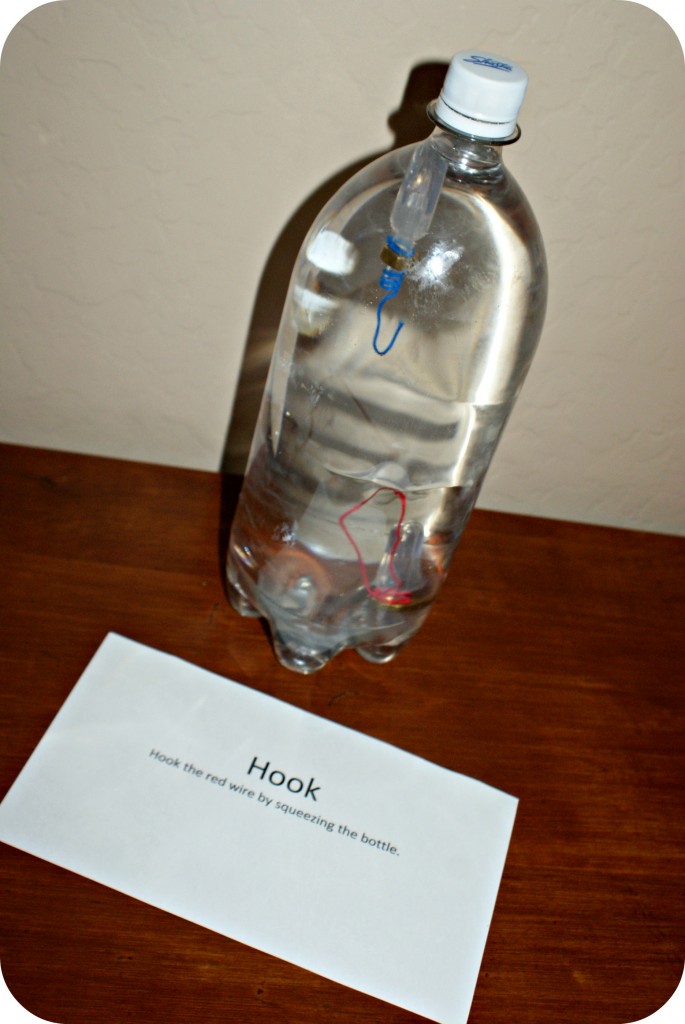
Hook Game
I found this at Hobby Lobby for around $2 in science section, it was pretty easy and fun for the kids!
I also found balloon rockets, 6 for $1 at the dollar store that the kids blew up outside along with fake snow.
Fake snow is a great polymer activated by water! You can buy the fake snow here on Amazon.
Thanks for stopping by! Feel free to pin or share!
More to come like food and decor along with party favors! You can read the birthday party intro here: http://cleverpinkpirate.com/2012/05/22/mad-science-birthday-party-the-party/
Looking for the other posts for the party? Click the image below!







Your ideas are Awesome! my son is excited about the party we are doing with the science theme. I got some terrific ideas
Thanks