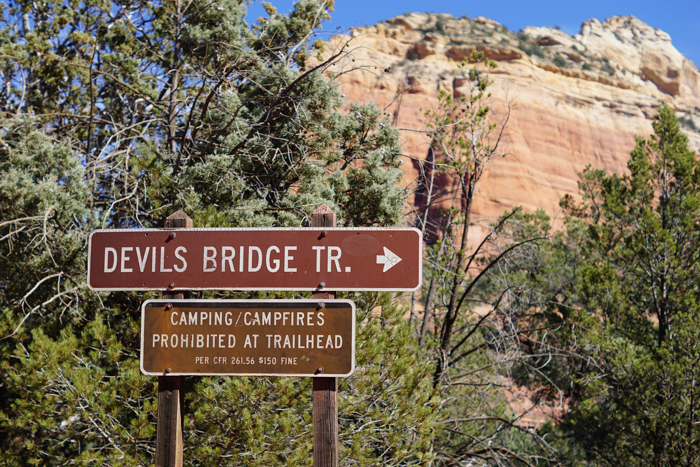
A couple weeks ago we ventured up to do some hiking at Devils Bridge, just west of Sedona, AZ. It was a perfect 75 degree day and it had been a while since we ventured to the red rocks. Also because it was President’s Day, it was a fee free weekend!
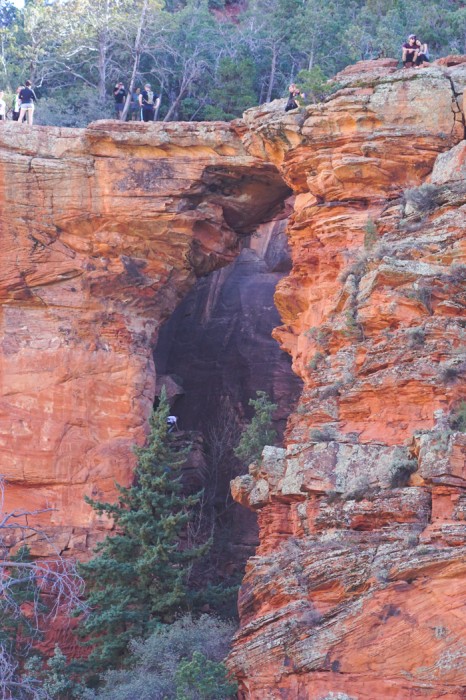
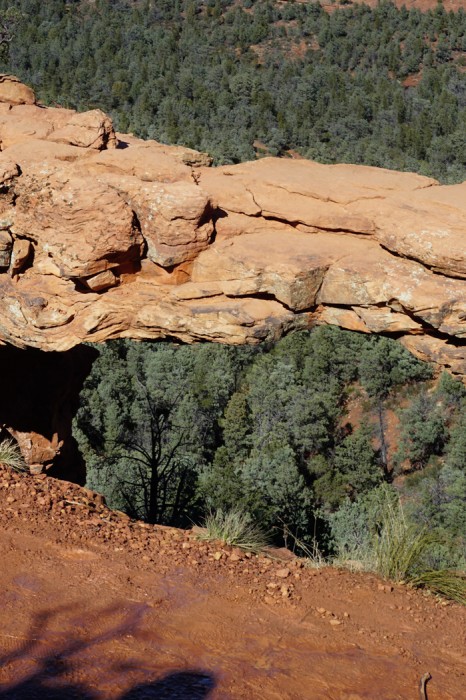
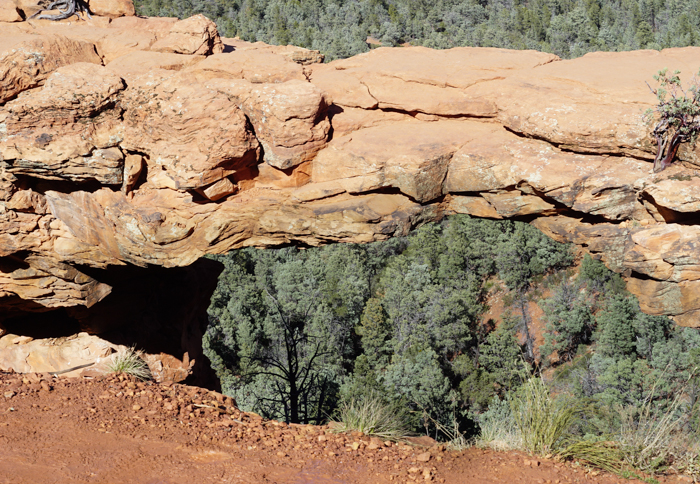
Devil’s Bridge is the largest natural sandstone arch. I actually hadn’t heard of it until I started researching Sedona day hikes. I love getting to see nature made architecture in real life which is one of the main reasons I opted to take this hike!
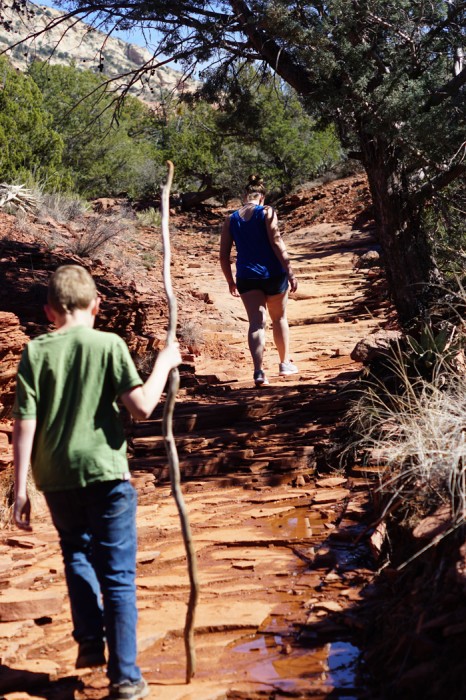
The Devil’s Bridge hike overall was easy enough for the whole family to do and most of it was uninterrupted and peaceful. If you haven’t hiked in this area before, the dirt is a beautiful red and is almost clay like.
Tips for Hiking Devils Bridge in Sedona:
- Where: A few miles west of Sedona.
- Length of the Trail: 3 – 5.5 miles, depending on where you start
- Difficulty: Moderate
- Cost: Daily permits for the red rock area are $5
Age recommendation for moms: This is a great family hike and kids can do it. However, I recommend this for kids maybe 8 and up so they understand the safety precautions. There are no rails at the top and that made this mom of even older kids nervous. If your kids haven’t hiked before, I’d take them on some easier and shorter trails first.
The hike:
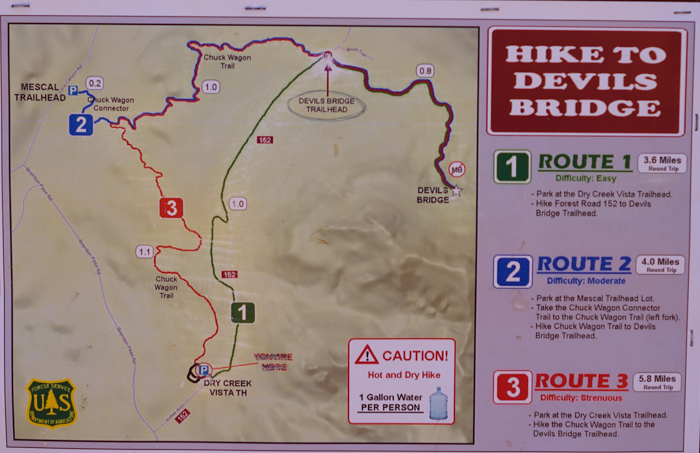
There are 3 trails that will lead you to Devils Bridge from FR 152. Most of the trails are in direct sun so be sure to bring plenty of water and sun screen. We went when it was in the 70’s and it was pretty warm so if you are exhausted easily from the heat, do this hike during the cooler months.
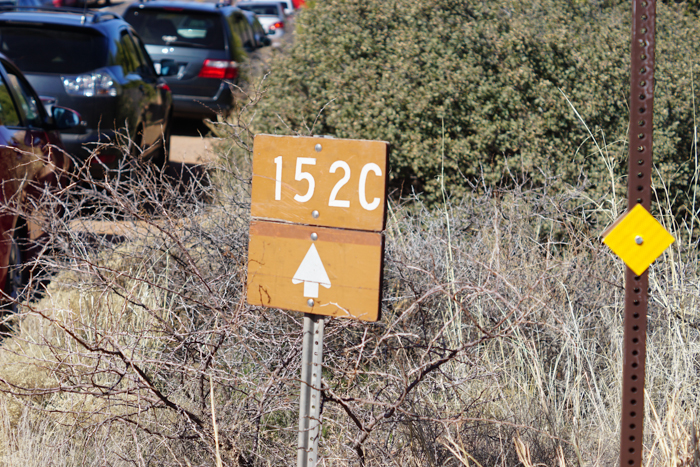
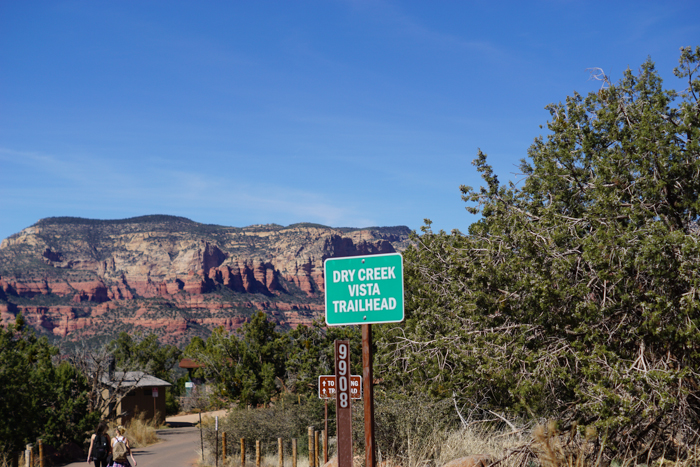
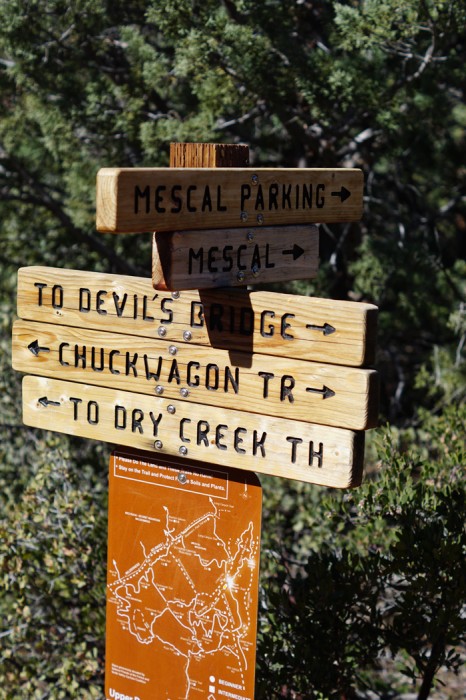
- 152 C/ Vultee Arch ~ The primitive road. This is for 4 wheel drive vehicles with a large clearance. We weren’t sure what this meant but got a clear picture about 10 feet in. The terrain is uneven with large rocks and you do need a vehicle not only with clearance abilities but with gusto. We made it probably 1/3 way down then had to turn around. Smaller SUVs and mini vans were parked along the side. If you can’t make it up this road, you can walk it when you park at Dry Creek Vista Trailhead. However, this is sort of a nuisance to drive or walk on because of all the traffic and everyone walking on it. This is marked as the easiest to hike on.
- If you decline to do the walk up the road, you can park at the parking lot right before the primitive road and walk the Chuck Wagon Trail. This is the longest and more difficult trail up to the bridge.
- The third option is the Merced trail. This is the one we did and it was easy and less crowded. It takes you through a nice and easy trail that meets up with Chuck Wagon and eventually the Devils Bridge trail. This is shorter than taking the Chuck Wagon trail from that trailhead. Just a tip, if you go on this trail shortly after you will come across a creek, you will find the continuation of the trail just to the upper right of your view. Just look for the trail sign.
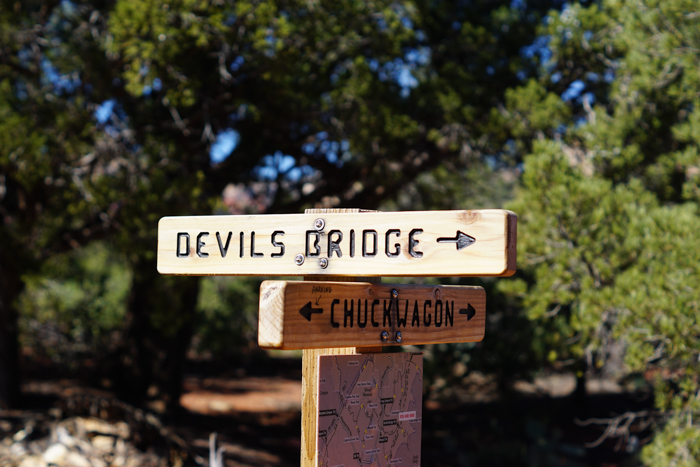
Up at the top of Devil’s Bridge:
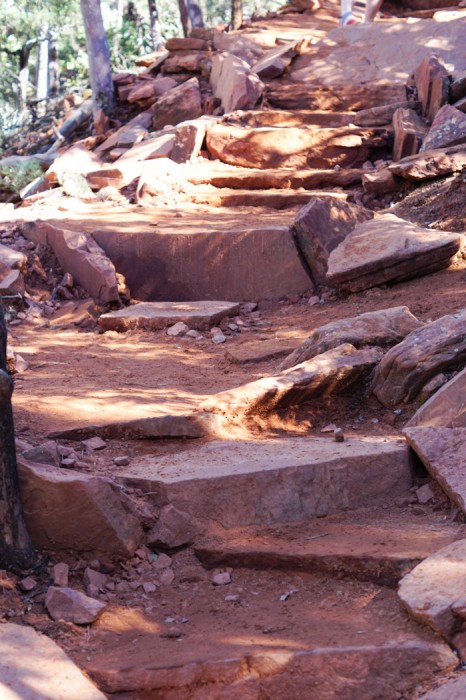
- Be prepared for a steep climb as you get closer to the top. Don’t worry, many can do this but just be prepared to possibly climb on your knees up some of the rocks. We did see some people get almost to the top and decided not to do it. It’s still a beautiful view from that area but if you have gone this far, I highly recommend finishing the trail!
- The top is narrow, both the path to the bridge and the bridge itself. The top has a decline towards the bridge. If you are traveling with younger kids, talk to them about safety at the top and staying away from the edge. It isn’t the edge that is bothersome as much as how crowded it is and people trying to constantly pass back and forth to the bridge itself.
- This is where I’ll recommend going early in the morning to avoid the crowds. If you are on the trail by 8 AM you should be good. I heard that later at dusk is also a good time to go.
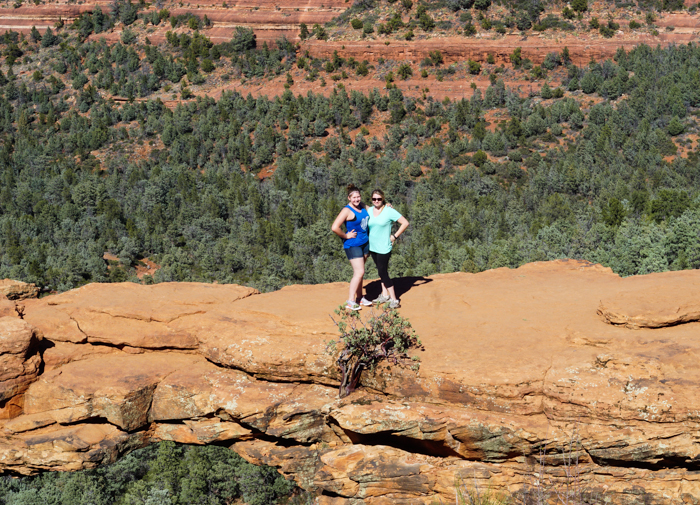
Here’s a tip: the best place to take a photo of the whole bridge if you don’t want to climb down to the bottom is on a large rock just to the left of the trail as you walk towards the top. It’s hard to explain where it’s at when walking up so if you miss it, just look for it when you are at the top. If we do this again, I’ll have to bring the GPS to get the coordinates.
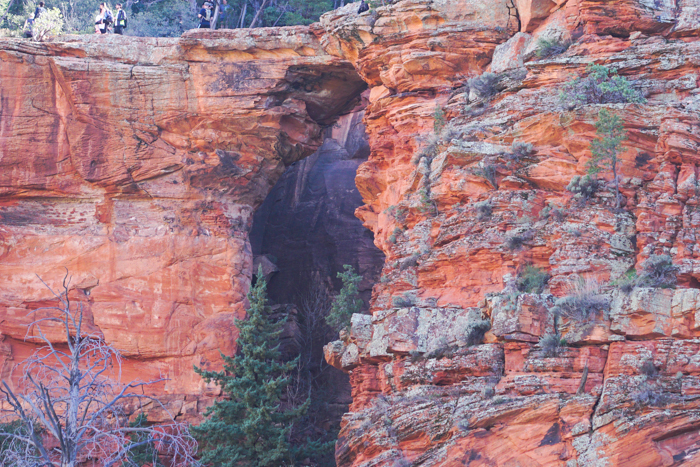
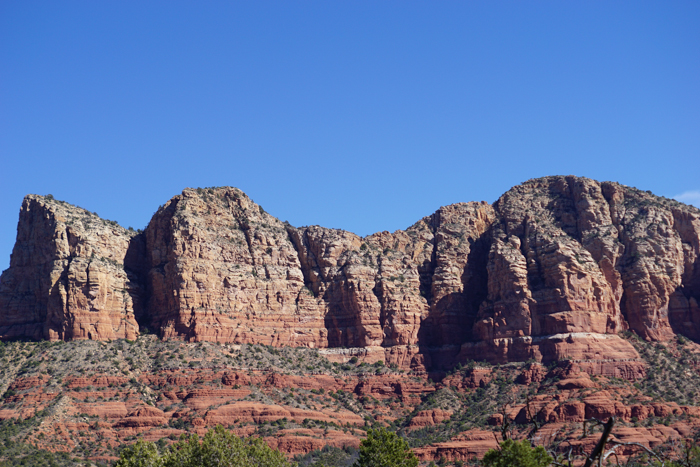
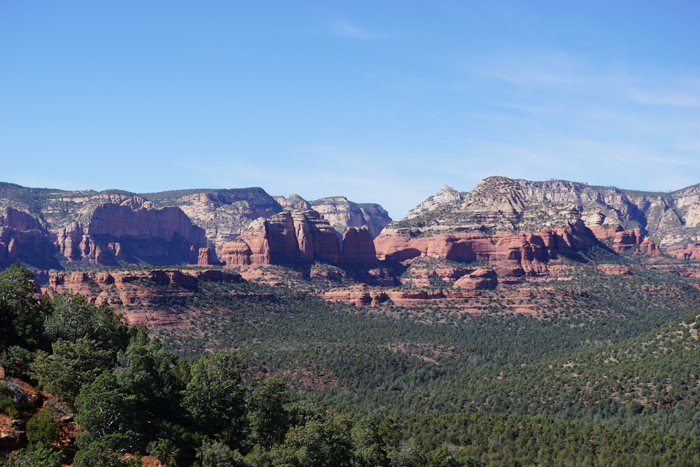
A beautiful view on the way up!
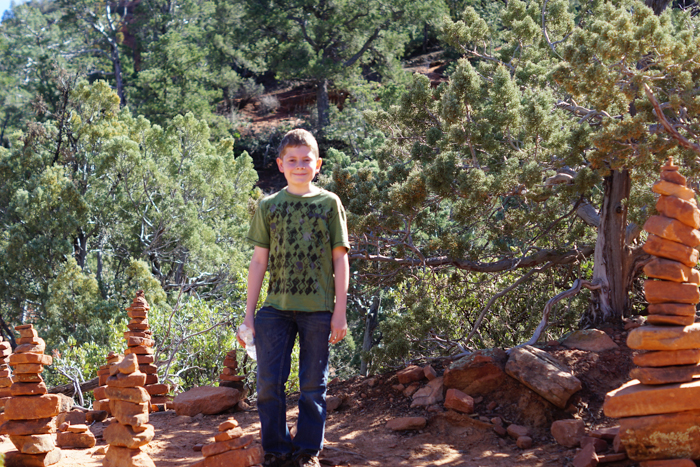
The rock garden on the trail.
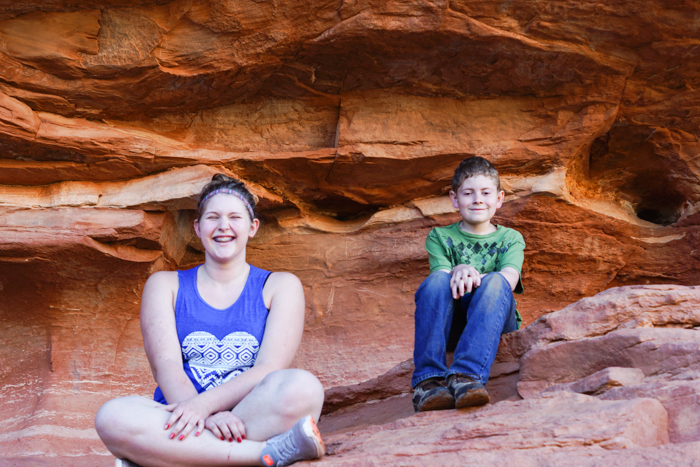
Look for this fun photo spot on the trail!
Check out more info here: http://www.fs.usda.gov/recarea/coconino/recarea/?recid=55292
Have you hiked here? Leave your tips below!
Leave a Reply