It’s my birthday weekend! Coincidentally, it’s also time for another Cricut Design Star post! This weekend I celebrated my birthday with a fun Roarin’ 20’s Themed birthday. I actually love this decade and was in fact a Flapper for Halloween one year. I did struggle though with what I could come up with for this party setup.
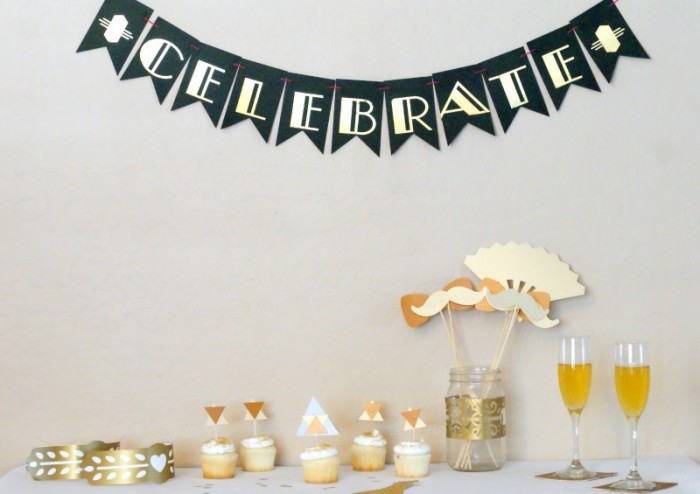
I centered the party around metallic colors and of course creations made from the Cricut. One of my favorite features of the Cricut Design Space store is all of the images. Have you ever come across a Cricut cartridge that you needed for just one event but couldn’t justify purchasing it? This store takes care of that! I found the Art Deco Cricut cartridge that would of course be perfect for this party setup, well I looked in the store and I was able to get the images I wanted there!
Headbands
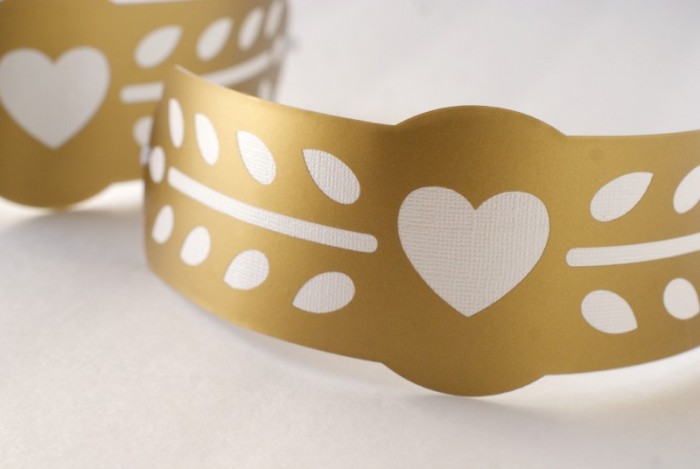
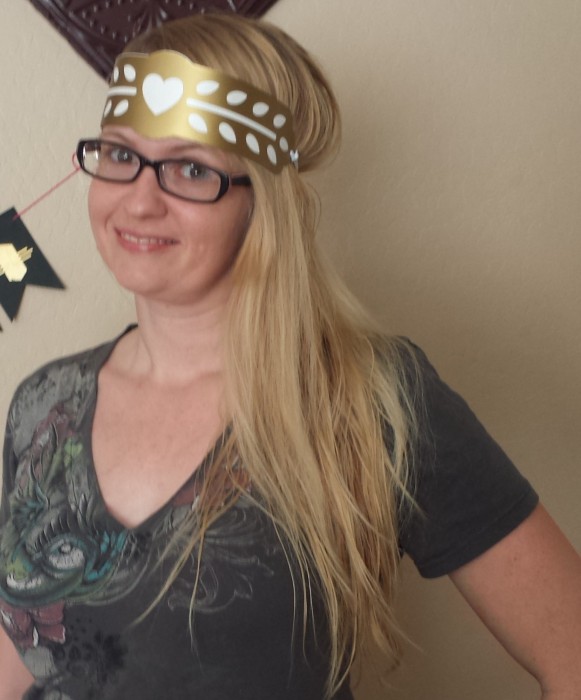
These headbands were easy to make! I used a gold vinyl and cut the back layer on a silver cardstock. I took my crop-o dile and cut two holes on each side. I then tied small elastic through it to complete the headbands.
Photo Props
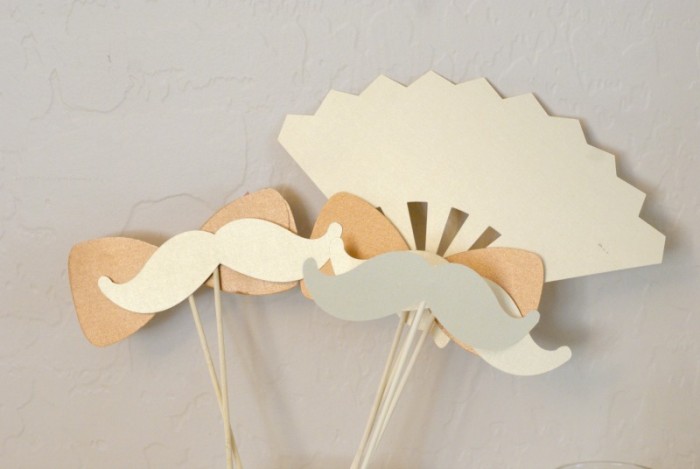
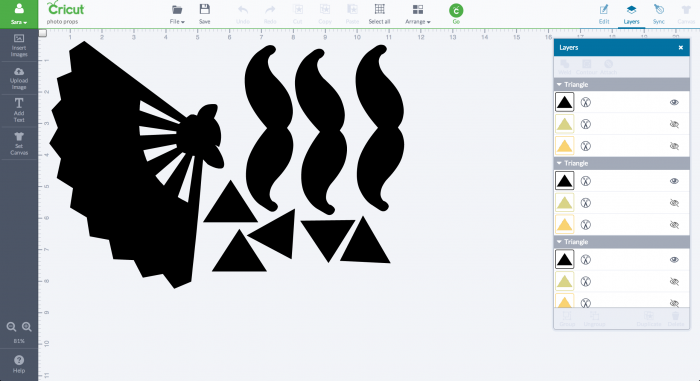
These mustaches, bowties and fan were easy to make into photo props. I secured skewers onto the back of them with tacky glue.
Curious about how to weld all the shapes into one so they cut onto one mat? Just select them all and then click on weld on the right hand menu.
Celebrate Banner
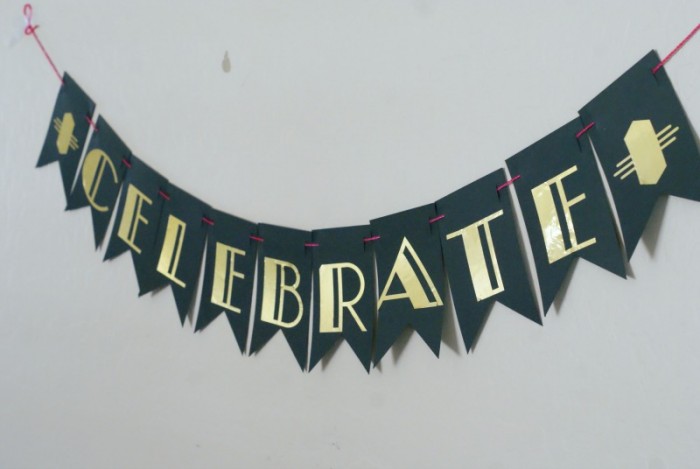
One of my favorite creations from the party was this banner. The banner itself was just a banner I found in the design space store. Then the letters are a faux gold foil vinyl.
Cupcake Toppers
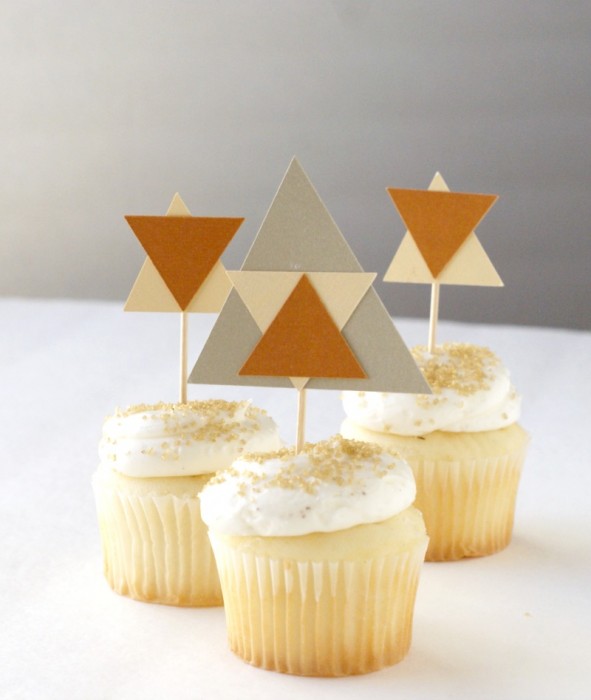
The cupcake toppers are simply triangles cut out of different metallic card stock papers. I glued these onto tooth pics with tacky glue.
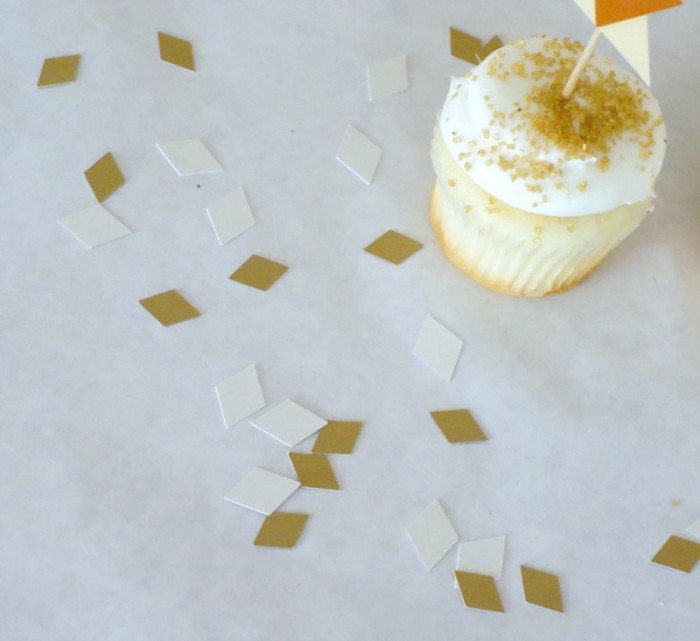
Confetti
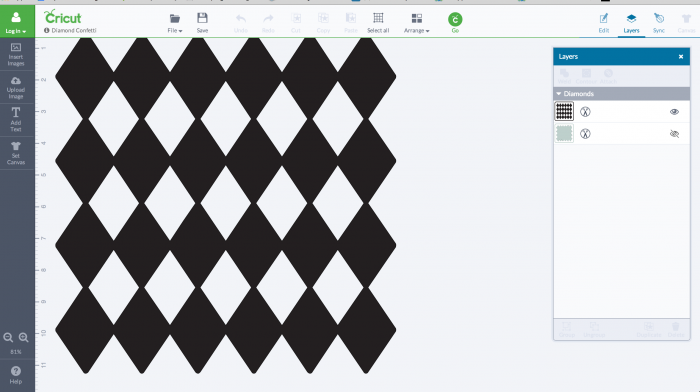
The confetti was made out of silver and gold cardstock out of a diamond background I found in the store.
Coasters
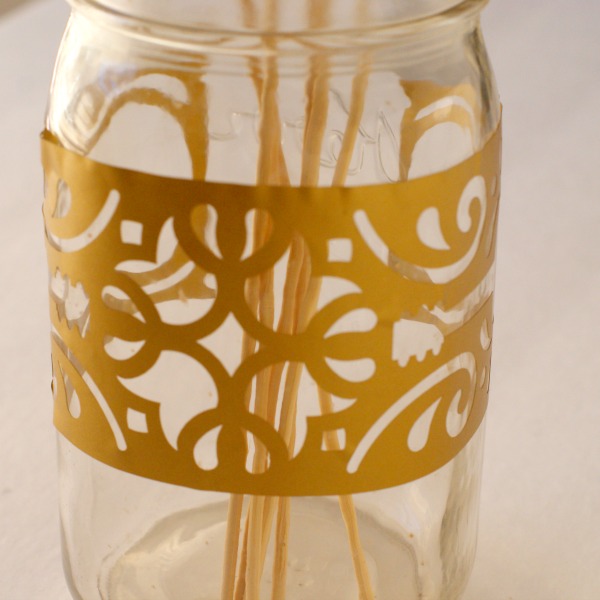
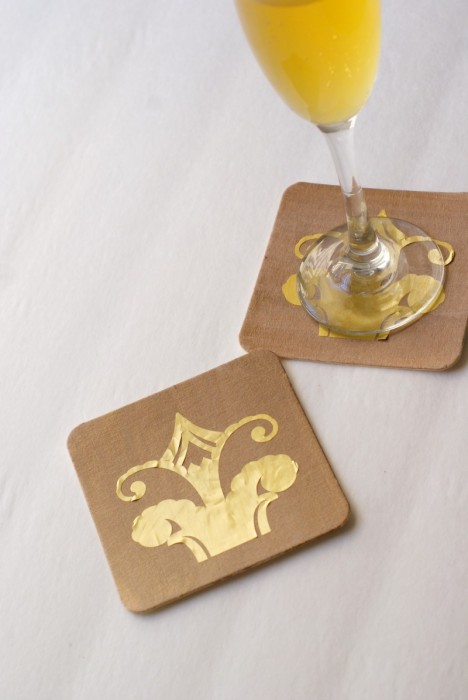
For some reason I have an abundance of plain coasters. I bought them on a whim one day a looooong time ago. I was excited to take a few and do something with them! I painted them with a bronze metallic paint then covered them in an art deco image from the Cricut store.
Invitation
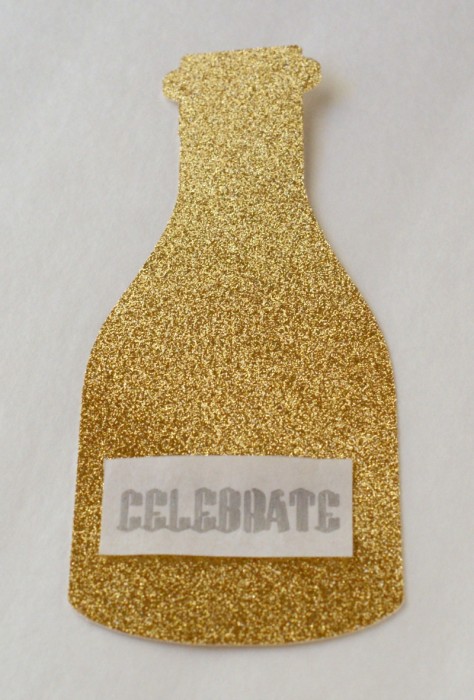
This is a champagne bottle cut out of thick glittered cardstock. This was the first time i used the coloring feature with the Cricut and I LOVE it! It’s simple, you just put the pen in and it does the work! It was hard to adhere the vellum so there is a good amount of tape under there. Next time I would probably staple it.
On the back would be where the actual information for the invitation would go.
Well there it is, simple and elegant thanks to the Cricut. What have you made lately with the Cricut? Did you know YOU could win a trip from Cricut?
Cricut has just announced the second phase of the Cricut – I Made It! contest and this time they’re awarding one winner their own Make it Now™ project line to be sold in Cricut Design Space™!
To help create your line, Cricut will fly you to their headquarters in Salt Lake City to work side-by-side with their design team. Then you and a guest will enjoy an all-expense paid stay at the Grand America Hotel – a luxury resort in Salt Lake City, home to the best skiing in the world.
The winner will be featured on Cricut.com and every time a Cricut user purchases your project, you’ll earn money. Cricut will even help with your publicity.
To enter the Cricut – I Made It! contest, all you need is a photo of an original project. You can upload up to five photos (which can be five individual projects or multiple photos of one project).
You have until September 30th to enter. What are you waiting for? It’s time you Made It big! Head to cricut.com to enter today.
Don’t have a Cricut? I love the Cricut Expression, you can find out more about them here: Cricut.com
Disclosure: I have partnered with Cricut for the Design Star contest. All opinions, photos and concepts are my own.
Happy Birthday! Great party props!